CNC Mill Tutorial
Summary
TLDRThis CNC milling tutorial takes you through the essential steps of setting up and running a CNC mill. From preparing the stock and securing it in the vise, to using the edge finder tool for precise zeroing of the X, Y, and Z axes, the guide covers it all. It highlights important safety checks, tool changes, and ensures the machine is properly calibrated for accurate cuts. Once everything is set, the program is loaded, tool paths verified, and the machining process begins. The video ends with tips for safely removing and cleaning the finished part.
Takeaways
- 😀 Parallels are used to mount the stock in the CNC mill's vise, ensuring a flat and square setup.
- 😀 Always clear debris from the vise before placing the stock to ensure a flat surface for mounting.
- 😀 Tighten the stock gently in the vise to avoid unnecessary pressure, using a rubber mallet to ensure it's secure.
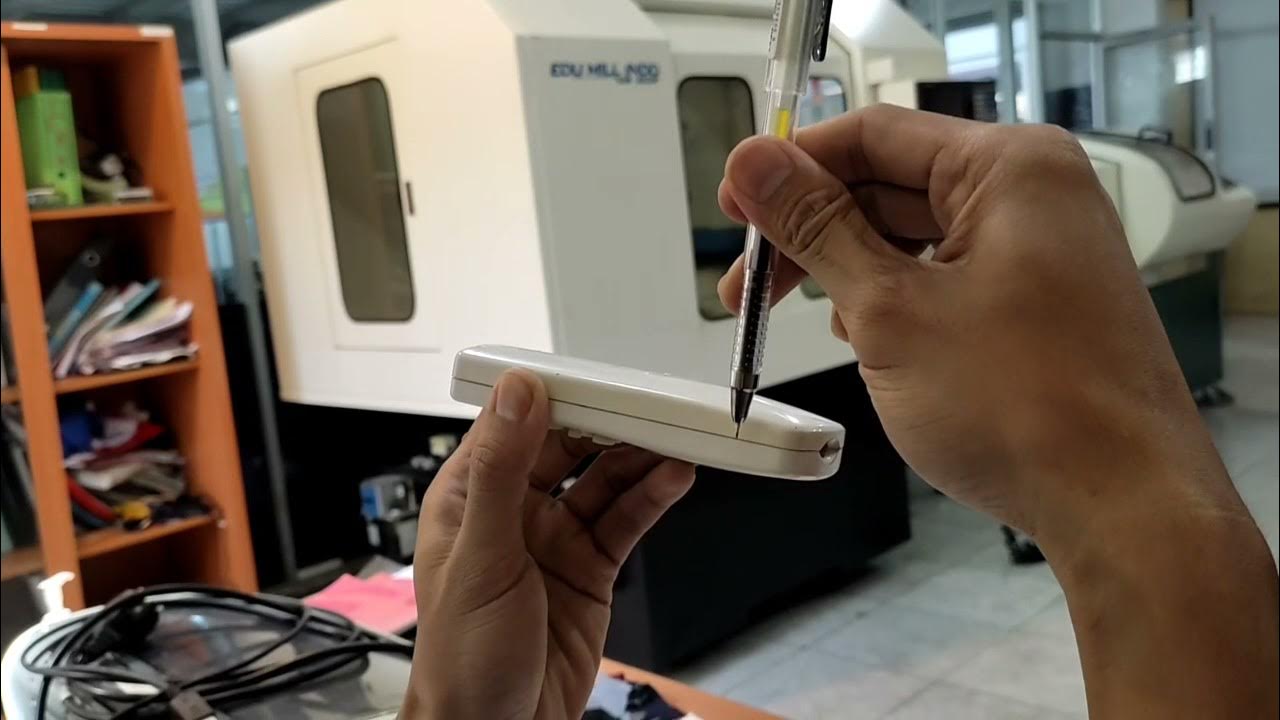
- 😀 The edge finder tool helps locate the exact position of the stock by moving it until the tool stops wobbling.
- 😀 Compensate for the tool's radius by adjusting the machine's zero point, ensuring accurate measurements for all tools.
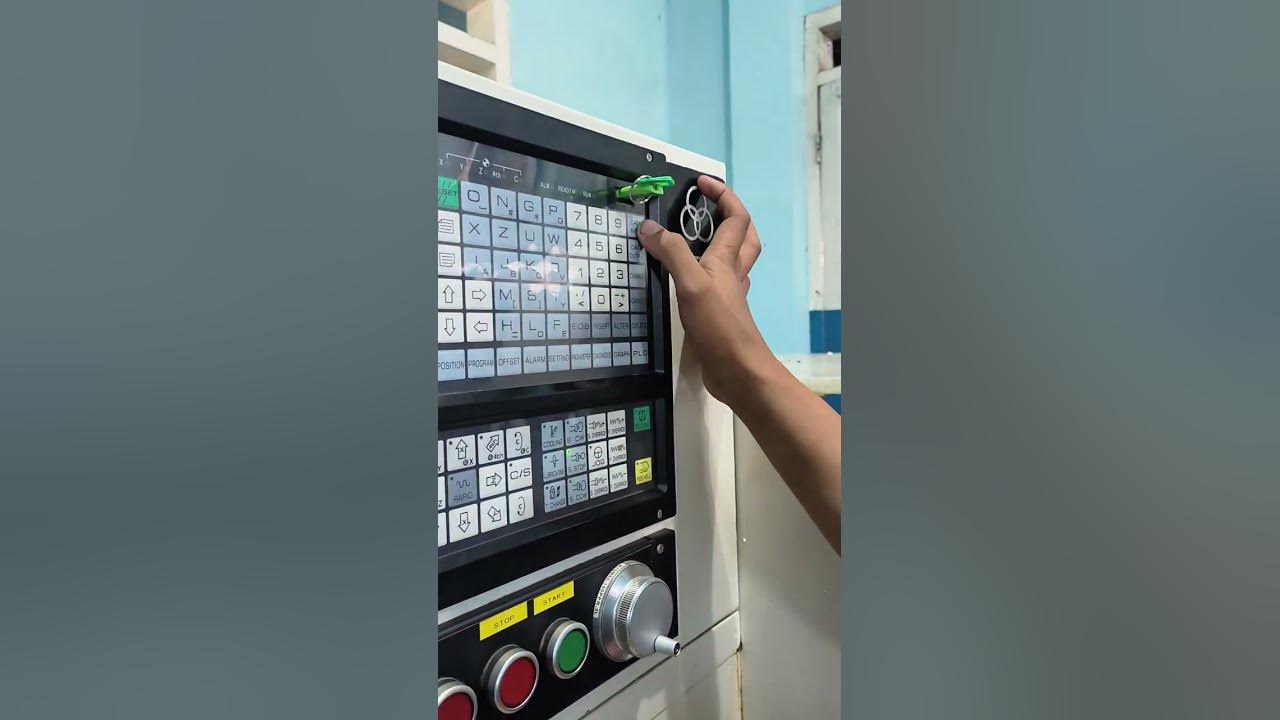
- 😀 Use the 'mode' or 'menu' buttons on the machine to switch between different functions, like tool changes and table movements.
- 😀 Set the work zero (G54) in the X, Y, and Z axes to ensure precise locations for machining the part.
- 😀 Always check and adjust the Z-axis using the paper test to accurately determine the tool's contact point with the stock.
- 😀 Before running a program, use the settings graphic to preview the tool paths and check for any errors in the G-code.
- 😀 To stop a program in case of an error or unexpected movement, use the feed hold button. The emergency stop button is a last resort for more critical situations.
Q & A
What are parallels used for in CNC milling?
-Parallels are used to ensure the stock is mounted evenly and securely in the vice. They provide a flat and square surface for the stock to rest on, ensuring precise machining.
Why is it important to ensure the vice is clear of debris before mounting stock?
-Clearing the vice of debris ensures that the surface is flat and free from contaminants, allowing the stock to be mounted securely and accurately for machining.
What is the purpose of using a rubber mallet during the setup?
-The rubber mallet is used to ensure that the parallels are securely under the stock, preventing them from shifting and ensuring the stock remains flat in the vice.
How does the edge finder tool help in the CNC setup process?
-The edge finder tool is used to accurately locate the edge of the stock. It wobbles until it aligns with the edge of the stock, allowing the machine to know the exact position for machining.
What is the significance of compensating for the radius of the tool?
-Compensating for the radius of the tool ensures that the machine correctly understands the position of the tool relative to the stock, allowing for precise cuts and accurate machining.
What steps are involved in zeroing the X, Y, and Z axes on the CNC machine?
-To zero the X, Y, and Z axes, the edge finder tool is used to locate the stock's edges, then the machine's work zero offset menu is used to set the exact position of the tool over the stock's edge. This process ensures accurate machining.
Why do you need to perform a tool change to zero the Z axis?
-To zero the Z axis, the first tool needs to be set using a paper test to determine the exact height of the stock. This ensures the tool cuts at the correct depth relative to the stock surface.
What is the purpose of the 'feed hold' button on the CNC machine?
-The 'feed hold' button stops the machine's movement without stopping the spindle, allowing the operator to pause the machining process to inspect or adjust the part without losing the current position.
What should you do if the part is not positioned correctly during the machining process?
-If the part is not positioned correctly, you should use the emergency stop button to stop the machine immediately and correct the positioning to avoid damage or errors in the machining process.
How can you verify that the CNC program is correct before running it?
-You can verify the CNC program by using the settings graphic feature, which displays the tool paths. Running the program step-by-step ensures that all tool movements and cuts are correct before starting the actual machining process.
Outlines

This section is available to paid users only. Please upgrade to access this part.
Upgrade NowMindmap

This section is available to paid users only. Please upgrade to access this part.
Upgrade NowKeywords

This section is available to paid users only. Please upgrade to access this part.
Upgrade NowHighlights

This section is available to paid users only. Please upgrade to access this part.
Upgrade NowTranscripts

This section is available to paid users only. Please upgrade to access this part.
Upgrade Now5.0 / 5 (0 votes)


