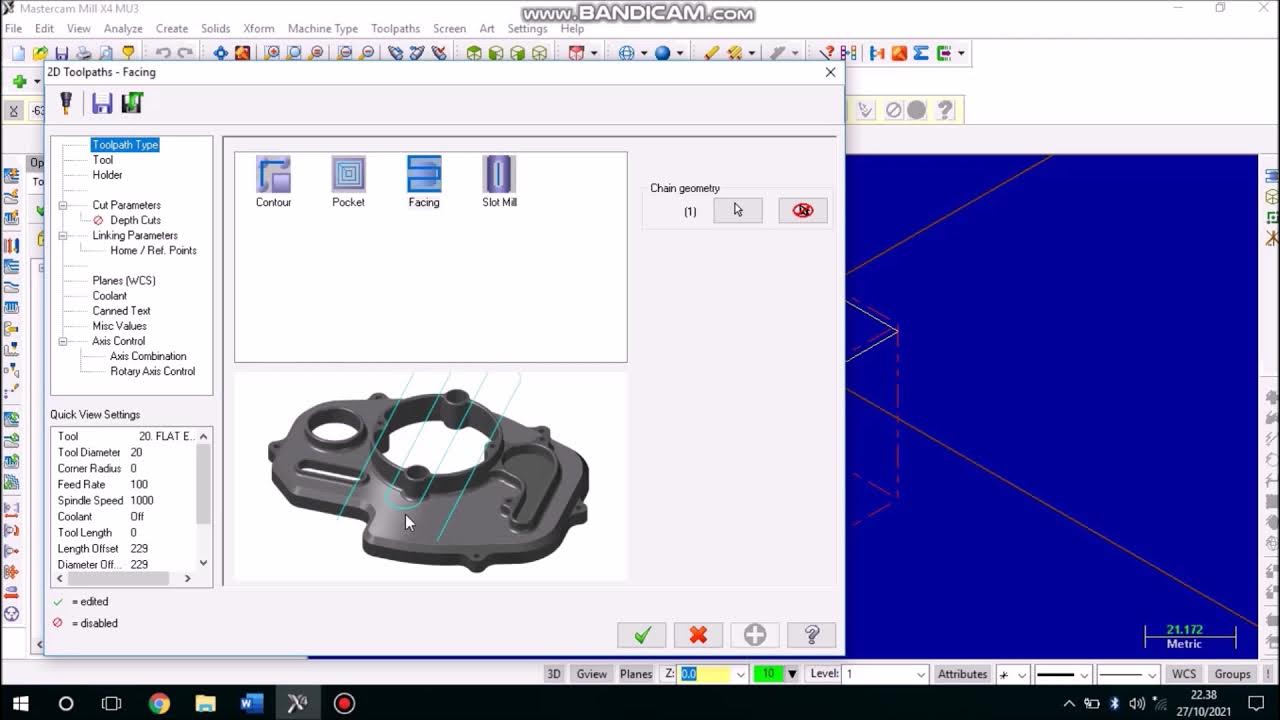
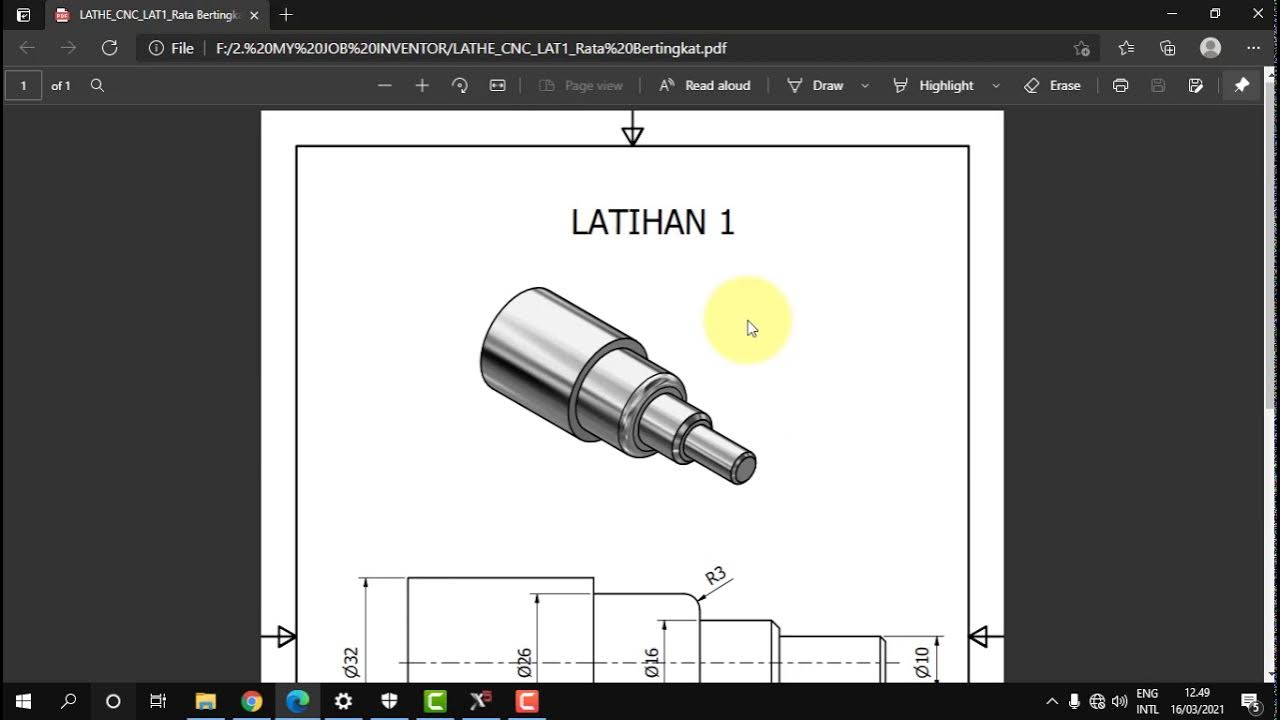
Gambar Mastercam + Edit + Eksekusi LANGSUNG
Summary
TLDRThis video guides users through the process of setting up and running a CNC machine program in Mastercam. It starts with selecting the correct diameter for threading and adjusting tool settings, followed by configuring the machine parameters such as tool offsets and stock setup. The user walks through simulating the process, verifying the program, and transferring the data to a USB for use in the CNC machine. The video includes instructions on using various machine functions, troubleshooting errors, and executing the program, ensuring accurate and efficient threading operations on the CNC machine.
Takeaways
- 😀 Ensure the Mastercam software is open before starting the CNC programming process.
- 😀 Select the correct toolpath and set the diameter according to the workpiece drawing.
- 😀 Set the Z-axis to the correct position to define the length of the thread to be created.
- 😀 Choose the machine type as LED, and adjust properties and stock setup for simulation.
- 😀 After configuring tool parameters, select the right tool from the toolpad, e.g., TRP 9494.
- 😀 Adjust the thread pitch to match the specified measurement, e.g., 1mm between threads.
- 😀 Correct the diameter after threading to 18mm, ensuring the tool reaches the correct depth.
- 😀 Set the NC code format and check all configurations before posting the G-code.
- 😀 Name and save the file with appropriate identifiers, ensuring the correct format for CNC operations.
- 😀 Transfer the program to the CNC machine via USB, ensuring the correct file location is selected.
- 😀 Test the program by executing it with the correct tool settings and verifying the process step by step.
Q & A
What is the first step when starting the program in Mastercam?
-The first step is to open the Mastercam application, then select the PL D Plus Z option and press the F9 key.
How do you set the diameter for the workpiece in Mastercam?
-You set the diameter based on the workpiece's specifications from the work drawing. For this example, the diameter is set to 20.
What does the Z-1 setting do in Mastercam?
-The Z-1 setting is used to define the length of the thread to be created, specifying the Z-axis position in the toolpath.
What is the next step after setting up the workpiece in Mastercam?
-After setting up the workpiece, you need to select the machine type, which in this case is 'LED,' and adjust the properties in the stock setup for diameter simulation.
How do you select the correct tool for the operation in Mastercam?
-To select the correct tool, go to the toolpad menu, select 'TRP,' and then choose tool number 9494. For this example, tool 1 is used.
What is the significance of setting the pitch distance between threads?
-The pitch distance between threads is critical to ensure proper threading. In this case, the pitch distance is set to 1.
What does the 'NC Code Format' option do in Mastercam?
-The 'NC Code Format' option generates the G-code, which is then used for the CNC machine to execute the operation.
What should be done before posting the G-code in Mastercam?
-Before posting the G-code, make sure the code is free of errors, like checking for incorrect commands and fixing them, such as changing 'M03' to 'M04'.
How do you transfer the program to the CNC machine?
-To transfer the program, save the G-code file, copy it to a USB drive, and then load it into the CNC machine using the correct commands for data input.
How do you set the offsets and coordinates for the toolpath?
-To set the offsets and coordinates, you input the required values for the X and Z positions, adjusting the coordinates until the tool is positioned correctly relative to the workpiece.
Outlines

This section is available to paid users only. Please upgrade to access this part.
Upgrade NowMindmap

This section is available to paid users only. Please upgrade to access this part.
Upgrade NowKeywords

This section is available to paid users only. Please upgrade to access this part.
Upgrade NowHighlights

This section is available to paid users only. Please upgrade to access this part.
Upgrade NowTranscripts

This section is available to paid users only. Please upgrade to access this part.
Upgrade NowBrowse More Related Video
5.0 / 5 (0 votes)


