Cara Setting Titik Nol Benda Kerja CNC Milling
Summary
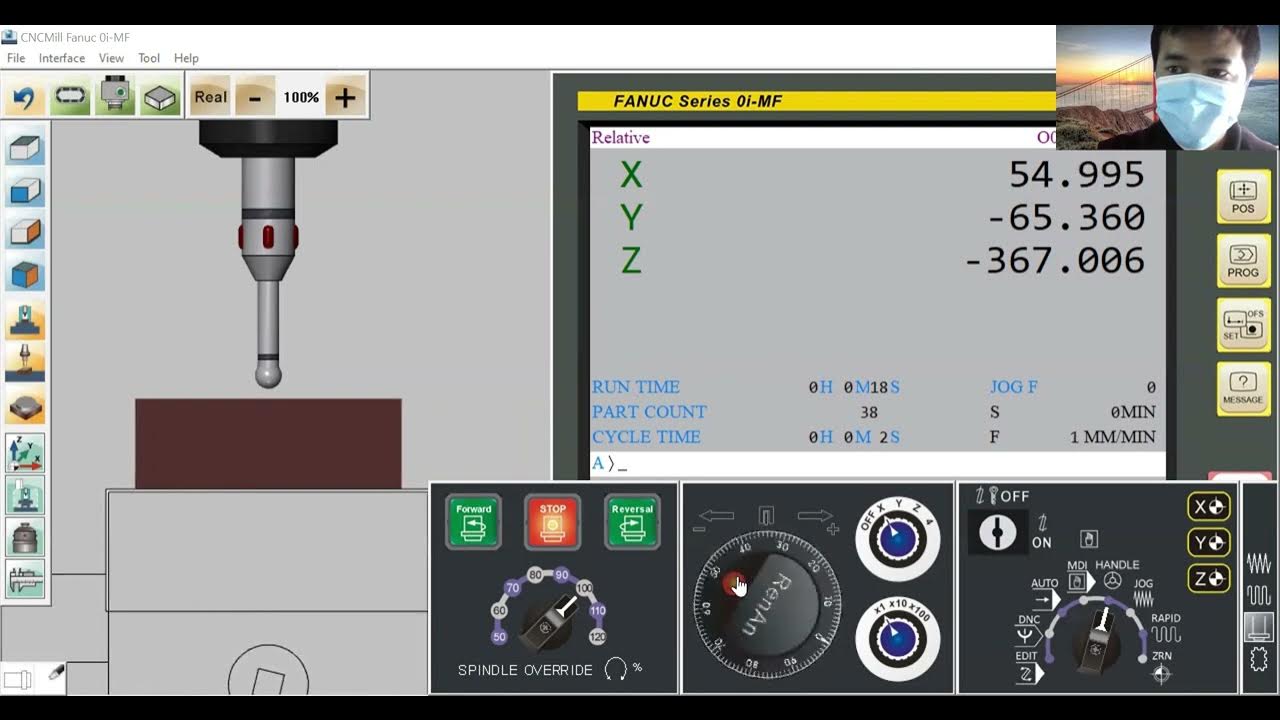
TLDRThis video guide walks through the essential steps for setting up a CNC milling machine, focusing on calibrating the workpiece coordinates (Z0, X0, Y0) and configuring offsets. It covers installing reference tools, setting G54 work coordinates, adjusting the spindle, and ensuring precise alignment of the tool with the workpiece. The video provides clear instructions on how to manually adjust the tool, check for correct positioning, and verify the setup to ensure accurate machining. This practical guide is ideal for users looking to understand CNC machine calibration and coordinate setting.
Takeaways
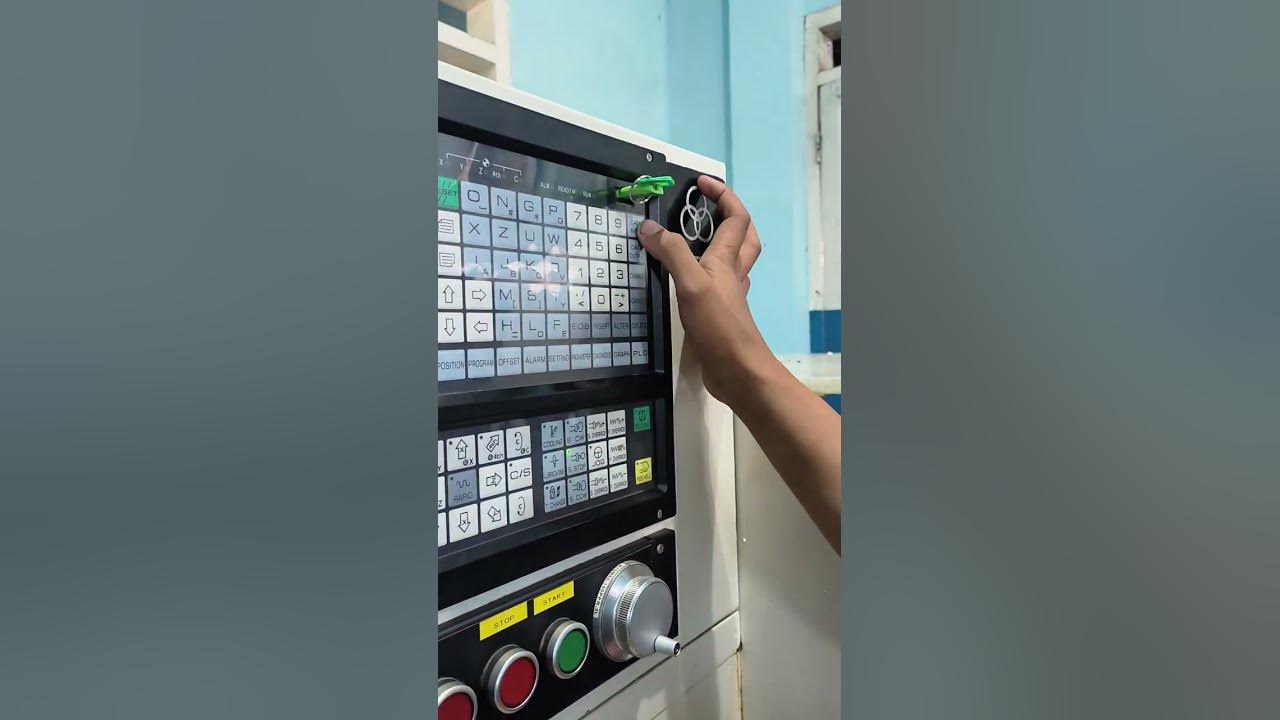
- 😀 The first step in setting up the CNC milling machine is installing the reference tool.
- 😀 The Z0 position must be set by touching the workpiece surface with the needle until it points to zero.
- 😀 Once the needle points to zero, enter the offset menu to set the Z0 coordinates.
- 😀 The offset value represents the distance between the surface of the workpiece and the set zero machine position.
- 😀 Use the G54, G55, and G56 coordinates to input the Z0 values and select the correct position for the workpiece.
- 😀 To measure the workpiece height, the machine automatically calculates the distance based on its own measurements.
- 😀 Set the machine spindle to 500 RPM and enter the 'enjoy mode' before proceeding with further adjustments.
- 😀 The center fix or spindle will rotate eccentrically when touching the workpiece; stop when the rotation becomes steady.
- 😀 After touching the left side of the workpiece, move the center fix until the first shift occurs and stop the movement.
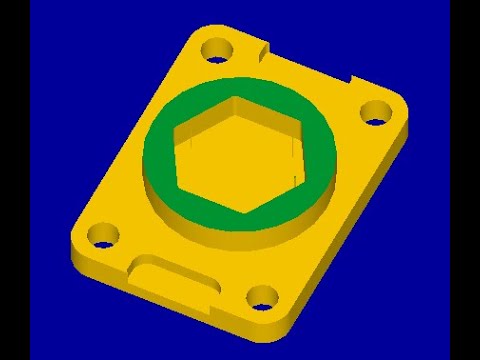
- 😀 For setting the X and Y coordinates, move the center fix to the desired positions and input the radius values, such as X-5 and Y-5.
- 😀 Finally, check the positions using commands like G00 G90 G54 to ensure the correct machine settings before starting the milling process.
Q & A
What is the first step in setting up the workpiece in the script?
-The first step is to install the reference tool before starting any work on the workpiece.
How do you set the Z0 coordinates on the machine?
-To set the Z0 coordinates, you need to touch the workpiece surface with the needle and ensure that it points to zero. Then, input the Z0 value in the work menu and enter the corresponding offset.
What is the significance of the number displayed after setting the Z0 coordinates?
-The displayed number represents the distance between the surface of the workpiece and the machine's set Z0 position. This value adjusts automatically based on the height of the workpiece.
How is the Z0 setting related to the G54, G55, and G56 coordinates?
-The Z0 setting is entered into the G54 coordinate system, and you can adjust the cursor up and down to enter the Z0 value for that specific coordinate system.
How do you set the spindle speed before working with the workpiece?
-You set the spindle speed by turning on the machine to 500 RPM and entering the M3 S500 command to rotate the spindle at this speed.
What does the term 'eccentric' refer to when working with the centrofix or spindle?
-The term 'eccentric' refers to the uneven rotation of the centrofix when it first touches the workpiece. As you adjust it, the rotation will become centered on the object.
How do you ensure the centrofix is centered on the workpiece?
-You move the centrofix forward until it shifts, stop the movement, and then verify that the rotation is no longer eccentric. This ensures that the centrofix is centered on the workpiece.
What is the role of the X and Y coordinates in setting up the workpiece?
-The X and Y coordinates determine the position of the workpiece on the machine. You input values like X-5.00 and Y-5.00 to correctly align the workpiece based on its center.
How do you check the accuracy of your setup once the X0 and Y0 are set?
-To check accuracy, you perform a test by entering G00 G90 G54 X00 Y00 to move the machine to the set coordinates and observe if the position aligns correctly with the workpiece.
Why is it important to stop the movement of the machine at specific points?
-Stopping the machine at the right points is crucial to ensure that the workpiece is properly aligned and that the settings are correct before continuing with further steps.
Outlines

This section is available to paid users only. Please upgrade to access this part.
Upgrade NowMindmap

This section is available to paid users only. Please upgrade to access this part.
Upgrade NowKeywords

This section is available to paid users only. Please upgrade to access this part.
Upgrade NowHighlights

This section is available to paid users only. Please upgrade to access this part.
Upgrade NowTranscripts

This section is available to paid users only. Please upgrade to access this part.
Upgrade NowBrowse More Related Video

Langkah men-Import File dan memasukkan program dengan Virtual Machine Kontroller Fanuc - Renan

membuat program sederhana CNC Milling
Pengaturan titik nol pada sumbu X,Y dan Z pada Frank Cam Mill - Renan

Job Facing Master CAM Mill
Gambar Mastercam + Edit + Eksekusi LANGSUNG
Tutorial Mastercam X5 CNC Mill / Fraish
5.0 / 5 (0 votes)