SETTING DHCP SERVER MIKROTIK
Summary
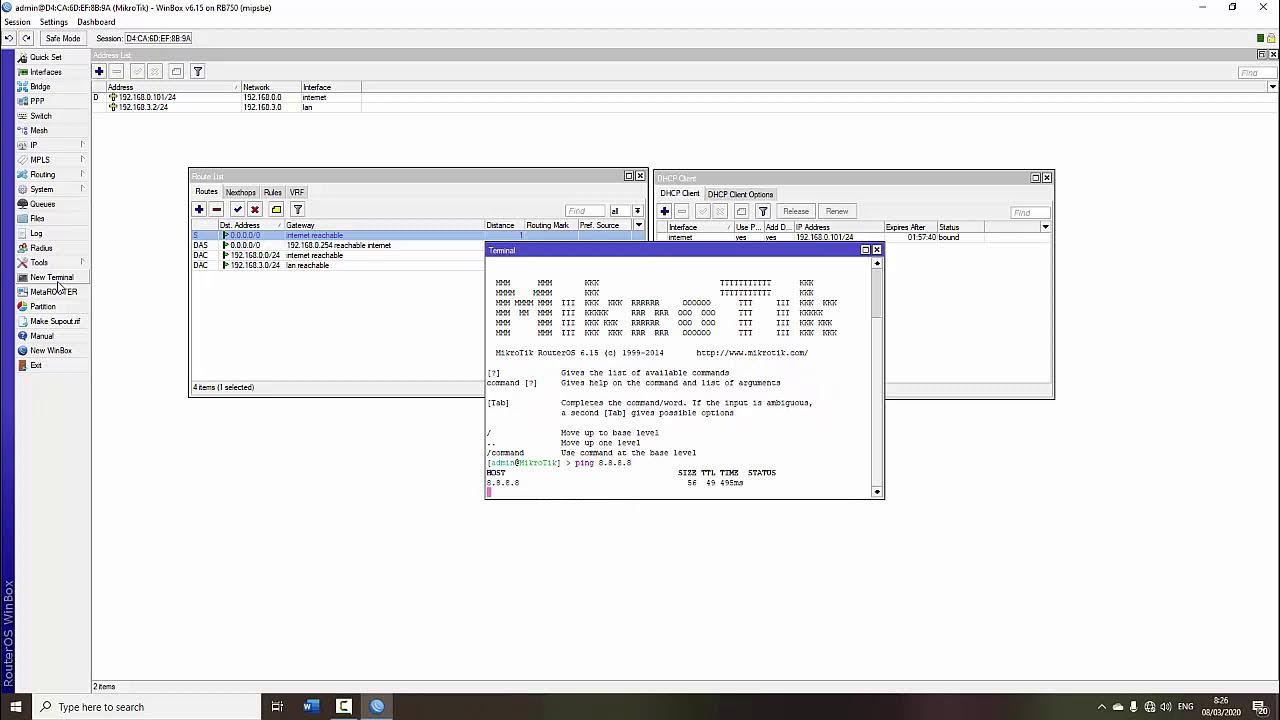
TLDRIn this tutorial, the presenter guides viewers through the process of configuring a DHCP server on a MikroTik router. Starting with an overview of the network setup using a mobile phone hotspot, the video details the steps to enable DHCP, allowing automatic IP address assignment to connected devices. Key configurations include setting the router’s IP address, defining the DHCP range, and testing the setup. The tutorial highlights the ease of using DHCP for seamless internet connectivity in various environments, such as cafes and offices, making the process accessible for all users.
Takeaways
- 😀 The video focuses on configuring a DHCP server on a MikroTik router.
- 🌐 DHCP (Dynamic Host Configuration Protocol) automatically assigns IP addresses to clients.
- 📶 The setup includes an internet source from a smartphone hotspot connected to the MikroTik router.
- 🔧 The first step involves configuring NAT (Network Address Translation) for internet access.
- 🏠 The router's IP address should be set to 192.168.20.1 for local network management.
- 🖥️ The DHCP server setup is initiated by navigating to IP > DHCP Server in the MikroTik interface.
- 📊 Users can define a range of IP addresses for DHCP allocation (e.g., 192.168.20.2 to 192.168.20.254).
- 🛡️ Adding DNS server addresses (like 8.8.8.8) is essential for internet connectivity for clients.
- ⏳ The lease time for IP addresses can be customized (e.g., set to 1 day).
- ✅ Testing the configuration involves changing client settings to DHCP and ensuring an IP address is received.
Q & A
What is the primary function of a DHCP server?
-The primary function of a DHCP server is to automatically assign IP addresses to client devices on a network, eliminating the need for manual configuration.
How does the video suggest setting up the internet connection for the MikroTik router?
-The video suggests using a mobile phone as a hotspot to connect to the MikroTik router, which then distributes the internet connection.
What are the initial steps mentioned for configuring the DHCP server?
-Initial steps include accessing the MikroTik router interface, configuring the NAT settings, and setting the IP address for the router interface.
What IP address and subnet mask are set for the MikroTik router in the video?
-The IP address set for the MikroTik router is 192.168.20.1 with a subnet mask of 24.
How do you start the DHCP setup process in MikroTik?
-To start the DHCP setup process, you navigate to 'IP' and then select 'DHCP Server,' followed by clicking on 'DHCP Setup.'
What is the range of IP addresses that the DHCP server will assign to clients?
-The DHCP server is configured to assign IP addresses from 192.168.20.2 to 192.168.20.254, although this range can be adjusted based on user needs.
What DNS server is recommended in the video for the DHCP configuration?
-The video recommends using Google's public DNS server, 8.8.8.8, for the DHCP configuration.
What is the default lease time for IP addresses mentioned in the video?
-The default lease time for IP addresses in the video is set to one day, but it can be customized based on requirements.
What happens when a computer requests an IP address after DHCP configuration?
-Once DHCP is configured, the computer requests an IP address, and the DHCP server responds by assigning it an available IP from the defined range, confirming that the server is functioning correctly.
What should viewers do if they have questions after watching the video?
-Viewers are encouraged to leave their questions in the comments section of the video for further clarification.
Outlines

This section is available to paid users only. Please upgrade to access this part.
Upgrade NowMindmap

This section is available to paid users only. Please upgrade to access this part.
Upgrade NowKeywords

This section is available to paid users only. Please upgrade to access this part.
Upgrade NowHighlights

This section is available to paid users only. Please upgrade to access this part.
Upgrade NowTranscripts

This section is available to paid users only. Please upgrade to access this part.
Upgrade NowBrowse More Related Video

Konfigurasi Mikrotik Dasar Part 2 (Internet Gateway - Client DHCP)

PANDUAN LENGKAP - CARA SETTING ROUTER MIKROTIK RB951Ui-2HnD DARI AWAL HINGGA TERHUBUNG KE INTERNET

Konfigurasi DHCP Server dan DHCP Client pada Router Mikrotik RB 951Ui-2HnD

TUTORIAL DASAR MIKROTIK (KONEKSI INTERNET)

Koneksi Jaringan Lan Ke Internet Melalui Mikrotik Rb941 2Nd

CARA KONFIGURASI MIKROTIK AWAL (KONEKSI INTERNET)
5.0 / 5 (0 votes)