Konfigurasi DHCP Server dan DHCP Client pada Router Mikrotik RB 951Ui-2HnD
Summary
TLDRIn this educational YouTube video by Riswan on the Youbi channel, viewers are guided through the process of configuring a DHCP server and client on a MikroTik router. The video begins with a connection setup and a demonstration of resetting the router to default settings using Winbox. Following this, Riswan configures the DHCP client on the router's ether1 interface connected to the internet and sets up the DHCP server on ether2, which is connected to a computer network. The tutorial covers obtaining an IP address automatically through the DHCP client, setting up the DHCP server to assign IP addresses to connected devices, and ensuring internet connectivity for the connected devices by configuring routing and source NAT. The video concludes with a successful demonstration of internet access and a reminder to configure DNS for uninterrupted browsing.
Takeaways
- 😀 The video demonstrates how to configure a DHCP server and client on a MikroTik router.
- 🔧 The presenter uses Winbox, a software provided by MikroTik, to access and configure the router.
- 💻 The MikroTik router is reset to factory settings at the beginning of the tutorial.
- 🌐 The router's interfaces are set up to connect to the internet and a local computer network.
- 📡 The DHCP client is configured on the interface connected to the internet (ether1).
- 🏢 The DHCP server is set up on the interface connected to the local computer network (ether2).
- 📝 The DHCP server is configured with a static IP range, and the router's MAC address is used for identification.
- 🔄 The DHCP client automatically obtains an IP address, gateway, and DNS settings from the DHCP server.
- 🌐 The video shows how to enable IP forwarding to allow internet access through the router.
- 🛠️ The tutorial concludes with a demonstration of successful internet browsing, indicating proper configuration.
- 📝 The video ends with a reminder to follow proper Islamic greetings, reflecting the presenter's cultural context.
Q & A
What is the purpose of the video?
-The purpose of the video is to demonstrate how to configure a DHCP server and DHCP client on a MikroTik router.
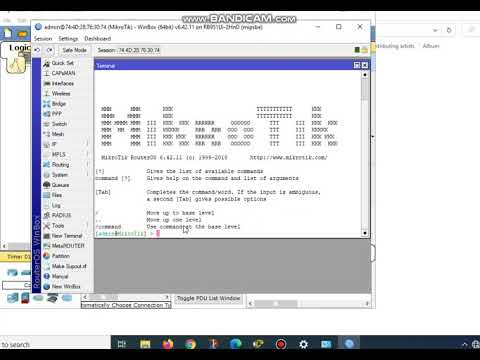
What application is used to connect to the MikroTik router?
-The application used to connect to the MikroTik router is Winbox, which can be downloaded from mikrotik.com.
How does one connect to the MikroTik router using Winbox?
-To connect to the MikroTik router using Winbox, one must open Winbox, click on 'New' to create a new connection, select the router, enter the IP address, and log in with the username 'admin' and a blank password.
What is the first step the presenter takes after connecting to the router?
-The first step the presenter takes after connecting to the router is to perform a factory reset by checking 'Reset configuration to default' and clicking 'Yes'.
How does the presenter configure the DHCP client on the router?
-The presenter configures the DHCP client by navigating to 'IP' > 'DHCP Client', adding a new client, selecting the interface 'ether1', and applying the settings.
What is the IP address obtained by the router after setting up the DHCP client?
-After setting up the DHCP client, the router obtains an IP address of 192.168.1.10.
What does the presenter do to enable the DHCP client?
-The presenter enables the DHCP client by clicking on the 'Enable' button in the DHCP Client settings.
How does the presenter configure the DHCP server on the router?
-The presenter configures the DHCP server by navigating to 'IP' > 'DHCP Server', clicking on 'Setup', selecting the interface 'ether2', and following the setup wizard steps.
What IP address range is used for the DHCP server configuration?
-The IP address range used for the DHCP server configuration is 10.20.30.1/24.
How does the presenter ensure that the computer connected to the router can access the internet?
-The presenter ensures internet access by configuring IP forwarding and setting up a NAT rule in the router's configuration.
What is the final step the presenter takes to demonstrate internet connectivity?
-The final step the presenter takes is to test internet connectivity by attempting to browse a website like 'detik.com'.
Outlines

This section is available to paid users only. Please upgrade to access this part.
Upgrade NowMindmap

This section is available to paid users only. Please upgrade to access this part.
Upgrade NowKeywords

This section is available to paid users only. Please upgrade to access this part.
Upgrade NowHighlights

This section is available to paid users only. Please upgrade to access this part.
Upgrade NowTranscripts

This section is available to paid users only. Please upgrade to access this part.
Upgrade NowBrowse More Related Video
Konfigurasi Mikrotik Dasar Part 2 (Internet Gateway - Client DHCP)
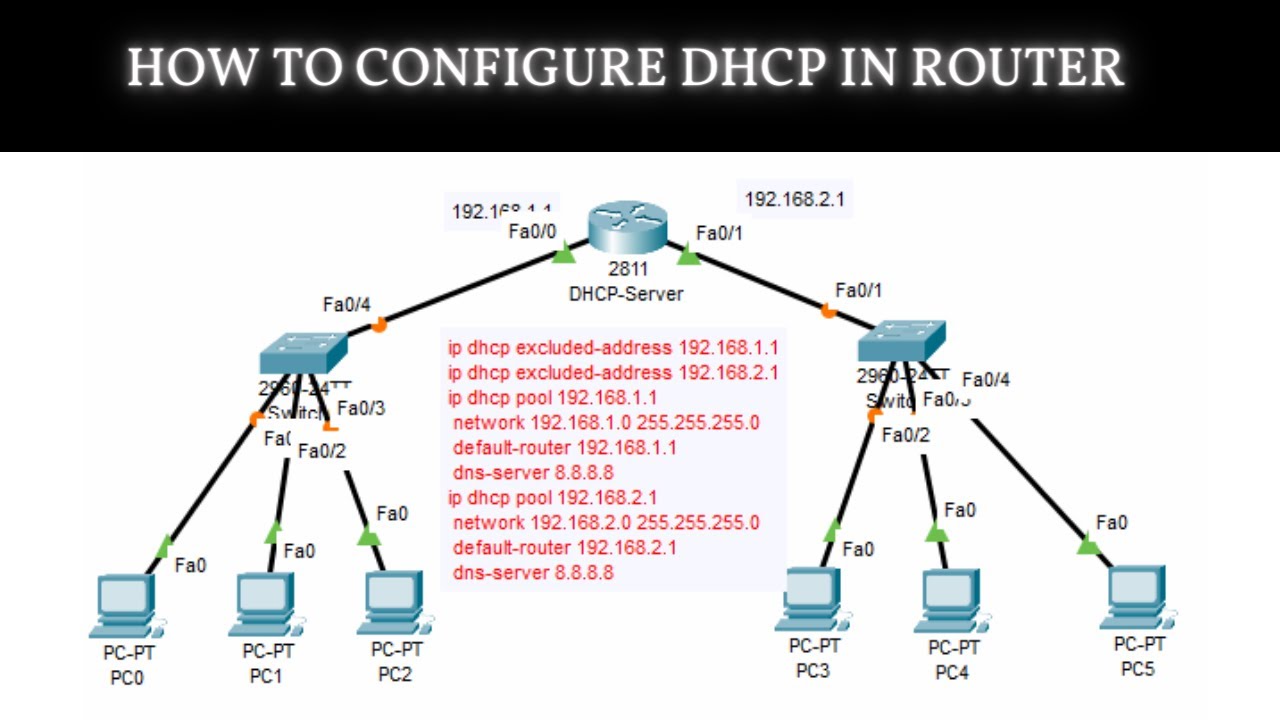
How to Configure DHCP in CISCO router in Packet Tracer | DHCP Server in CCNA | DHCP Configuration

Koneksi Jaringan Lan Ke Internet Melalui Mikrotik Rb941 2Nd
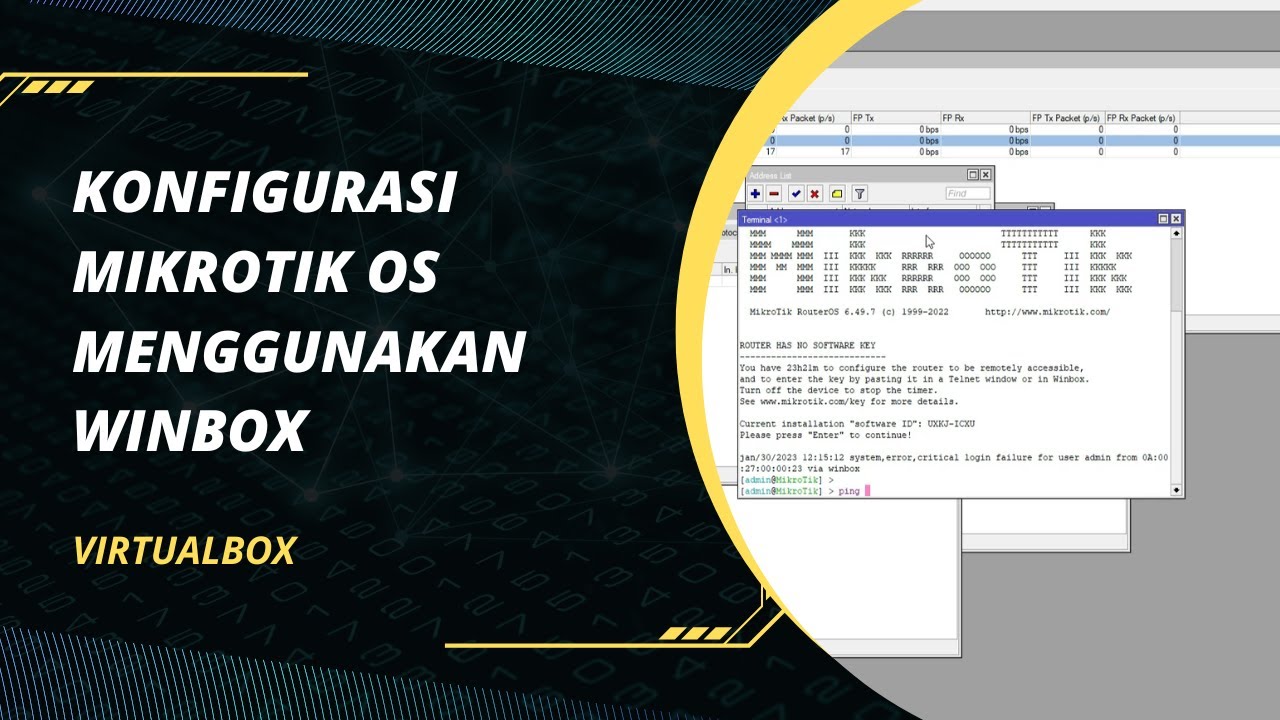
KONFIGURASI MIKROTIK OS VIRTUALBOX SAMPAI KONEKSI INTERNET MENGGUNAKAN WINBOX | ROUTER OS
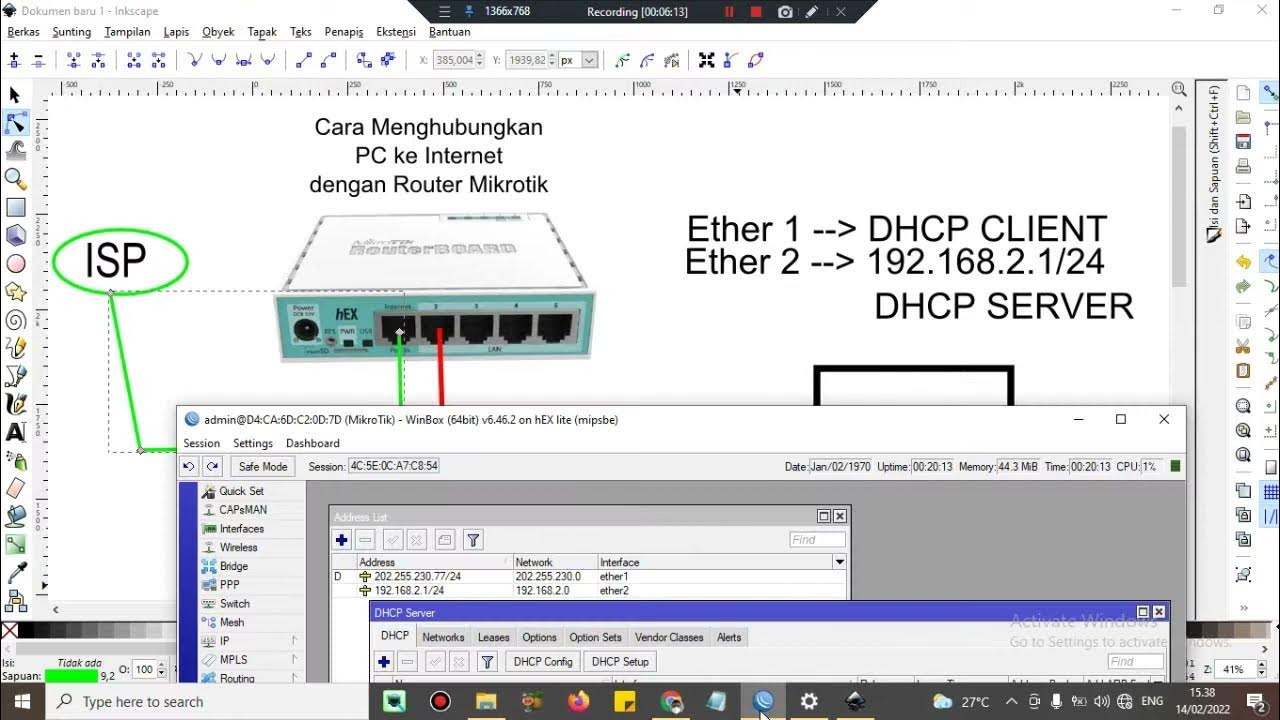
Cara setting Router Mikrotik agar komputer Client bisa terkoneksi internet dengan DHCP SERVER
SETTING DHCP SERVER MIKROTIK
5.0 / 5 (0 votes)