Konfigurasi Mikrotik Dasar Part 2 (Internet Gateway - Client DHCP)
Summary
TLDRIn this MikroTik configuration tutorial, the presenter walks through setting up a router with two interfaces: `eth1` as a DHCP client to automatically receive an IP from the ISP, and `eth2` as a DHCP server to assign IP addresses to local clients. The video covers the step-by-step process of configuring both interfaces, verifying connections, and ensuring the DHCP server assigns a limited range of IPs to clients. It's a practical guide for beginners looking to configure a MikroTik router for basic networking tasks.
Takeaways
- 😀 The tutorial demonstrates how to configure a MikroTik router with both DHCP client and DHCP server settings.
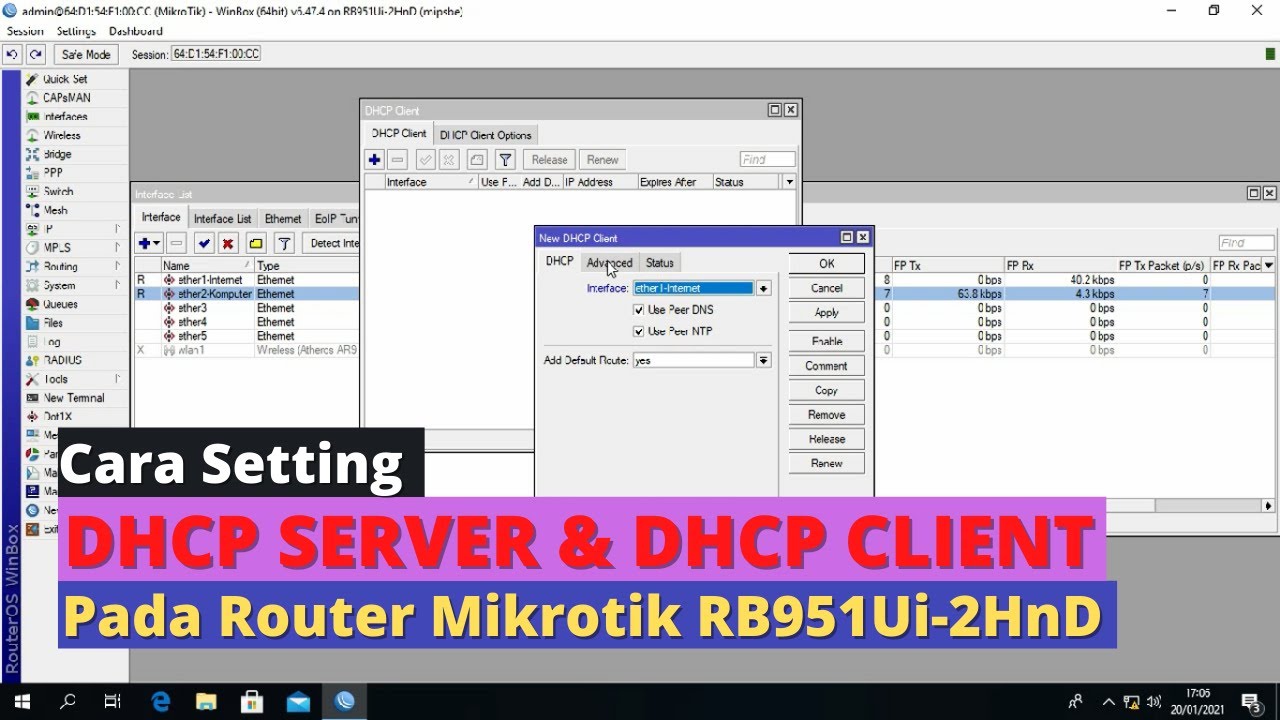
- 😀 `eth1` is set as a DHCP client, meaning it automatically receives an IP address from the ISP.
- 😀 `eth2` is configured as a DHCP server to distribute IP addresses to connected clients within a specific range.
- 😀 The DHCP server is set to assign IPs from `192.168.10.2` to `192.168.10.5` for client devices.
- 😀 The configuration process involves using the Winbox tool to access and reset the MikroTik router.
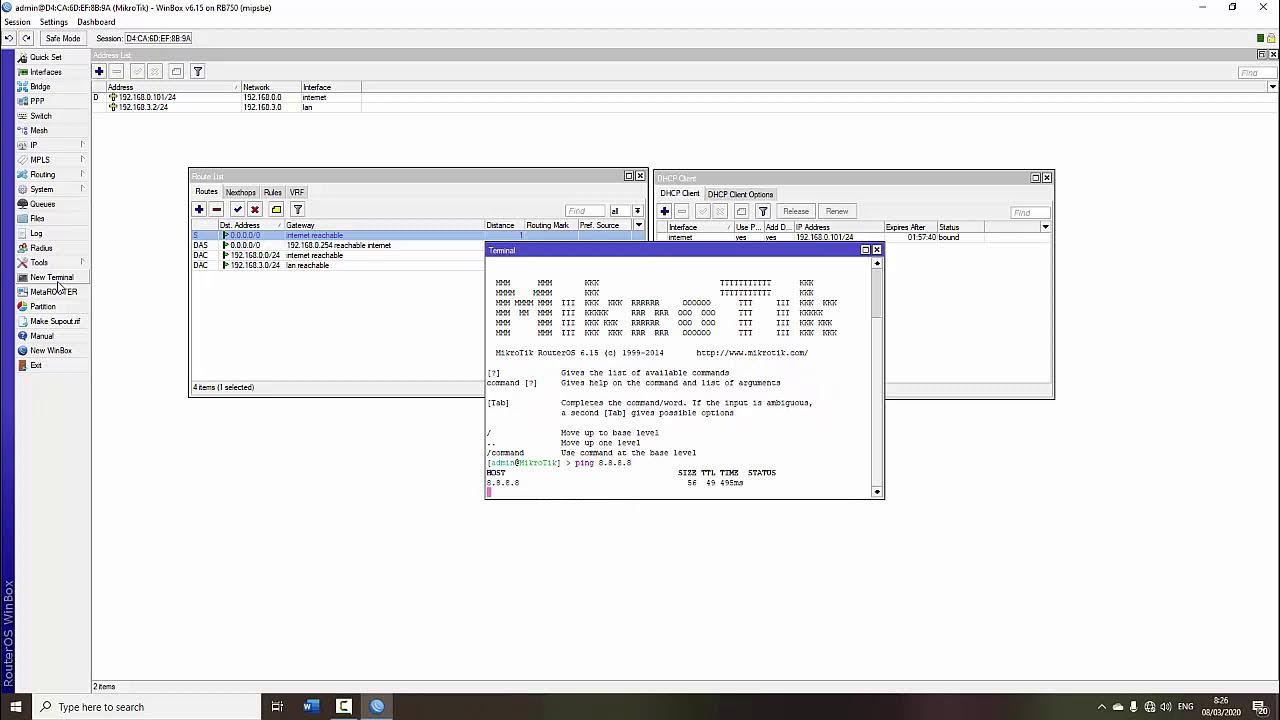
- 😀 The video emphasizes testing the configuration by pinging and ensuring that the router connects to the internet.
- 😀 The tutorial highlights the importance of setting up the correct network interface for DHCP functionality (both client and server).
- 😀 The DHCP server setup includes limiting the number of devices that can connect simultaneously, with a maximum of 5 clients.
- 😀 The setup process is verified by checking if client devices receive the correct IP addresses automatically from the DHCP server.
- 😀 The final test involves confirming that the client device's IP address, such as `192.168.10.5`, has been assigned correctly and the gateway is functional.
Q & A
What is the main objective of the tutorial?
-The main objective of the tutorial is to demonstrate how to configure MikroTik router interfaces, setting up one as a DHCP client and the other as a DHCP server to manage IP addresses for connected clients.
What are the different interfaces being configured in this tutorial?
-The interfaces being configured are eth1 and eth2. Eth1 is set as a DHCP client to receive an IP from the ISP, while eth2 is configured as a DHCP server to assign IP addresses to the clients.
Why is eth1 set as a DHCP client?
-Eth1 is set as a DHCP client to automatically receive an IP address from the ISP's server, ensuring that the router is correctly connected to the internet.
What is the IP address range used for the DHCP server on eth2?
-The DHCP server on eth2 assigns IP addresses in the range of 192.168.10.2 to 192.168.10.5, with only five clients allowed to connect at a time.
How does the DHCP client functionality work on eth1?
-Once eth1 is configured as a DHCP client, it automatically receives an IP address from the ISP's DHCP server. This allows the router to connect to the internet without manual IP configuration.
What should be checked to ensure clients are receiving IP addresses properly?
-To ensure clients receive IP addresses, it's important to check the client settings. If the DHCP client functionality is correctly configured, the clients will automatically get IP addresses within the specified range.
What is the purpose of the IP address 10.1/24 in the DHCP server setup?
-The IP address 10.1/24 is used as the network address for eth2. It is part of the range from which the DHCP server assigns IP addresses to the clients, ensuring they are within the correct subnet.
Why is the IP address range limited to only five clients?
-The IP address range is limited to only five clients (10.2, 10.3, 10.4, 10.5) to restrict the number of devices that can connect to the network, ensuring that the network does not get overcrowded and runs efficiently.
What step must be done after configuring the DHCP server?
-After configuring the DHCP server, you should check if the clients are receiving IP addresses automatically. If they are not, it's necessary to ensure that the client devices are set to receive IPs via DHCP and are correctly connected.
What happens if the client's IP address is not automatically assigned?
-If the client's IP address is not automatically assigned, it's likely because the DHCP client or server is not properly configured. In this case, checking the client settings and confirming the DHCP server configuration should resolve the issue.
Outlines

This section is available to paid users only. Please upgrade to access this part.
Upgrade NowMindmap

This section is available to paid users only. Please upgrade to access this part.
Upgrade NowKeywords

This section is available to paid users only. Please upgrade to access this part.
Upgrade NowHighlights

This section is available to paid users only. Please upgrade to access this part.
Upgrade NowTranscripts

This section is available to paid users only. Please upgrade to access this part.
Upgrade NowBrowse More Related Video

Konfigurasi DHCP SNOOPING Untuk Mencegah Serangan DHCP Starvation dan DHCP SPOOFING Cisco
Konfigurasi DHCP Server dan DHCP Client pada Router Mikrotik RB 951Ui-2HnD
TUTORIAL DASAR MIKROTIK (KONEKSI INTERNET)
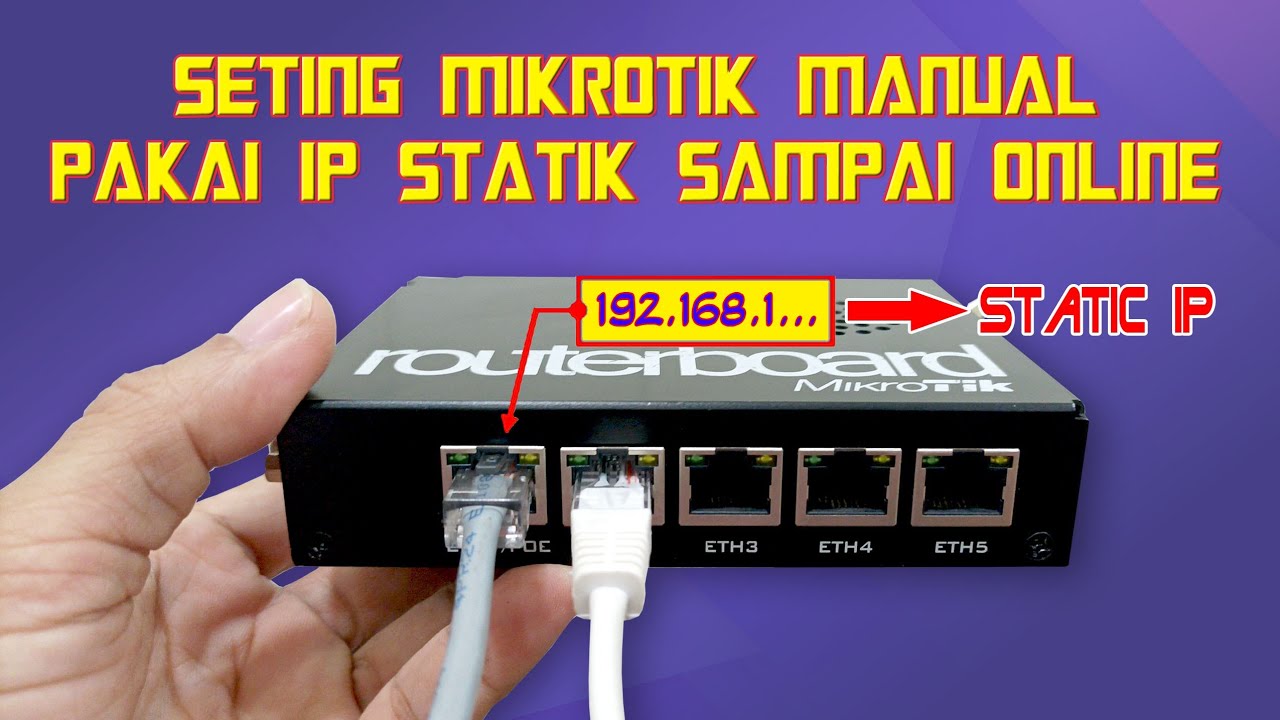
Cara Seting Mikrotik Menggunakan IP Statik Sampai Bisa Online || How to setting mikrotik static ip
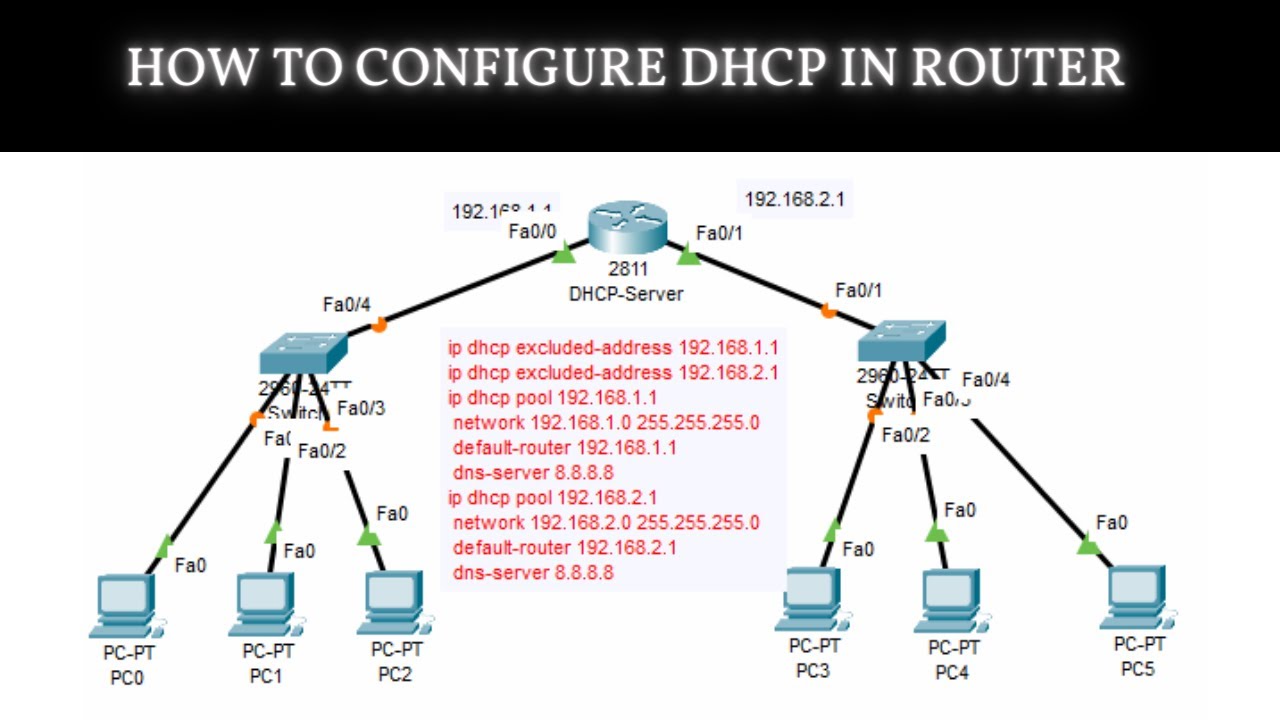
How to Configure DHCP in CISCO router in Packet Tracer | DHCP Server in CCNA | DHCP Configuration
Konfigurasi Mikrotik untuk OLT + Setting EPON OLT Mode PPPoE dan Hotspot
5.0 / 5 (0 votes)