CARA MENAMBAHKAN TRANSISI PADA SLIDE POWERPOINT
Summary
TLDRThis tutorial demonstrates how to add various transitions in PowerPoint to enhance your presentation. It covers multiple transition effects like book opening, zoom, and more, guiding you through the step-by-step process of applying these effects to individual slides or all slides at once. The video also explores how to adjust duration and direction settings for transitions. It emphasizes the flexibility and creativity available when customizing PowerPoint slides. Finally, the video encourages viewers to subscribe to the YouTube channel 'anavalera' for more tutorials and invites them to leave comments for any further guidance needed.
Takeaways
- 📖 PowerPoint has numerous transition effects available for slides.
- ✨ Transitions add visual effects when moving from one slide to another, enhancing presentations.
- 📚 The 'book opening' effect is one of the transitions demonstrated in the tutorial.
- 🖱️ Users can select specific slides and apply transitions individually or apply them to all slides at once using 'apply to all'.
- ⏳ Transition durations and directions (e.g., opening from the left or right) can be customized.
- 🎬 The 'morph' transition can make slides appear as though they are moving smoothly across the screen.
- 📉 The tutorial explains how to remove transitions from slides as well, reverting to basic slide changes.
- 🔍 The 'zoom' effect mimics Prezi-style presentations with zooming in and out transitions.
- 🐦 Other creative transitions like 'falling' or 'bird-like' effects can be applied depending on the theme of the presentation.
- 🎥 Upcoming tutorials will focus on adding animations to slides, and users are encouraged to subscribe for more content.
Q & A
What is the main focus of the tutorial in the video?
-The tutorial focuses on teaching viewers how to add transitions to slides in PowerPoint, explaining various transition effects and how to apply them.
What is a transition in PowerPoint according to the video?
-A transition is an effect that occurs when moving from one slide to another in PowerPoint, giving the presentation a dynamic look.
How do you apply a transition to all slides at once?
-To apply a transition to all slides, you select the first slide, go to the 'Transitions' tab, choose the desired transition effect, and then click 'Apply to All' to ensure the effect is applied to all slides.
What happens if no transition is applied to the slides?
-If no transition is applied, the slides simply change without any visual effects, giving a plain transition between slides.
What transition effect is recommended for a theme related to books?
-The video recommends using the 'book opening' effect for a theme related to books, as it visually resembles the opening of a book.
What are some other transition effects mentioned in the tutorial?
-Other transition effects mentioned include 'airplane,' 'handycam,' 'zoom in,' 'zoom out,' and 'crazy,' among others.
What is the significance of the star icon mentioned in the tutorial?
-The star icon in PowerPoint indicates that a transition effect has been applied to a slide. If there is no star, it means no transition has been applied.
Can you customize the direction of a transition effect? If so, how?
-Yes, you can customize the direction of certain transitions, such as choosing whether the transition effect opens from the left, right, or other directions.
What does the 'duration' option control in the transition settings?
-The 'duration' option controls how long the transition effect lasts between slides, allowing you to make the effect slower or faster.
What type of transition effect is used to mimic a zoom effect, similar to Prezi?
-The 'zoom in' and 'zoom out' transitions are used to mimic a zoom effect, similar to what is seen in Prezi presentations.
Outlines

This section is available to paid users only. Please upgrade to access this part.
Upgrade NowMindmap

This section is available to paid users only. Please upgrade to access this part.
Upgrade NowKeywords

This section is available to paid users only. Please upgrade to access this part.
Upgrade NowHighlights

This section is available to paid users only. Please upgrade to access this part.
Upgrade NowTranscripts

This section is available to paid users only. Please upgrade to access this part.
Upgrade NowBrowse More Related Video

15 Menit Menguasai DASAR POWERPOINT
MENGENAL FITUR FITUR MICROSOFT POWER POINT DAN FUNGSI FUNGSINYA (TUGAS KEL PENG APLIKASI KOMPUTER)

Cara membuat hyperlink di Power Point - Belajar power point untuk pemula
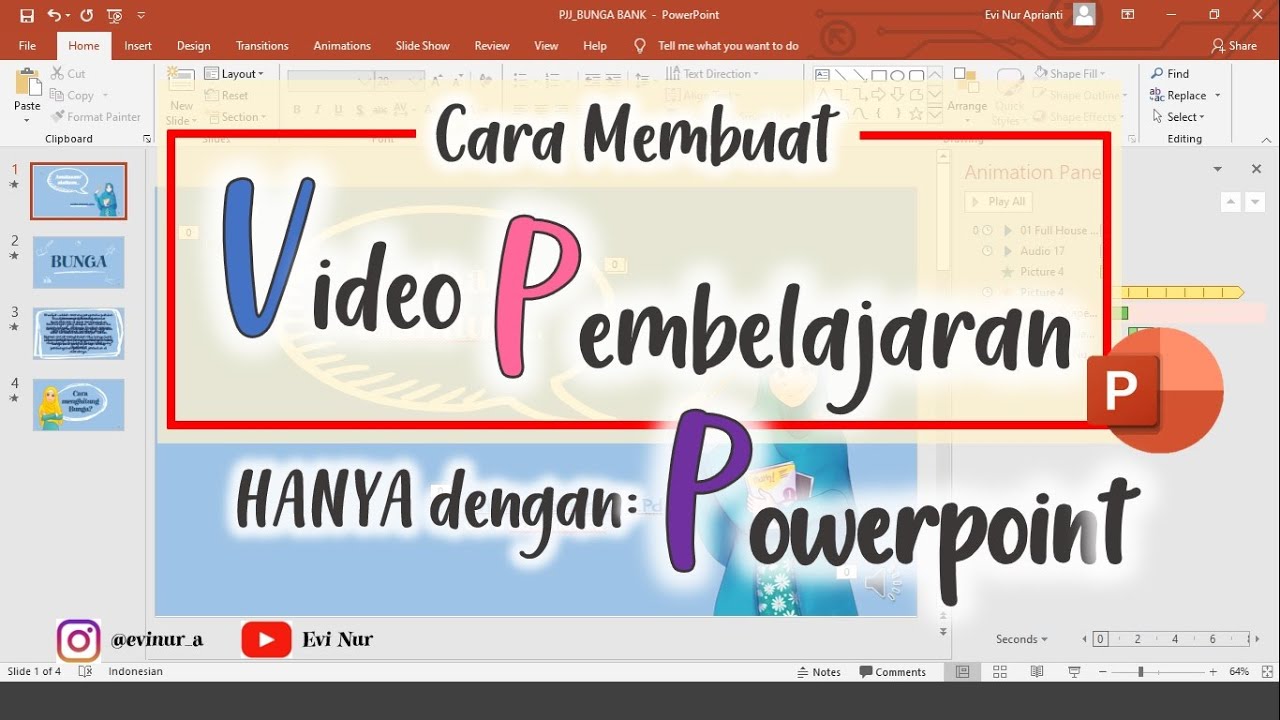
CARA MEMBUAT VIDEO PEMBELAJARAN DENGAN POWERPOINT || BELAJAR POWERPOINT
PowerPoint 2010 Tutorial for Beginners #1 Overview (Microsoft PowerPoint)

How to make a good PowerPoint slide - Easy Tutorial
5.0 / 5 (0 votes)