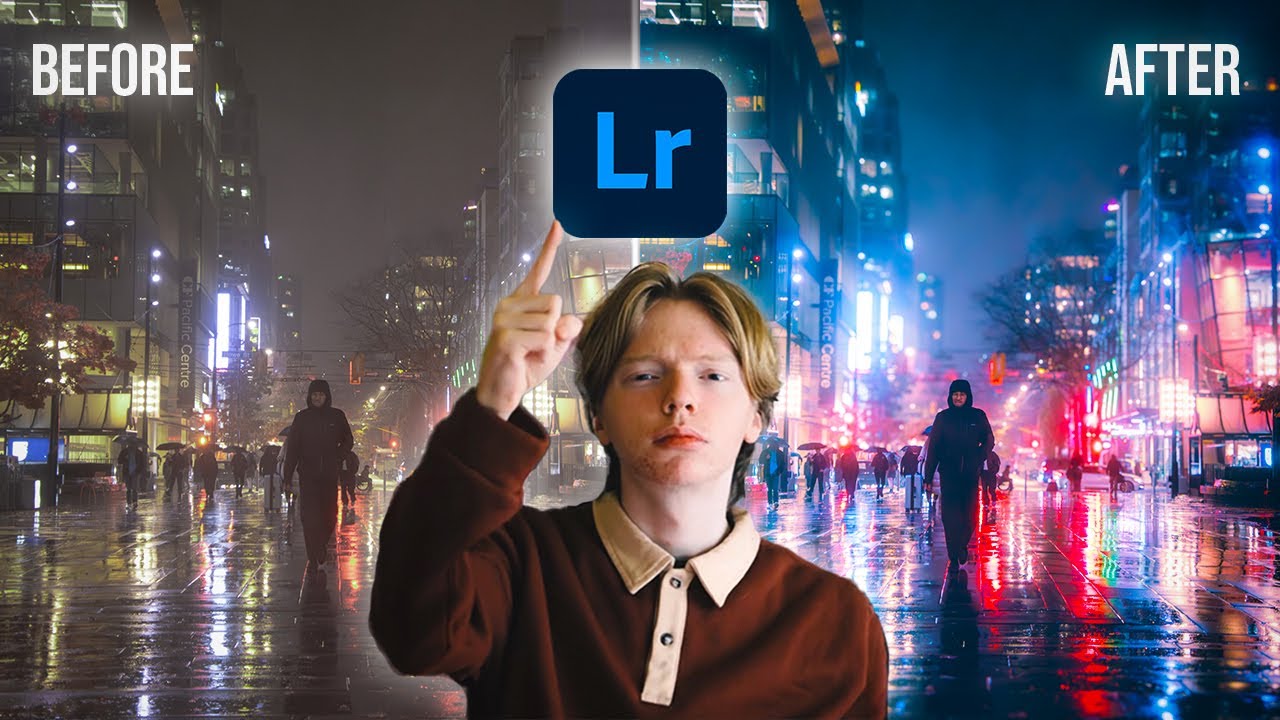
Color Grading in Lightroom like a PRO Colorist.
Summary
TLDRIn this tutorial, Denver Riddle, a professional colorist, demonstrates how to achieve cinematic color grading in Lightroom Classic. He outlines the importance of understanding key elements like hue, saturation, and luma, and emphasizes a two-stage workflow: color correction and creative color grading. Techniques like using the Tone Curve, RGB color wheels, and masks are explored to create a stunning visual look. Riddle also shares tips on achieving a cinematic style with subtle vignettes, film grain, and popular color schemes like teal and orange. The tutorial offers practical advice for beginners and advanced users alike, enhancing workflow and efficiency.
Takeaways
- 😀 Learn how to create a cinematic look for photos using color grading in Lightroom Classic.
- 🎨 Understand the three main terms in color theory: Hue (color), Saturation (intensity), and Luma (brightness).
- 📊 Use the Histogram scope to analyze the image's luma and chroma for proper exposure adjustments.
- ⚙️ Master base color correction by adjusting exposure, white balance, and presence to fine-tune the image.
- 🖼️ The Tone Curve is essential for creating contrast and adding a cinematic ‘S curve’ to the image.
- 🎨 Color Wheels are used to adjust the shadows, midtones, and highlights with specific hues like teal and orange for a cinematic style.
- 🎨 The HSL Panel allows you to refine the hue, saturation, and luminance of individual colors for more precision.
- 🔍 Use masking tools for selective adjustments to areas such as skin tones or backgrounds.
- 🎥 A plugin (Photog Grade) can enhance your workflow with additional scopes, LUT support, and real-time previews of color grades.
- ⚡ Increase efficiency with presets for quick grading and batch processing to apply the same style to multiple images.
Q & A
What is the first step in achieving a cinematic look for your images?
-The first step is color correction, which includes adjusting the exposure, white balance, and saturation to ensure your image has a natural, accurate base before applying creative color grading.
Why is exposure important in color correction?
-Exposure ensures that the image has the right balance of light, making sure the shadows and highlights are properly represented, which is essential for both natural and cinematic looks.
How does the tone curve contribute to the cinematic look?
-The tone curve is used to create contrast by applying an 'S-curve' shape. This adjustment enhances the shadows and highlights, giving the image more depth and a cinematic feel.
What is the purpose of the HSL panel in color grading?
-The HSL panel allows you to adjust specific color ranges in the image (Hue, Saturation, and Luminance). This enables you to selectively enhance or modify colors, such as making greens darker or adjusting skin tones.
How can the color grading panel help in achieving a cinematic look?
-The color grading panel lets you manipulate the color balance in shadows, midtones, and highlights using color wheels. This gives you control over the mood of the image, allowing you to introduce warmer or cooler tones as needed.
What is the role of masking in color grading?
-Masking helps you apply adjustments to specific areas of an image, such as brightening up shadows or enhancing skin tones, allowing for targeted edits that enhance the overall cinematic effect.
How does Lightroom's AI-powered masking feature improve color grading?
-Lightroom’s AI-powered masking automates the selection process, making it easier to apply adjustments to specific parts of an image, such as faces or the sky, without having to manually draw masks.
What is the Photog Grade plugin and how does it assist in color grading?
-The Photog Grade plugin provides advanced tools like LUTs, false color exposure monitoring, and real-time previews. It streamlines the color grading process and helps you achieve a more polished, cinematic look with minimal effort.
What are LUTs and how do they enhance the color grading process?
-LUTs (Look-Up Tables) are presets that map specific color adjustments to an image. Applying a LUT can quickly create a consistent, cinematic look by modifying the image’s colors in a uniform way.
Why should you save your color grading settings as a preset?
-Saving your color grading settings as a preset allows you to apply the same look to multiple images quickly, ensuring consistency across your work and saving time in future edits.
Outlines

このセクションは有料ユーザー限定です。 アクセスするには、アップグレードをお願いします。
今すぐアップグレードMindmap

このセクションは有料ユーザー限定です。 アクセスするには、アップグレードをお願いします。
今すぐアップグレードKeywords

このセクションは有料ユーザー限定です。 アクセスするには、アップグレードをお願いします。
今すぐアップグレードHighlights

このセクションは有料ユーザー限定です。 アクセスするには、アップグレードをお願いします。
今すぐアップグレードTranscripts

このセクションは有料ユーザー限定です。 アクセスするには、アップグレードをお願いします。
今すぐアップグレード関連動画をさらに表示

Adobe Lightroom Full Tutorial for Beginners 2024 | Under 20 MINUTES!

COLOR GRADE in Lightroom Like a PRO // Cinematic Color Grading

This is How I Color Grade my Videos.

Make Your Videos LOOK CINEMATIC in Premiere Pro (6 Easy Steps)

Pro Colorist Explains: Hue vs Hue Curves in Resolve

These LIGHTROOM SETTINGS will make Your Photos POP!
5.0 / 5 (0 votes)
