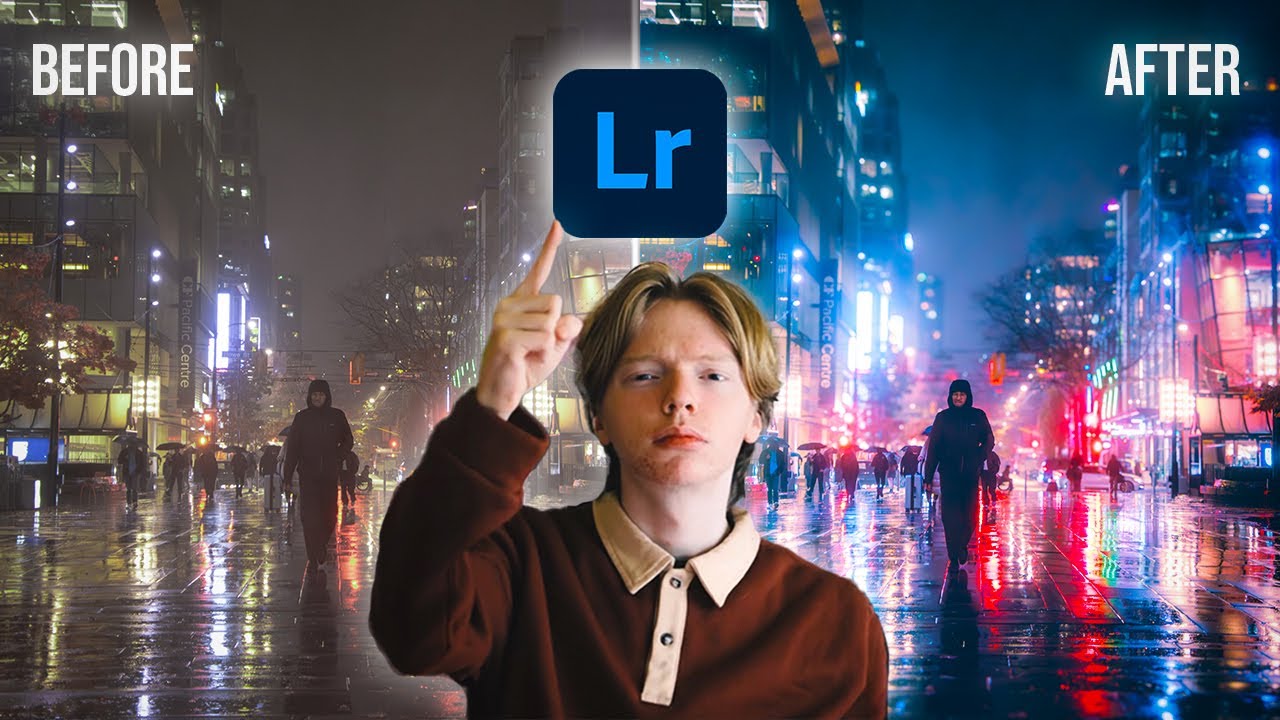
COLOR GRADE in Lightroom Like a PRO // Cinematic Color Grading
Summary
TLDRIn this tutorial, the creator explores three different ways to use color grading in Lightroom to enhance photos. The video covers the use of the color grading panel, explaining the control over shadows, mid-tones, and highlights, as well as advanced features like blending, balance, and global color tint. The tutorial introduces three editing strategies: a themed approach using reference photos, split toning with complementary colors, and enhancing existing colors in the image. The video provides tips on creating unique aesthetics, achieving a cinematic look, and matching specific photo themes, making color grading more accessible for users.
Takeaways
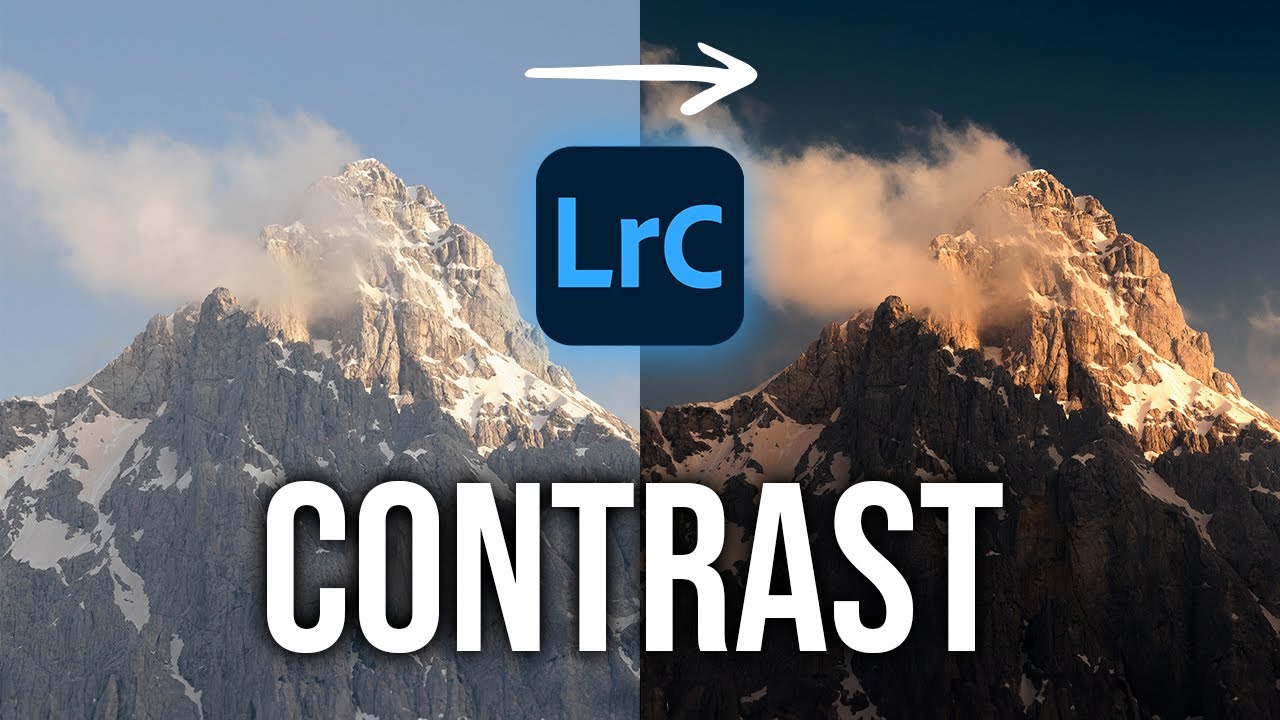
- 😀 Color grading in Lightroom involves adjusting the hues, saturation, and brightness of shadows, mid-tones, and highlights to enhance images.
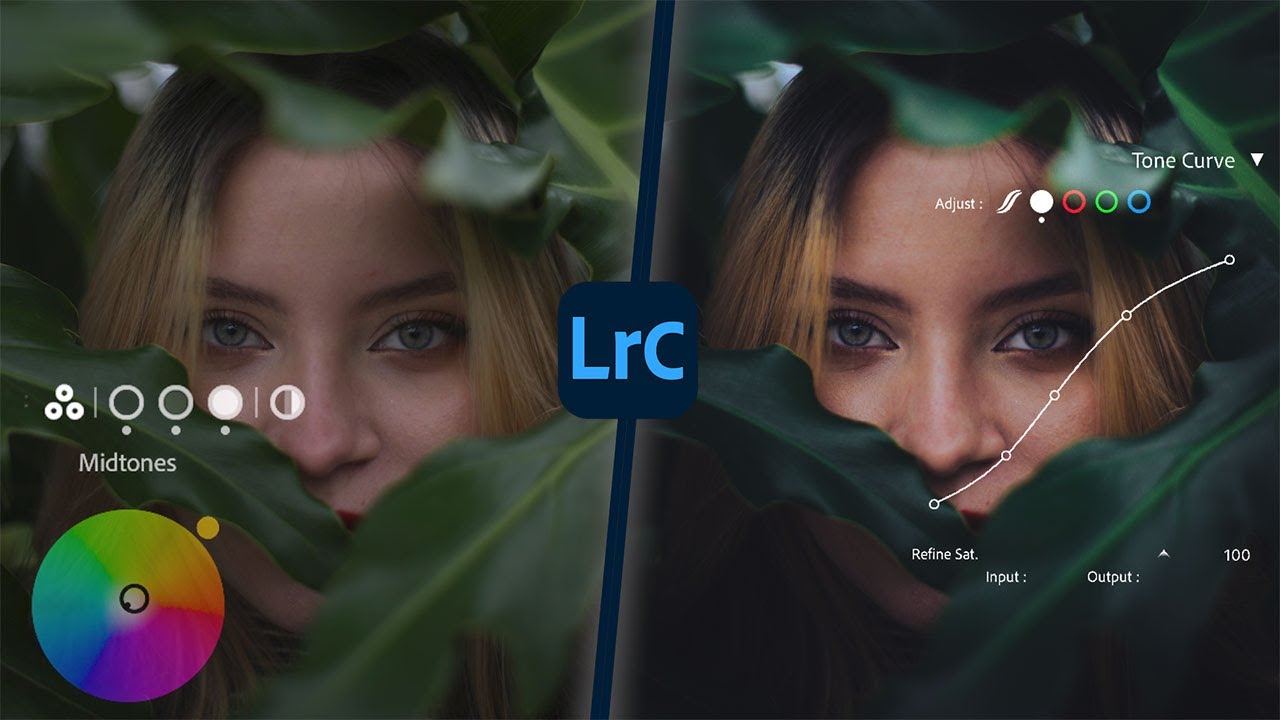
- 😀 The color grading panel in Lightroom has three main color wheels for Shadows, Mid-tones, and Highlights, each with controls for hue, saturation, and brightness.
- 😀 You can only add color to gray areas, not pure black or pure white. For example, you can make shadows more yellow, but only after lightening them.
- 😀 The 'Blending' slider controls the smoothness of the gradient between colors. A higher value makes the transition smoother.
- 😀 The 'Balance' slider lets you shift the dominance between shadows, mid-tones, and highlights in your image.
- 😀 Lightroom also has a 'Global Tint' control for adjusting the overall warmth or coolness of the image without affecting individual areas.
- 😀 Expanding the color wheels to show sliders provides more precise control over hues, saturation, and luminance of individual colors.
- 😀 Color grading is best applied after other adjustments like HSL (Hue, Saturation, and Luminance) to fine-tune and stylize your image.
- 😀 Themed color grading is a strategy where you reference movies, TV shows, or photos to replicate a specific look or feel, like the mood from a show like 'Seal Team'.
- 😀 Split toning (now integrated within color grading) allows you to add complementary colors to shadows and highlights for a filmic or vintage effect.
- 😀 The 'Color Grading Enhance' method focuses on boosting or complementing existing colors in the photo to create a stronger visual impact, such as enhancing greens by adjusting surrounding colors.
Q & A
What is color grading in Lightroom and why is it useful?
-Color grading in Lightroom is a technique used to adjust the color and tonal balance of an image. It's useful for enhancing mood, adding style, and correcting colors in specific tonal ranges like shadows, mid-tones, and highlights.
What are the three main color wheels in the Lightroom color grading panel?
-The three main color wheels represent the shadows (dark portions), mid-tones (grays), and highlights (bright portions) of an image.
Can you add color to pure black or pure white areas of an image in Lightroom?
-No, you cannot add color to pure black or pure white areas. To add color to these areas, you must adjust the brightness to make them gray, allowing color to be applied.
What do the 'blending' and 'balance' sliders do in the color grading panel?
-'Blending' controls the smoothness of the color transition between tonal ranges, with more blending creating a smoother gradient. 'Balance' shifts the dominance of the shadows, mid-tones, or highlights in the overall image.
What is the global tint setting and how is it different from the color balance sliders?
-The global tint setting applies a universal color shift to the entire image, allowing you to make the image warmer or cooler. Unlike the color balance sliders, which affect specific tonal ranges, the global tint affects the whole image uniformly.
How does color grading differ from the HSL panel in Lightroom?
-Color grading is applied to specific tonal ranges (shadows, mid-tones, highlights) to create mood and style, while the HSL panel adjusts the saturation, hue, and luminance of colors that already exist in the image.
Why should color grading be done after other corrections in Lightroom?
-Color grading should be applied after other corrections because it adds stylization on top of the image. If applied too early, it may interfere with other adjustments like exposure or contrast.
What is the 'themed approach' to color grading?
-The themed approach involves using a reference image, like a scene from a TV show or movie, to guide your color grading choices. You aim to replicate the look and feel of the reference photo by adjusting the color balance in shadows, mid-tones, and highlights.
What is split toning, and how is it related to the color grading panel?
-Split toning is a technique where two complementary colors are applied to the shadows and highlights. In the current color grading panel, split toning is integrated into the color wheels, allowing you to adjust the colors for shadows and highlights separately.
How can you enhance existing colors in an image using color grading?
-To enhance existing colors, you can adjust the tonal ranges (shadows, mid-tones, highlights) to complement or boost the colors already present in the image. For example, adding blue to shadows and yellow to mid-tones can make green tones stand out more.
Outlines

This section is available to paid users only. Please upgrade to access this part.
Upgrade NowMindmap

This section is available to paid users only. Please upgrade to access this part.
Upgrade NowKeywords

This section is available to paid users only. Please upgrade to access this part.
Upgrade NowHighlights

This section is available to paid users only. Please upgrade to access this part.
Upgrade NowTranscripts

This section is available to paid users only. Please upgrade to access this part.
Upgrade NowBrowse More Related Video
Adobe Lightroom Full Tutorial for Beginners 2024 | Under 20 MINUTES!
Color Grading in Lightroom like a PRO Colorist.
These LIGHTROOM SETTINGS will make Your Photos POP!

How To Color Grade and Make Photos Pop In Photoshop
How to use Color Theory | Graphic Design Basic
Make ANY Camera Look 10x More HD with EDITING! | Adobe Premiere HDR Enhancement Tutorial
5.0 / 5 (0 votes)