MIT APP INVENTOR KALKULATOR
Summary
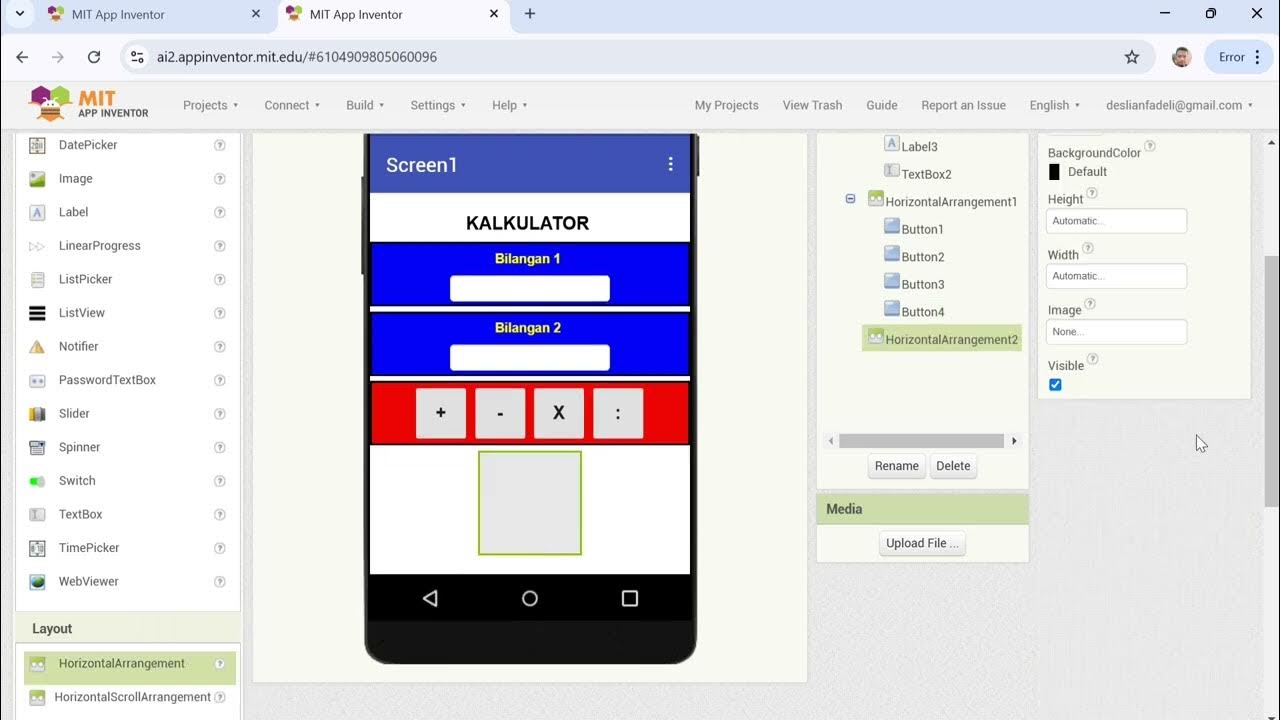
TLDRIn this tutorial, the speaker demonstrates how to create a simple calculator app using MIT App Inventor. The process starts with setting up the project layout, customizing buttons for addition, subtraction, multiplication, and division, and adding text fields to input numbers. Labels are used to display results, and the user interface is carefully adjusted to ensure a seamless experience. The tutorial includes practical tips, such as adjusting text sizes and organizing elements, all aimed at helping viewers build their own functional calculator app.
Takeaways
- 😀 The tutorial is about creating a calculator app using MIT App Inventor.
- 😀 The project is named freely as 'calculator-take', with no spaces or special characters.
- 😀 The interface layout is set to horizontal, and some elements are centered and customized.
- 😀 The app includes four buttons: multiplication, division, addition, and subtraction.
- 😀 The user interface also has labels for displaying results and instructions for input.
- 😀 Two text boxes are added for inputting two numbers to perform calculations.
- 😀 The labels provide clear instructions for the first and second numbers, along with the result.
- 😀 The app's main functions include text input, labels for results, and buttons for operations.
- 😀 Each mathematical operation (multiply, divide, add, subtract) is tied to a specific button.
- 😀 The user interface and functionality are customized to suit different screen sizes, ensuring compatibility across devices.
Q & A
What is the purpose of the video tutorial?
-The purpose of the video is to teach how to create a simple calculator app using MIT App Inventor.
What is the first step in building the calculator app?
-The first step is to create a new project in MIT App Inventor and give it a name, such as 'calculator'. It's important not to use special characters in the project name.
How should the layout of the app be set up?
-The layout should be set to 'Horizontal' for the main interface, and a 'Vertical Scroll' layout can be added for custom adjustments. The app is also designed to be fullscreen.
Why is the 'Label' component used in the app?
-The 'Label' component is used to display text, such as the instructions or results. It is also used to display the names of the operation buttons and to show the result after calculations.
What operation buttons are added to the app?
-The app includes four operation buttons: multiplication, division, addition, and subtraction. These buttons will trigger their respective operations when pressed.
How are the input fields for numbers set up?
-Two text boxes are added to input the numbers that will be used in the calculation. One text box is for the first number and the other for the second number.
What happens when the user presses one of the operation buttons?
-When a user presses one of the operation buttons, the app performs the corresponding calculation based on the numbers entered in the text boxes, such as multiplication or addition.
What is the function of the 'Textbox' components?
-The 'Textbox' components are used to input the numbers for the calculations. They are later used to extract values for the operation buttons to perform arithmetic operations.
Why is the text size of certain components adjusted?
-The text size of certain components like labels is adjusted to make the text more visible and readable for users, ensuring a better user experience.
How is the result of the calculation displayed?
-The result of the calculation is displayed in a label that updates dynamically based on the operation selected and the numbers entered by the user.
Outlines

Cette section est réservée aux utilisateurs payants. Améliorez votre compte pour accéder à cette section.
Améliorer maintenantMindmap

Cette section est réservée aux utilisateurs payants. Améliorez votre compte pour accéder à cette section.
Améliorer maintenantKeywords

Cette section est réservée aux utilisateurs payants. Améliorez votre compte pour accéder à cette section.
Améliorer maintenantHighlights

Cette section est réservée aux utilisateurs payants. Améliorez votre compte pour accéder à cette section.
Améliorer maintenantTranscripts

Cette section est réservée aux utilisateurs payants. Améliorez votre compte pour accéder à cette section.
Améliorer maintenantVoir Plus de Vidéos Connexes
Cara Membuat Kalkulator Sederhana dengan MIT APP INVENTOR
How to make a calculator in MIT App Inventor 2
Cara membuat aplikasi sederhana di MIT App Inventor
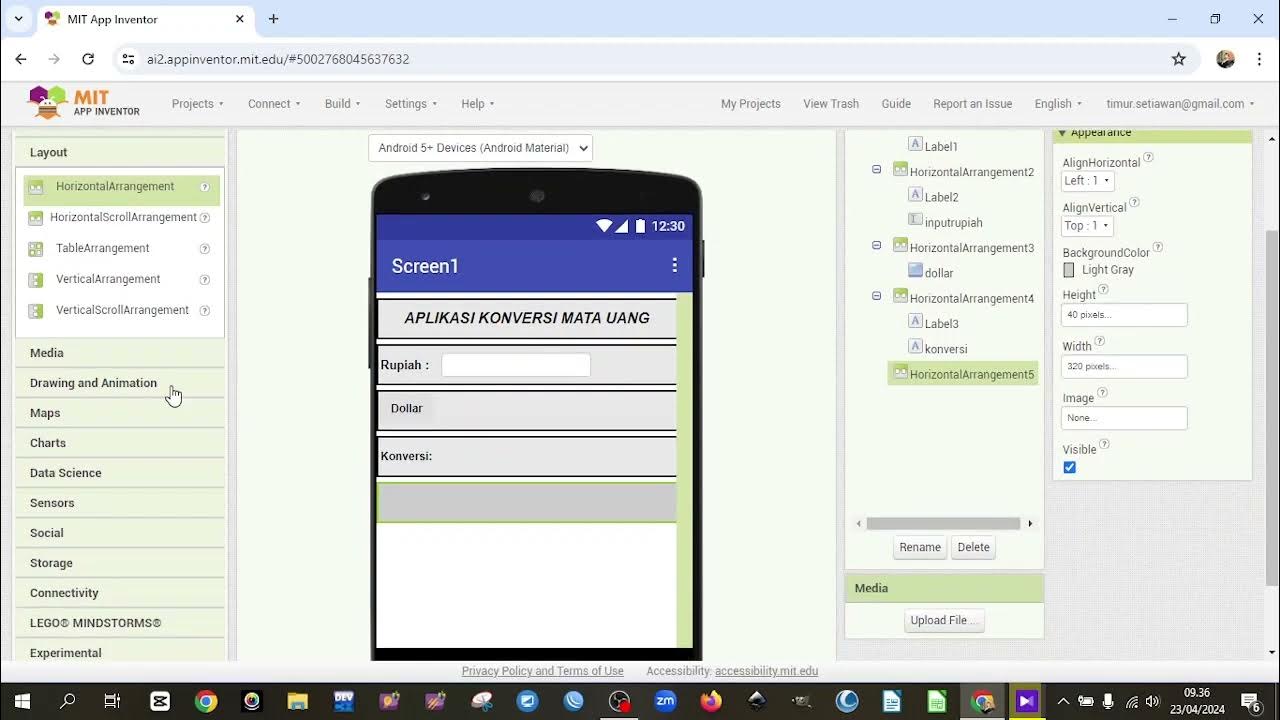
2. TUTORIAL MEMBUAT APLIKASI KONVERSI MATA UANG DENGAN MIT APP INVENTOR

Create Emotion Recognition Mobile App || MIT App Inventor || Personal Image Classifier Extension[AI]

TUTORIAL MEMBUAT GAME MEWARNAI/APK,Di Mit App Inventor
5.0 / 5 (0 votes)
