Cara Membuat Kalkulator Sederhana dengan MIT APP INVENTOR
Summary
TLDRThis tutorial demonstrates how to create a simple calculator app using MIT App Inventor. The guide covers all the essential steps, from setting up the project and designing the user interface to adding functional buttons for basic operations (addition, subtraction, multiplication, and division). Users are shown how to implement the logic behind the app and reset functionality. The final part includes testing the app on an emulator and building an APK for installation on Android devices. The tutorial is perfect for beginners looking to learn the basics of app development through a hands-on project.
Takeaways
- 😀 Log in to MIT App Inventor using your Google account to start creating your project.
- 😀 Create a new project and name it 'Kalkulator' to begin designing your simple calculator app.
- 😀 Begin the design process by adding a Label for the title of your app, setting the text to 'Kalkulator', and adjusting the font size and style.
- 😀 Use Vertical Arrangement to organize the layout for input fields and buttons to ensure a neat design.
- 😀 Add two textboxes for user inputs (Bilangan 1 and Bilangan 2) and customize their appearance (e.g., background color, text size).
- 😀 Add buttons for operations (plus, minus, multiply, divide) and customize their appearance (background color, font size).
- 😀 Add a Textbox to display the result (Hasil) and another button for resetting the calculator's inputs and result.
- 😀 Rename all elements (buttons, textboxes, labels) to make them easier to reference in the coding phase.
- 😀 Code the logic for the operations: when a button is clicked, perform the respective mathematical operation (addition, subtraction, multiplication, division).
- 😀 Implement a reset function that clears the inputs and result when clicked, ensuring the calculator is ready for new inputs.
- 😀 Test your app by either using an Android emulator or installing the APK on your phone, ensuring all functionalities work as expected.
Q & A
What is the main focus of the tutorial in the video?
-The main focus of the tutorial is to guide viewers on how to create a simple calculator app using MIT App Inventor.
What is the first step when starting a new project in MIT App Inventor?
-The first step is to log in to MIT App Inventor and create a new project by clicking 'Start New Project' and naming it, for example, 'Kalkulator'.
How do you set up the design for the calculator app's title?
-To set up the title, drag a 'Label' to the screen, change the text to 'Kalkulator', and adjust the font to bold and increase its size.
What type of arrangement is used for the input fields in the design?
-A 'Vertical Arrangement' is used to place the input fields for the first and second numbers ('Bilangan 1' and 'Bilangan 2').
What customization options are mentioned for the labels and text boxes?
-The labels and text boxes are customized by changing the font size, background color, and text color to make them more visually clear and appealing.
How do you create the buttons for the arithmetic operations?
-To create the operation buttons, a 'Horizontal Arrangement' is used, and buttons are added for each operation (addition, subtraction, multiplication, division) with appropriate labels like '+', '-', '*', and '/'.
What is the function of the 'Reset' button in the app?
-The 'Reset' button clears all the input fields and the result displayed on the screen, effectively resetting the calculator for a new operation.
How is the logic for performing arithmetic operations implemented?
-The logic is implemented using blocks in MIT App Inventor, where each operation (addition, subtraction, multiplication, division) is triggered when the respective button is clicked, and the result is displayed in the 'Hasil' label.
What happens after clicking the 'Reset' button in the app?
-When the 'Reset' button is clicked, all fields, including the text boxes for the input numbers and the result label, are cleared, preparing the app for a new calculation.
How is the app tested after coding the design and logic?
-After the design and logic are completed, the app is tested by building the APK file and either using an Android emulator or installing it on a physical Android device to verify its functionality.
Outlines

This section is available to paid users only. Please upgrade to access this part.
Upgrade NowMindmap

This section is available to paid users only. Please upgrade to access this part.
Upgrade NowKeywords

This section is available to paid users only. Please upgrade to access this part.
Upgrade NowHighlights

This section is available to paid users only. Please upgrade to access this part.
Upgrade NowTranscripts

This section is available to paid users only. Please upgrade to access this part.
Upgrade NowBrowse More Related Video
MIT APP INVENTOR KALKULATOR
How to make a calculator in MIT App Inventor 2
Cara membuat aplikasi sederhana di MIT App Inventor
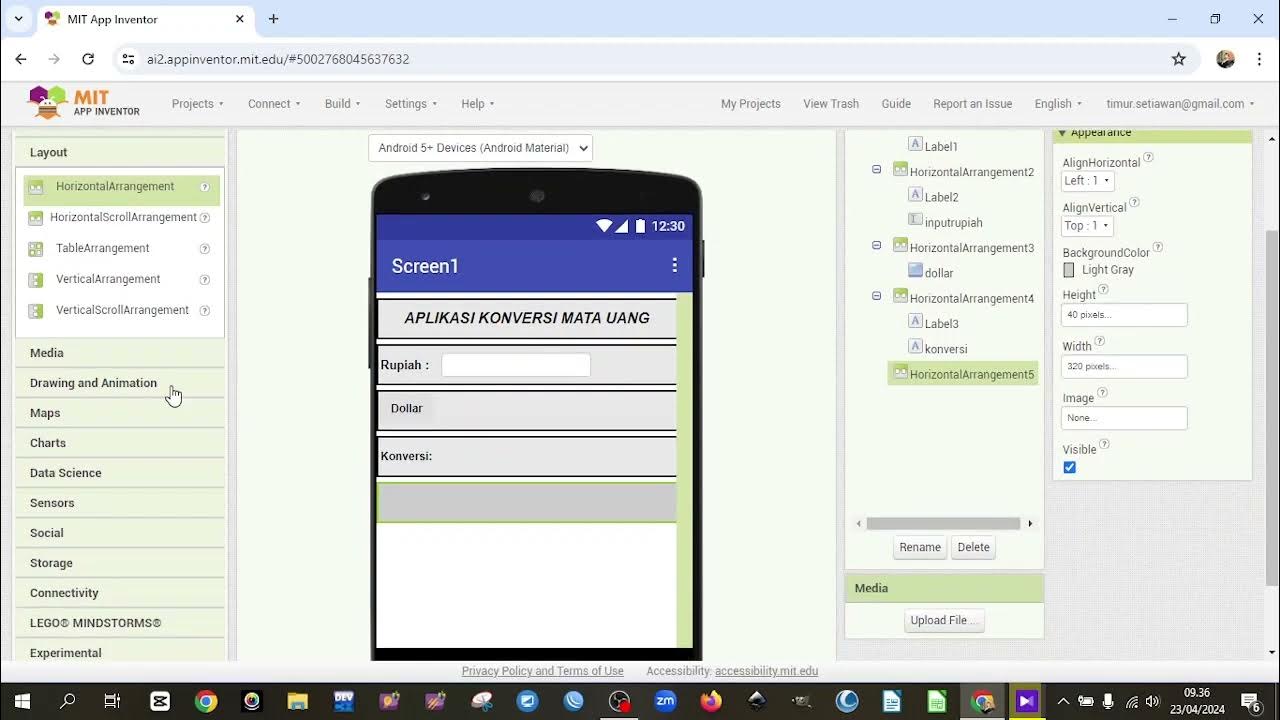
2. TUTORIAL MEMBUAT APLIKASI KONVERSI MATA UANG DENGAN MIT APP INVENTOR

Create Emotion Recognition Mobile App || MIT App Inventor || Personal Image Classifier Extension[AI]

TUTORIAL MEMBUAT GAME MEWARNAI/APK,Di Mit App Inventor
5.0 / 5 (0 votes)