How to make a calculator in MIT App Inventor 2
Summary
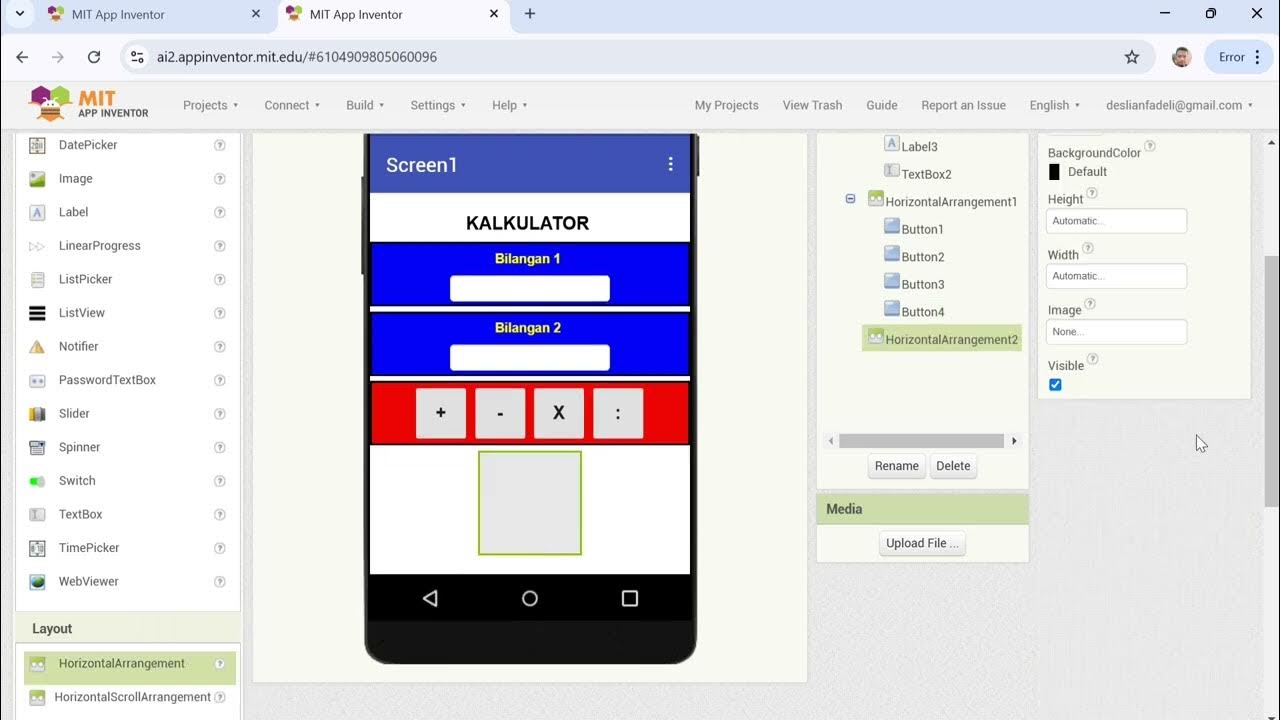
TLDRThis video provides a step-by-step guide to creating a basic calculator app using MIT App Inventor. The tutorial covers setting up the user interface, adding necessary components like buttons and text boxes, and implementing the logic for arithmetic operations such as addition, subtraction, multiplication, and division. The presenter also demonstrates the app's functionality on a mobile device, ensuring it works smoothly. With simple explanations and visual aids, this tutorial is perfect for beginners looking to learn MIT App Inventor and build their first functional app.
Takeaways
- 😀 Start a new project in MIT App Inventor and set up a **Table Layout** and **Vertical Arrangement** for the user interface.
- 😀 Use **Fill Parent** for the layout components to ensure they occupy the available screen space.
- 😀 Insert **Text Boxes** for user input and display of results, along with a **Label** for showing the result.
- 😀 Add four buttons for the basic arithmetic operations: **Add**, **Subtract**, **Multiply**, and **Divide**.
- 😀 Organize the buttons in a **Horizontal Arrangement** to align them properly and set their width to **Fill Parent**.
- 😀 Rename buttons to match their respective operations (e.g., **Add** for addition, **Subtract** for subtraction, etc.).
- 😀 Customize button font size to 24 for better visibility and readability.
- 😀 Define button click events using blocks to perform the corresponding arithmetic operations when clicked.
- 😀 Use math functions in the code blocks to perform operations like addition, subtraction, multiplication, and division.
- 😀 Test the app by inputting values and ensuring each operation button correctly computes the result and updates the display.
- 😀 Fine-tune the design, customize button sizes, colors, and labels, and ensure the app works as expected without errors.
Q & A
What is the first step in creating the calculator app in MIT App Inventor?
-The first step is to create a new project and set up a vertical arrangement layout in MIT App Inventor, which will house the components of the app.
How are the buttons arranged in the calculator app's layout?
-The buttons are arranged using a horizontal arrangement. This makes it easier to place the operation buttons (Add, Subtract, Multiply, Divide) in a row for the user to interact with.
Why is it important to rename the buttons in the app?
-Renaming the buttons according to their functions (e.g., 'plusButton', 'minusButton') helps keep the code organized and prevents confusion, especially when coding the button click events.
What is the purpose of the label in the app?
-The label is used to display the result of the calculations. It updates whenever the user performs an operation on the calculator.
How are the operations (add, subtract, multiply, divide) implemented in the app?
-Each operation is implemented by creating an event handler for the respective button. When the user clicks a button, the corresponding math operation is executed using the values entered in the input field.
What is the significance of using a text box in the app?
-The text box is used for input, allowing users to enter the numbers that will be used in the calculations. The value entered is then processed when the user clicks on the operation buttons.
What functionality is provided by the 'Add' button in the app?
-The 'Add' button triggers the addition operation by taking the value in the text box, adding it to the current result, and then updating the label to show the new total.
How does the app handle the user input for each operation?
-When the user enters a value and clicks one of the operation buttons (Add, Subtract, Multiply, or Divide), the corresponding operation is performed, and the result is displayed in the label.
What happens when the app is tested on a mobile device?
-When tested on a mobile device, the app allows the user to input a number, click an operation button, and see the result of the operation displayed on the screen. The app works for basic arithmetic operations like addition, subtraction, multiplication, and division.
Can the user design their own calculator layout in MIT App Inventor?
-Yes, the user can design their own calculator layout by customizing the arrangement and size of the buttons, input fields, and labels. The app's design can be tailored to the user's preferences.
Outlines

This section is available to paid users only. Please upgrade to access this part.
Upgrade NowMindmap

This section is available to paid users only. Please upgrade to access this part.
Upgrade NowKeywords

This section is available to paid users only. Please upgrade to access this part.
Upgrade NowHighlights

This section is available to paid users only. Please upgrade to access this part.
Upgrade NowTranscripts

This section is available to paid users only. Please upgrade to access this part.
Upgrade NowBrowse More Related Video

Tech Group part 2
Cara Membuat Kalkulator Sederhana dengan MIT APP INVENTOR
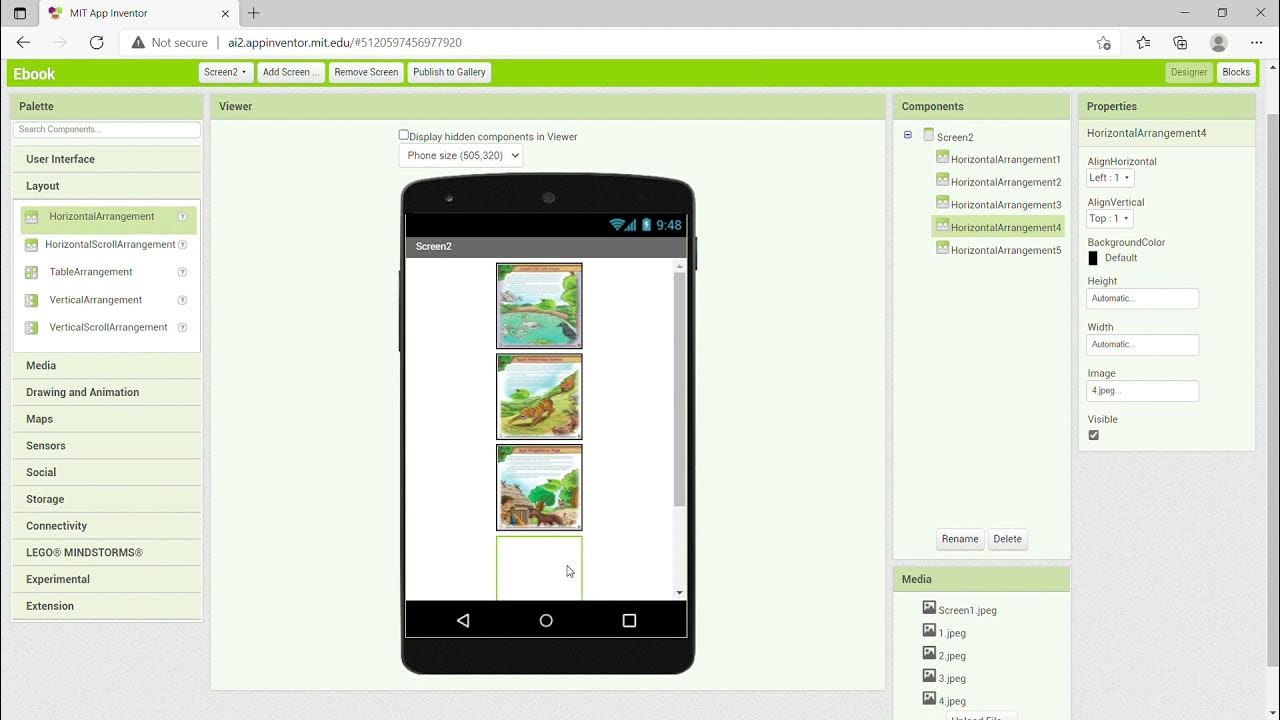
KKN UNY 2021 - Tutorial Membuat Aplikasi Ebook Menggunakan MIT App Inventor

Create a Classic Tetris Game using MIT App Inventor: Step-by-Step Tutorial for Beginners

Create Emotion Recognition Mobile App || MIT App Inventor || Personal Image Classifier Extension[AI]

Santa Run Game in MIT App Inventor (Full Tutorial) | MIT App Inventor game | App Inventor Santa game
5.0 / 5 (0 votes)