Cara setting Router Mikrotik agar komputer Client bisa terkoneksi internet dengan DHCP SERVER
Summary
TLDRThis tutorial offers a step-by-step guide on connecting a computer or laptop to the internet using a MikroTik router. It covers setting up the DHCP client on the first interface and configuring the second interface with a static IP address to act as a DHCP server. The video also demonstrates how to connect the internet cable to the router, use Winbox for configuration, and troubleshoot common connectivity issues, ensuring users can successfully access the internet.
Takeaways
- 😀 The tutorial provides a step-by-step guide on connecting a laptop to the internet using a MikroTik router.
- 🔌 It is necessary to have a MikroTik router, an internet connection via a LAN cable, and a computer to connect to the internet.
- 💻 The user should start by opening Winbox, an application for configuring MikroTik routers.
- 🔄 After connecting to the router via Winbox, the user needs to plug the internet cable into the router's ether1 interface.
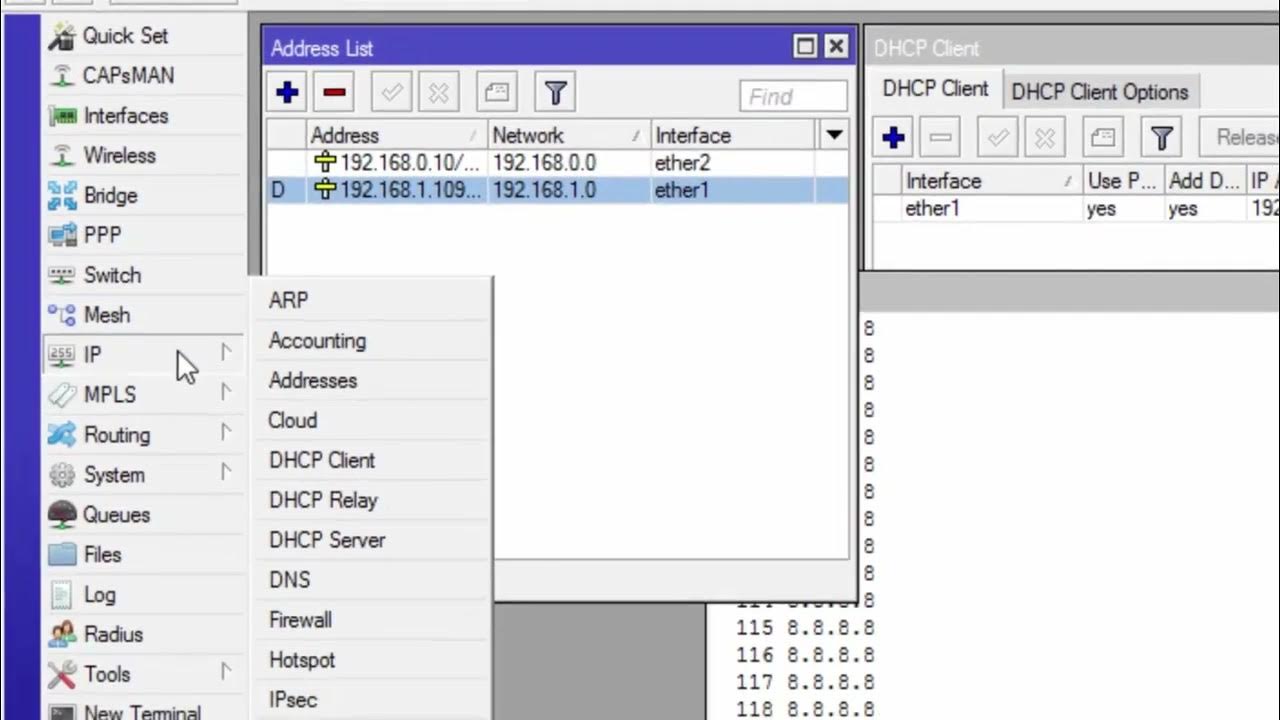
- 📝 The first step in the configuration is to set up a DHCP client on the ether1 interface to obtain an internet connection.
- 📍 The second step involves assigning a static IP address to the ether2 interface, which is 192.168.2.1/24.
- 🛠 The third step is to configure the ether2 interface as a DHCP server to automatically assign IP addresses to connected devices.
- 🔄 After setting up the DHCP server, the user should connect their laptop or computer to the ether2 interface to access the internet.
- 🔍 If the connection to the internet fails, the user is advised to check the IP settings and ensure that the DHCP server is running correctly.
- 🔄 The user may need to disconnect and reconnect the LAN cable to the laptop or computer if the initial connection attempt fails.
- 📊 The tutorial also suggests checking the IP address, subnet mask, gateway, and other settings if the internet connection is not established.
Q & A
What is the main topic of the tutorial?
-The main topic of the tutorial is how to connect a computer or laptop to the internet using a MikroTik router.
What are the three essential components mentioned for setting up the internet connection?
-The three essential components are a MikroTik router, an internet connection via an Ethernet cable, and a computer to be connected to the internet.
What application is used to configure the MikroTik router?
-Winbox is the application used to configure the MikroTik router.
How does the user connect the internet cable to the router?
-The user connects the internet cable to the router's interface number one, which is set up as a DHCP client.
What IP address is assigned to the interface number two in the tutorial?
-The IP address assigned to interface number two is 192.168.2.1 with a subnet mask of 255.255.255.0.
What role does interface number two play in the setup?
-Interface number two is configured as a DHCP server to automatically assign IP addresses to connected devices.
What is the purpose of setting up a DHCP server on the router?
-The purpose of setting up a DHCP server is to enable automatic IP address assignment to computers or laptops connected to the router, simplifying the network configuration process.
What is the term used for the process that allows devices to share a single IP address to access the internet?
-The term used for this process is 'Masquerade' or 'Masquerading'.
What troubleshooting steps are suggested if the internet connection is not working?
-The suggested troubleshooting steps include disconnecting and reconnecting the Ethernet cable and checking the IP settings to ensure they are correctly configured.
How can one check the IP settings on a computer?
-One can check the IP settings by going to the Ethernet adapter properties, then selecting Internet Protocol Version 4 and viewing the details.
What is the final step to verify if the computer is successfully connected to the internet?
-The final step is to open a web browser and try accessing websites such as Google and YouTube to confirm the internet connection is working.
Outlines

This section is available to paid users only. Please upgrade to access this part.
Upgrade NowMindmap

This section is available to paid users only. Please upgrade to access this part.
Upgrade NowKeywords

This section is available to paid users only. Please upgrade to access this part.
Upgrade NowHighlights

This section is available to paid users only. Please upgrade to access this part.
Upgrade NowTranscripts

This section is available to paid users only. Please upgrade to access this part.
Upgrade NowBrowse More Related Video
CARA KONFIGURASI MIKROTIK AWAL KONEKSI INTERNET otomatis
Tutorial konfigurasi mikrotik menggunakan winbox
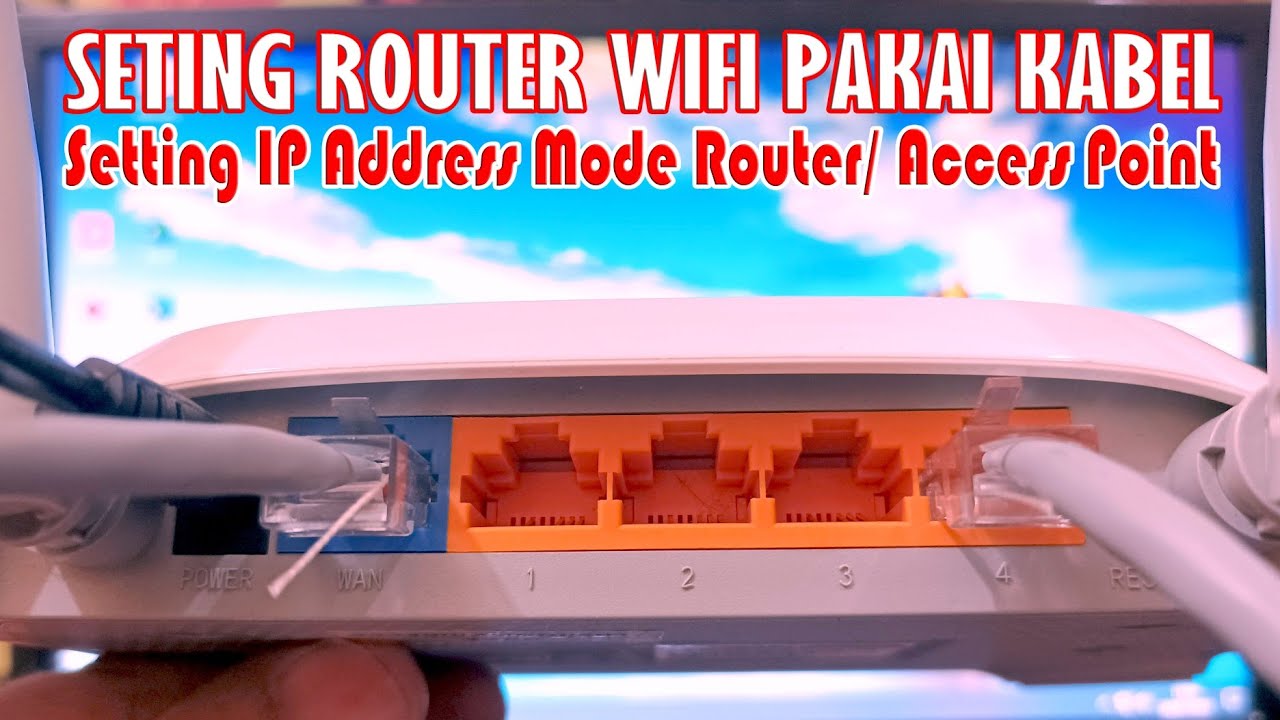
Cara Seting Router WiFi Pakai Kabel LAN || Seting IP Address Router WIFI
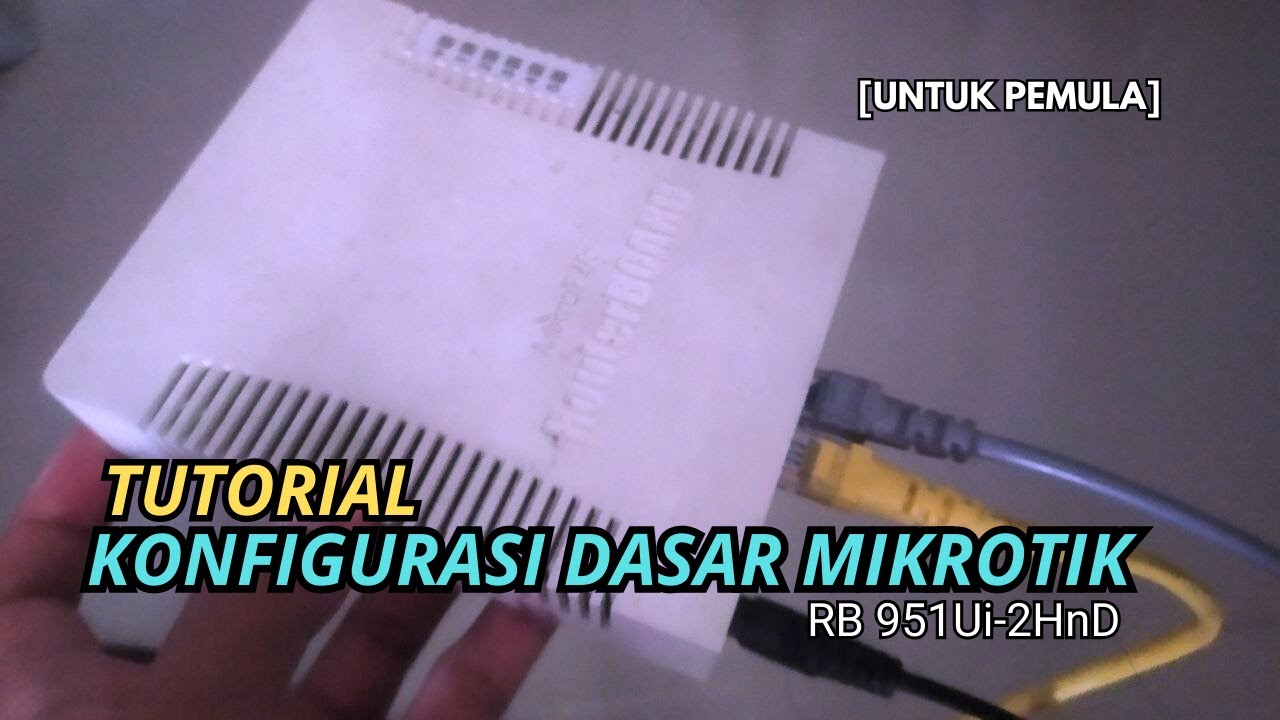
KONFIGURASI DASAR MIKROTIK (UNTUK PEMULA)
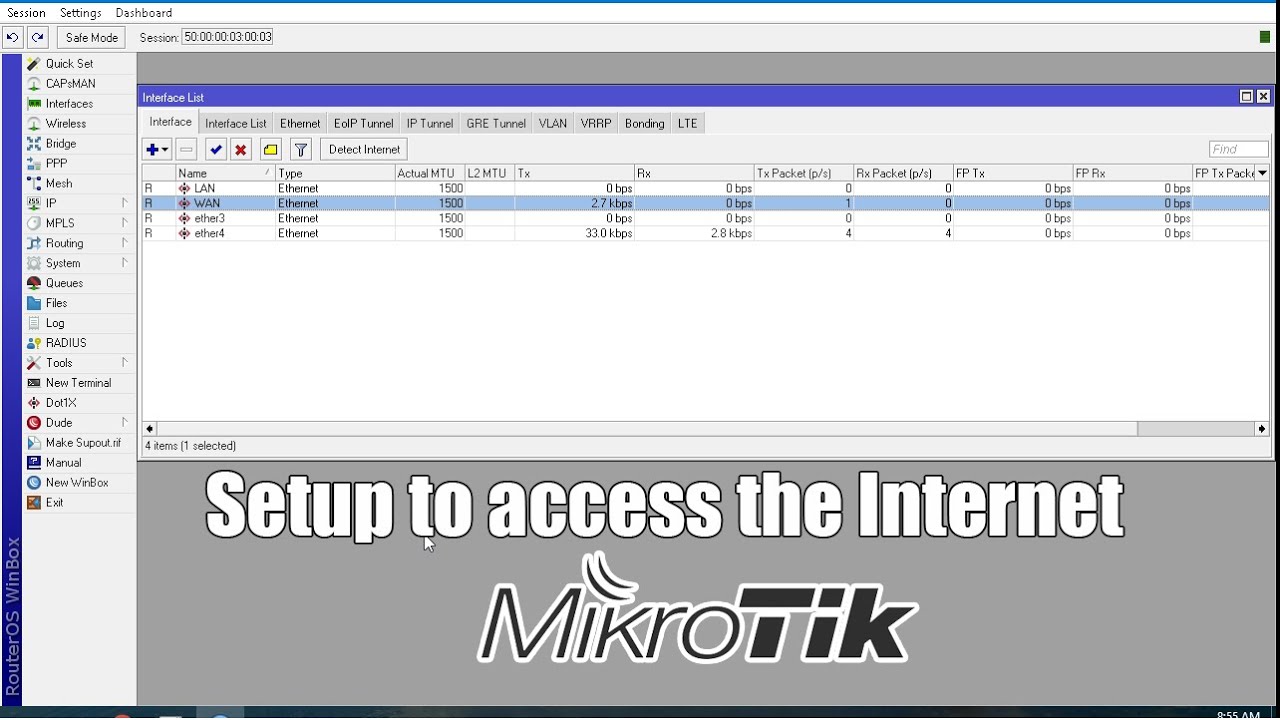
How to setup Mikrotik to access the Internet

Koneksi Jaringan Lan Ke Internet Melalui Mikrotik Rb941 2Nd
5.0 / 5 (0 votes)