Tutorial konfigurasi mikrotik menggunakan winbox
Summary
TLDRThis tutorial demonstrates how to configure a MikroTik router for internet connectivity. It covers essential steps such as connecting UTP cables, setting up the router's IP addresses for both internet and local networks, configuring NAT for internet sharing, and setting up DNS and DHCP for automatic IP assignment. The tutorial also includes guidance on verifying the connection to ensure proper internet access. Aimed at users looking to set up MikroTik routers for home or small office networks, this guide provides a straightforward, step-by-step approach to achieving a fully functional network.
Takeaways
- 😀 First, connect the UTP cable to the appropriate ports on the MikroTik router (Internet port to ether1, and local network to ether2).
- 😀 Plug in the power cable to the MikroTik router to power it up.
- 😀 Open the Winbox application on your computer and connect to the router by selecting the router's IP address from the 'Neighbors' tab.
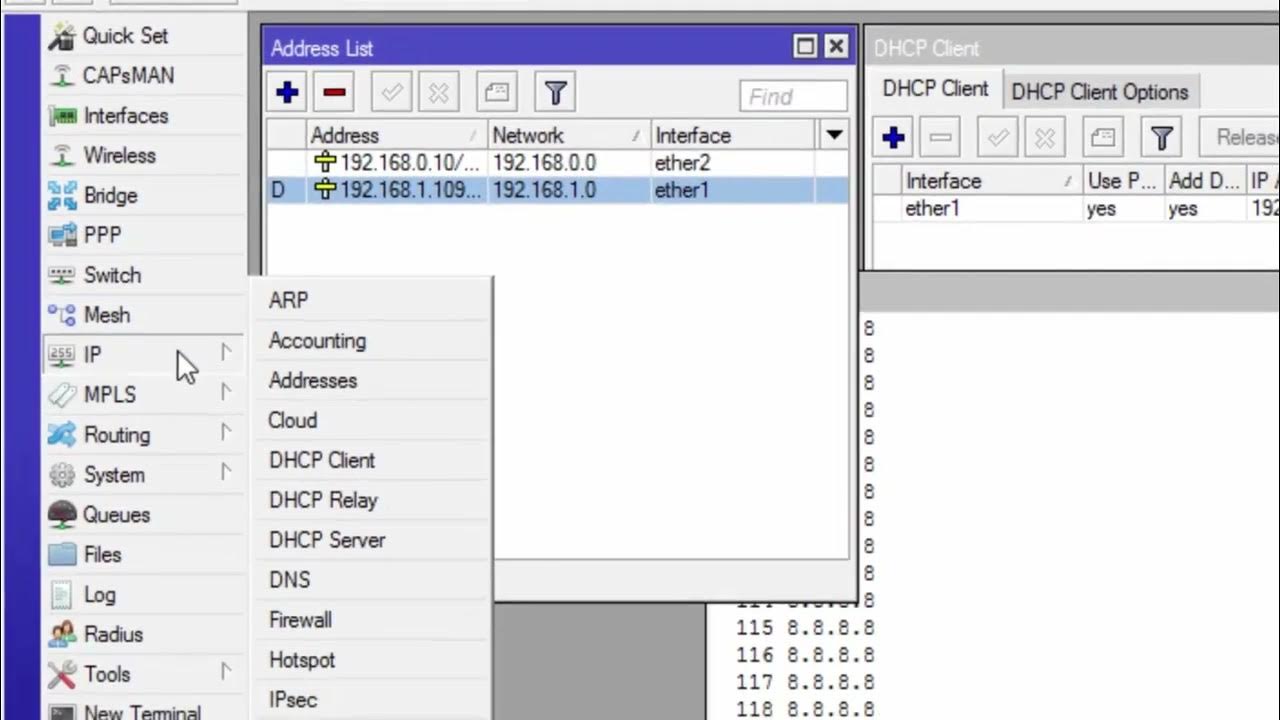
- 😀 Configure the Internet interface (ether1) by assigning the appropriate IP address to it. Click 'Apply' and 'OK' to save.
- 😀 Set up the local network interface (ether2) with the IP address `192.168.1.1/24` and click 'Apply' and 'OK'.
- 😀 Go to `IP > Firewall > NAT` to set up NAT (Network Address Translation) for internet access.
- 😀 Under the NAT rule, choose `src-nat` and set the 'Out. Interface' to ether1 (Internet port). Apply and save the settings.
- 😀 On the connected PC, set the static IP address `192.168.1.2` with subnet mask `255.255.255.0` and default gateway `192.168.1.1`.
- 😀 Configure DNS settings on the PC to use Google’s DNS server `8.8.8.8` for internet access.
- 😀 Once all settings are configured, test the connection by opening a web browser to check if the internet works.
- 😀 If any issues arise during the setup, leave a comment or ask for help in the tutorial’s comments section.
Q & A
What is the first step in configuring the MikroTik router?
-The first step is to connect the UTP cable to the designated port (either the 'internet' port or port 2, as indicated in the script).
How do you determine which port to connect the internet cable to on the MikroTik router?
-The internet cable should be connected to the port labeled 'internet' or the appropriate port (port 1) as indicated by the instructions in the script.
What should be done after connecting the internet cable to the router?
-After connecting the internet cable, you should connect the second cable (usually to the default port, port 2) to your PC for further configuration.
What is the next step after powering on the MikroTik router?
-Once the router is powered on, you should access the computer and launch the Winbox software to proceed with the configuration.
How do you set up the IP address in Winbox?
-In Winbox, go to the 'IP' menu, select 'Addresses', and click 'Connect'. You will then see the IP address assigned automatically, and you can modify it if needed.
What is the significance of changing the source internet connection in Winbox?
-Changing the source internet connection in Winbox ensures that the correct interface (ether1) is configured to handle the internet connection, making sure the device can access the web properly.
How do you configure the second IP address in the MikroTik router?
-To configure the second IP address, you enter the 'IP Addresses' menu again, assign a new address (such as 192.168.1.x), and select the interface (ether2) where the second address will be applied.
What is the purpose of the 'NAT' (Network Address Translation) configuration in MikroTik?
-NAT is used to manage how the router handles IP address translations for outgoing and incoming traffic, typically configured to ensure that private network IPs are properly routed to the internet.
What specific configuration is required for the NAT interface?
-In the NAT configuration, you need to change the interface for 'Src-Nat' to 'ether1', which is the internet-facing interface, ensuring proper internet routing.
How do you configure the default gateway and DNS servers on the MikroTik router?
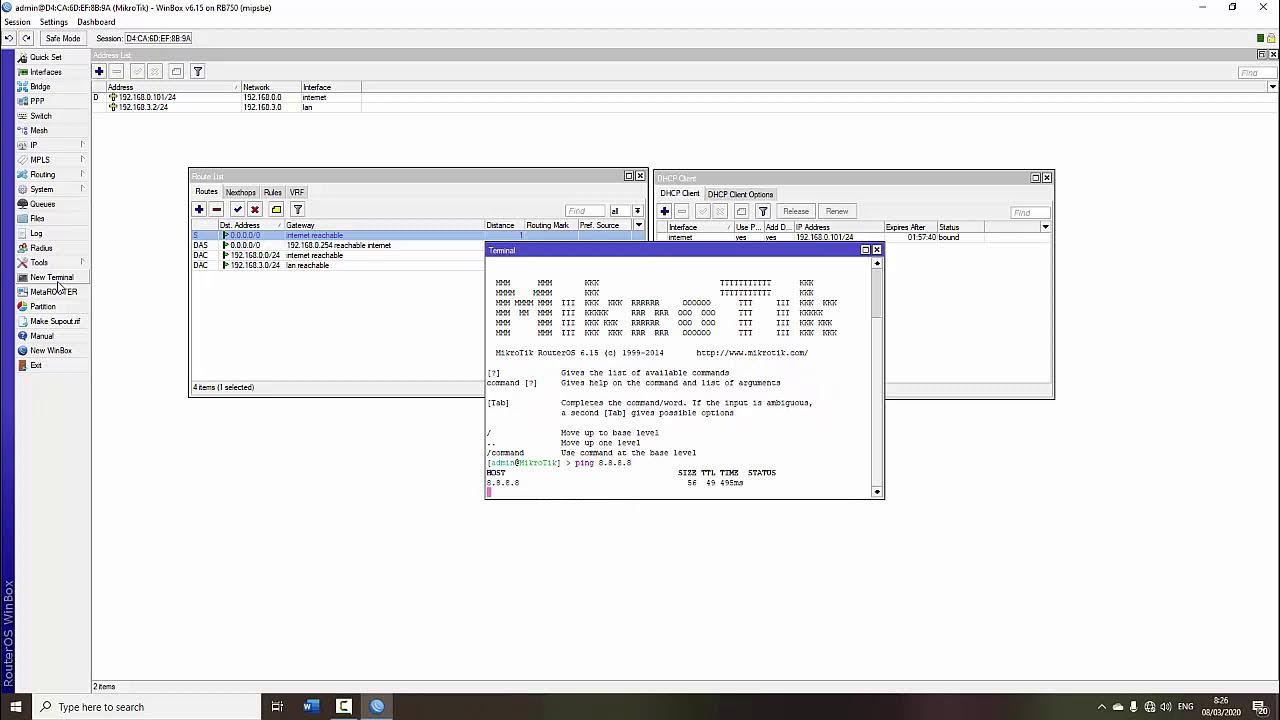
-To configure the default gateway, go to the 'IP' menu, then 'Routes', and set the gateway address (such as 192.168.1.1). For DNS, go to 'IP' > 'DNS' and set the external DNS server addresses, such as Google's DNS (8.8.8.8).
Outlines

This section is available to paid users only. Please upgrade to access this part.
Upgrade NowMindmap

This section is available to paid users only. Please upgrade to access this part.
Upgrade NowKeywords

This section is available to paid users only. Please upgrade to access this part.
Upgrade NowHighlights

This section is available to paid users only. Please upgrade to access this part.
Upgrade NowTranscripts

This section is available to paid users only. Please upgrade to access this part.
Upgrade NowBrowse More Related Video

CARA KONFIGURASI MIKROTIK AWAL KONEKSI INTERNET otomatis

TUTORIAL DASAR MIKROTIK (KONEKSI INTERNET)

Cara Seting Mikrotik Menggunakan IP Statik Sampai Bisa Online || How to setting mikrotik static ip

PANDUAN LENGKAP - CARA SETTING ROUTER MIKROTIK RB951Ui-2HnD DARI AWAL HINGGA TERHUBUNG KE INTERNET

KONFIGURASI DASAR MIKROTIK (UNTUK PEMULA)

Configurações Básicas - Mikrotik RouterOS - P1
5.0 / 5 (0 votes)