CARA KONFIGURASI MIKROTIK AWAL KONEKSI INTERNET otomatis
Summary
TLDRThis tutorial demonstrates how to configure a MikroTik router for internet access and set up a local network. The video covers connecting the router to the internet, assigning IP addresses, setting up DHCP clients, and configuring the firewall to allow internet connectivity for a laptop or PC. Step-by-step instructions guide users through pinging the router and testing connectivity, ensuring the device receives a public IP. By the end of the video, users will have a fully functional MikroTik router connected to the internet with proper IP and firewall settings for their local network.
Takeaways
- 😀 Ensure the MikroTik router is connected to the internet source via Ether1 before configuring.
- 😀 Connect the laptop or PC to the MikroTik router using Ether2 for local network access.
- 😀 By default, the MikroTik router login is set to 'admin' with no password. This is required to access the router's interface.
- 😀 Remove any previous configurations on the MikroTik router to ensure a fresh setup.
- 😀 Configure the IP address for Ether2 by setting a static IP (e.g., 192.168.10.1/24) for the router's local network.
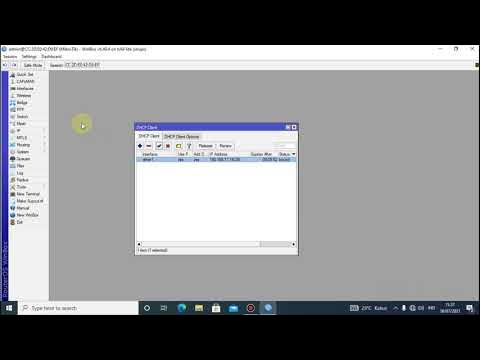
- 😀 For Ether1 (internet port), use DHCP Client to automatically obtain an IP from the internet source.
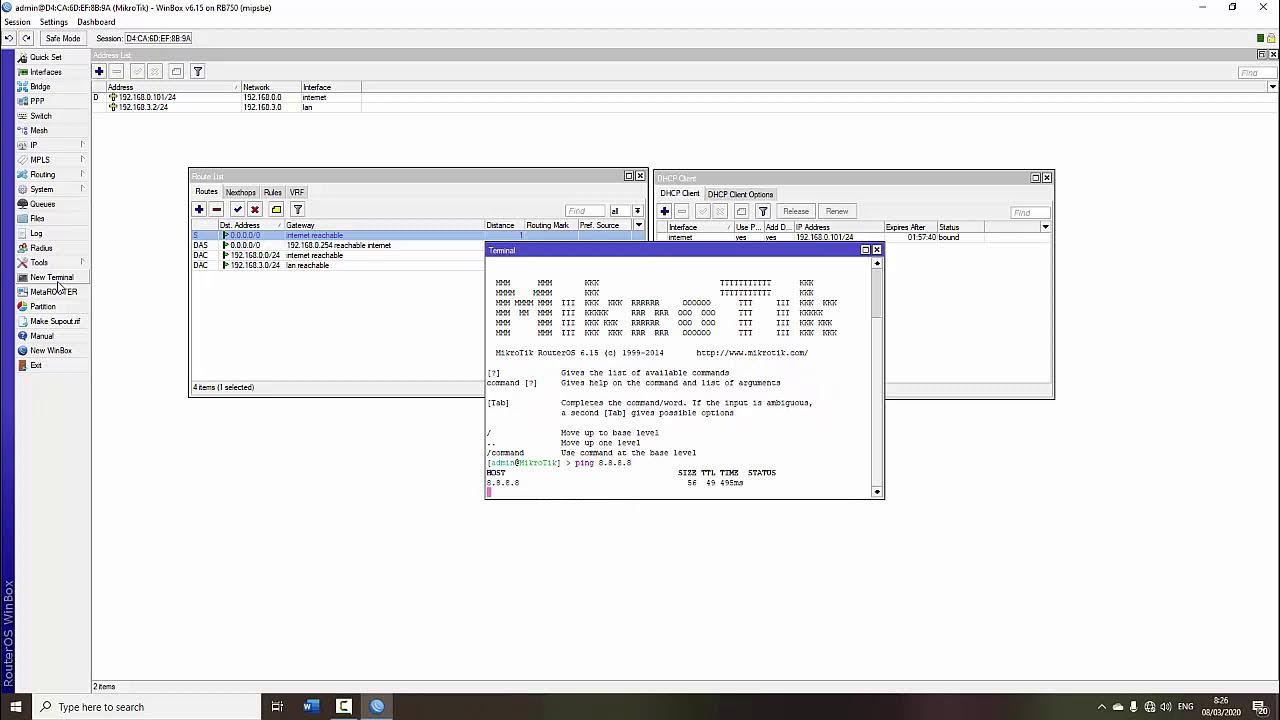
- 😀 Verify the internet connection on Ether1 by pinging an external server, like Google's DNS (8.8.8.8).
- 😀 If the laptop/PC doesn’t receive an IP, configure the firewall to use Network Address Translation (NAT) with masquerading on Ether1.
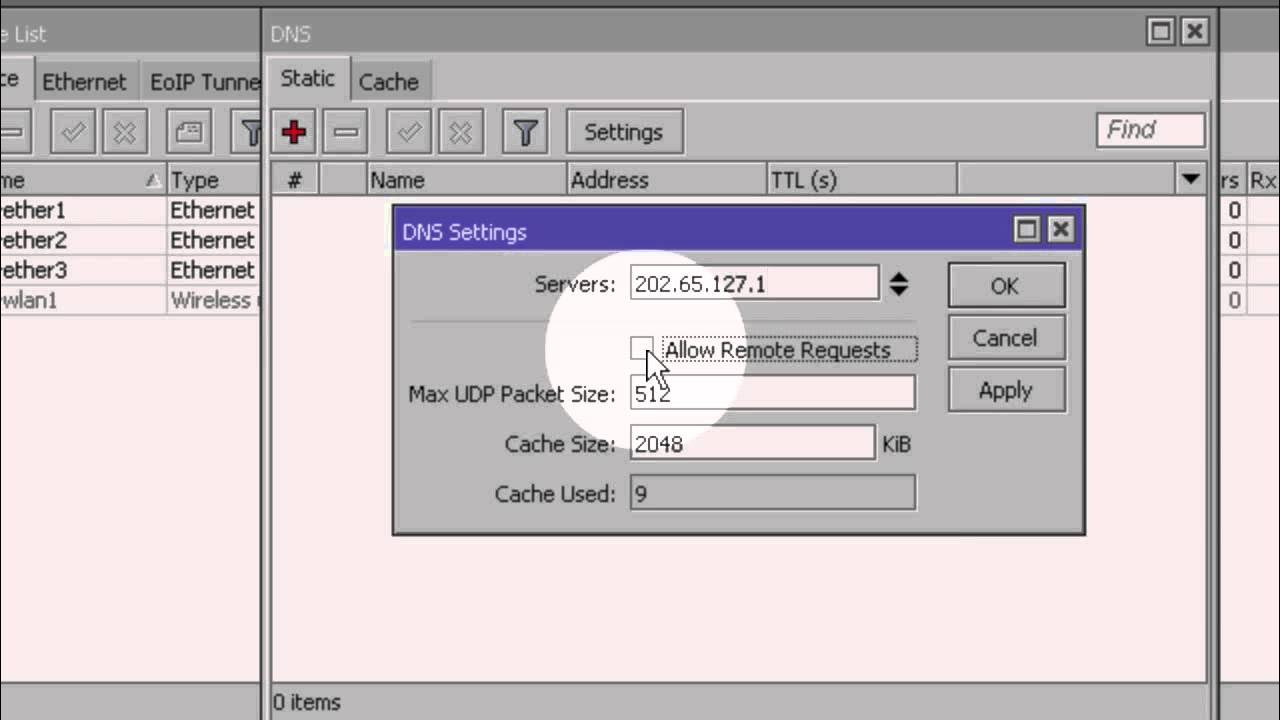
- 😀 Set up DNS by enabling 'Allow Remote Requests' under the DNS settings to allow internet name resolution.
- 😀 Configure the DHCP server for Ether2 to automatically assign IP addresses to the laptop/PC connected to the router.
- 😀 After setting up DHCP, verify the connection by pinging 8.8.8.8 and testing internet access via a browser.
Q & A
What is the first step when setting up a MikroTik router for internet access?
-The first step is to ensure that the MikroTik router is connected to the internet via Ether1 and the laptop or PC is connected to Ether2.
What should you do if the router does not automatically display the MAC address or IP?
-You should click the 'Refresh' button to manually update and display the MAC address or IP for login.
What are the default login credentials for MikroTik routers?
-The default login credentials are 'admin' for the username and a blank password field.
What does the warning message that appears after logging into the router mean?
-The warning message indicates that the router is free from any previous configurations and is in its default state.
How do you set up the IP address for Ether2?
-To set up the IP address for Ether2, click the plus sign in the IP settings, enter the desired IP address (e.g., 192.168.1.10), and apply the changes.
What is the purpose of setting up a DHCP client on Ether1?
-Setting up a DHCP client on Ether1 allows the router to automatically obtain an IP address from the internet source, enabling internet access.
What should you do if the router successfully receives an IP address but you cannot access the internet?
-You need to configure the firewall by adding a NAT rule to allow your laptop or PC to access the internet using the public IP.
How do you configure the firewall for internet access?
-In the firewall settings, add a NAT rule where the 'Out Interface' is set to Ether1 (internet-facing) and the action is set to 'Masquerade', which allows private IP addresses to use the public IP for internet access.
What is the role of the 'Allow Remote Requests' option in the DNS settings?
-'Allow Remote Requests' enables the router to accept DNS queries from devices on the local network, ensuring that the laptop or PC can access the internet using DNS.
How do you set up a DHCP server on Ether2 for the laptop or PC?
-To set up the DHCP server, go to IP > DHCP Server, select 'DHCP Setup', choose Ether2 as the interface, and follow the setup process until it confirms successful completion.
What should you do after completing all the setup steps to verify the connection?
-After completing the setup, you should test the connection by pinging '8.8.8.8' from both the router terminal and the laptop/PC command prompt. You can also open a browser to check if the internet is accessible.
Outlines

This section is available to paid users only. Please upgrade to access this part.
Upgrade NowMindmap

This section is available to paid users only. Please upgrade to access this part.
Upgrade NowKeywords

This section is available to paid users only. Please upgrade to access this part.
Upgrade NowHighlights

This section is available to paid users only. Please upgrade to access this part.
Upgrade NowTranscripts

This section is available to paid users only. Please upgrade to access this part.
Upgrade NowBrowse More Related Video

Konfigurasi Dasar Mikrotik (Indonesia)

Setting Router Mikrotik RB750 sampai Konek ke Internet (Untuk Pemula)

Tutorial konfigurasi mikrotik menggunakan winbox

Tutorial konfigurasi dasar mikrotik beserta sharing file & sharing printer

TUTORIAL DASAR MIKROTIK (KONEKSI INTERNET)

How to setup Mikrotik to access the Internet
5.0 / 5 (0 votes)