Hyper Realistic Water is this EASY in 3D Graphics
Summary
TLDRThis beginner-friendly tutorial teaches how to create realistic 3D water in Blender, using both the ocean modifier and a custom water shader. It covers essential steps, including creating volume with a cube, animating water waves, and adding realistic light interaction. The tutorial also dives into advanced techniques like simulating caustics, volumetric water effects, and customizing water colors. The instructor shares tips for achieving high-quality, dynamic water that can be applied to various scenes, including pools and lakes, while highlighting useful resources like Skillshare for further learning.
Takeaways
- 😀 The tutorial focuses on creating realistic 3D water in Blender, offering a beginner-friendly, step-by-step guide.
- 😀 The process begins by deleting the default cube and adding a mesh cube to simulate water volume in 3D scenes.
- 😀 Scaling the cube and setting it up with a floor plane creates a basic scene, with HDR lighting enhancing reflections on the water.
- 😀 The cube is modified using the Ocean Modifier to add wave displacement, with options to adjust wave size, resolution, and animation speed.
- 😀 Animating the water waves is simplified by using drivers, where the wave changes speed based on the frame rate of the scene.
- 😀 A realistic water material is created by using a Principled Shader with adjustments to roughness, IOR value, and transmission.
- 😀 To improve the water's transparency and light interaction, the tutorial uses a Light Path node and smooth shading.
- 😀 Adding subtle displacement to the water is achieved by combining bump maps and noise textures for added detail.
- 😀 Fake caustics, the patterns seen in pools or lakes, are added using an area light and wave texture to simulate sunlight passing through water.
- 😀 The water shader is further enhanced with volume effects, including the addition of Principled Volume and Volume Absorption nodes to control opacity and color.
- 😀 The tutorial concludes by demonstrating how the created water can be adjusted for different settings, such as a swimming pool, and customized for various effects like deeper or murkier water.
Q & A
What is the first step in creating realistic water in Blender?
-The first step is to delete the default Cube and add a new mesh Cube. The Cube is used instead of a plane to add volume to the water.
Why is a Cube used instead of a plane for creating water?
-A Cube is used to add volume to the water, which is crucial for rendering realistic-looking 3D water. A plane would not have the necessary depth or structure.
How do you add an HDR environment texture to your scene?
-You switch to the world settings and open an HDR environment texture. Poly Haven is recommended for high-quality HDRs, such as the Lakeside One HDR used in the video.
What render engine and settings should be used for realistic water in Blender?
-The render engine should be set to Cycles. GPU compute should be enabled for faster rendering, and the render view should be switched to 'Rendered' for immediate visual feedback.
What is the purpose of the Ocean Modifier in this tutorial?
-The Ocean Modifier is used to deform the Cube with waves, adding a realistic water surface. The geometry is set to 'Displace' instead of 'Generate' to create a cube with wave displacement.
How do you animate the waves in the water?
-The wave animation is powered by a driver using the '#f frame' expression, which animates the time value based on frame numbers. The animation is set to change every 24 frames for smooth movement.
What adjustments are made to the water shader in Blender?
-In the shader editor, the Principled Shader's roughness is set to zero, the IOR value is adjusted to 1.333 (real-world water IOR), and transmission is set to one. A light path node is added to properly handle transparency.
How do you add displacement to the water surface?
-Displacement is added using a bump node with a noise texture. The bump strength is adjusted for subtle waves, complementing the Ocean Modifier’s deformation.
What are fake caustics and how are they created?
-Fake caustics simulate the light patterns that water creates on the floor. They are created by using an area light with a wave texture, and the texture's scale and distortion are adjusted to project light patterns onto the floor.
How do you add volume to the water shader for more realism?
-Volume is added by using a Principled Volume shader in combination with a Volume Absorption node. The density and anisotropy values are adjusted to simulate light scattering through the water, enhancing its realism.
Outlines

This section is available to paid users only. Please upgrade to access this part.
Upgrade NowMindmap

This section is available to paid users only. Please upgrade to access this part.
Upgrade NowKeywords

This section is available to paid users only. Please upgrade to access this part.
Upgrade NowHighlights

This section is available to paid users only. Please upgrade to access this part.
Upgrade NowTranscripts

This section is available to paid users only. Please upgrade to access this part.
Upgrade NowBrowse More Related Video

Blender 3D Modeling software: Glass Perfume Bottle Tutorial
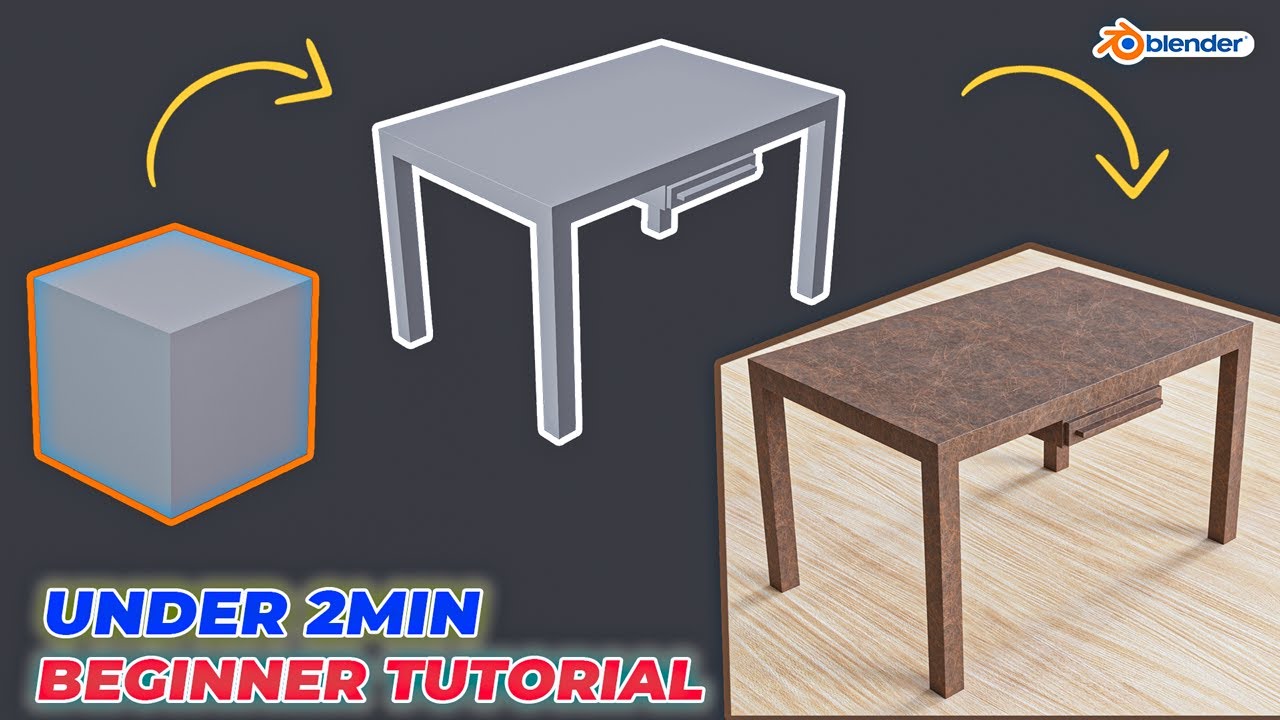
Modeling Table Under 2Min || Blender Beginners Tutorial

A different way of making 3D landscapes in Blender
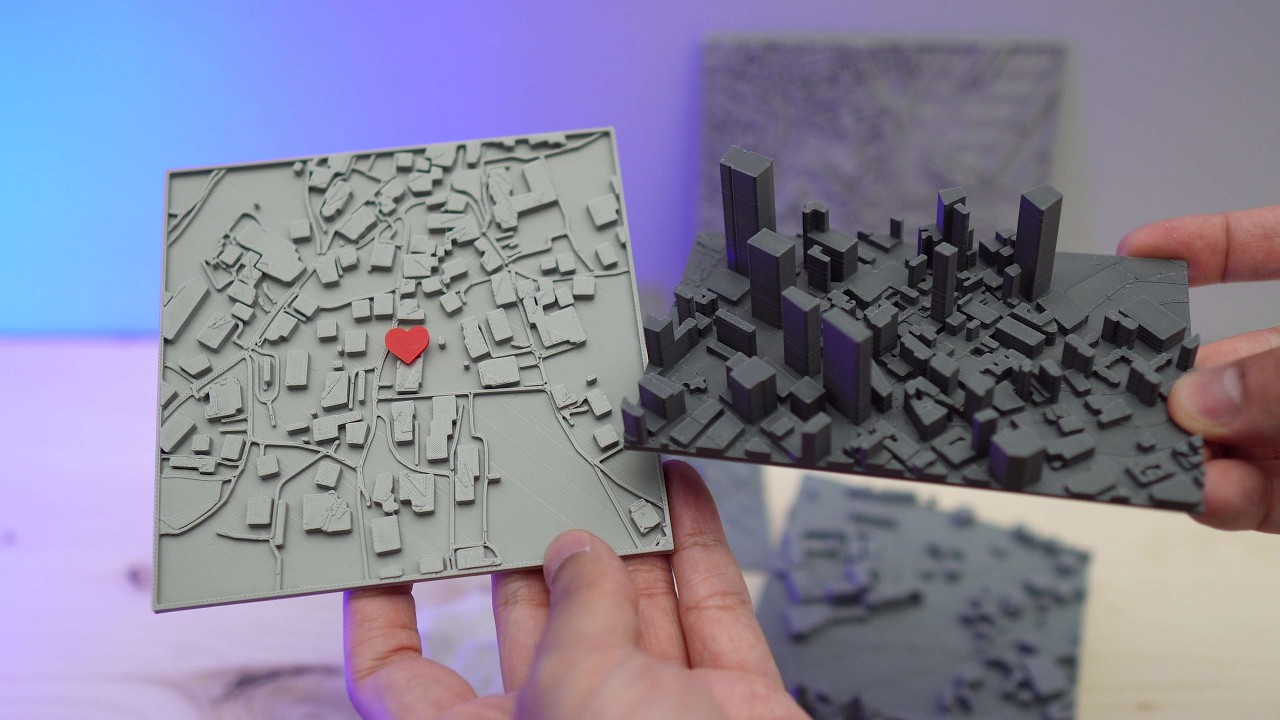
How to 3D Print your own Cityscapes and Terrains (FREE Method)

Blender Add Label to Bottle - Tutorial for making packaging design mockup
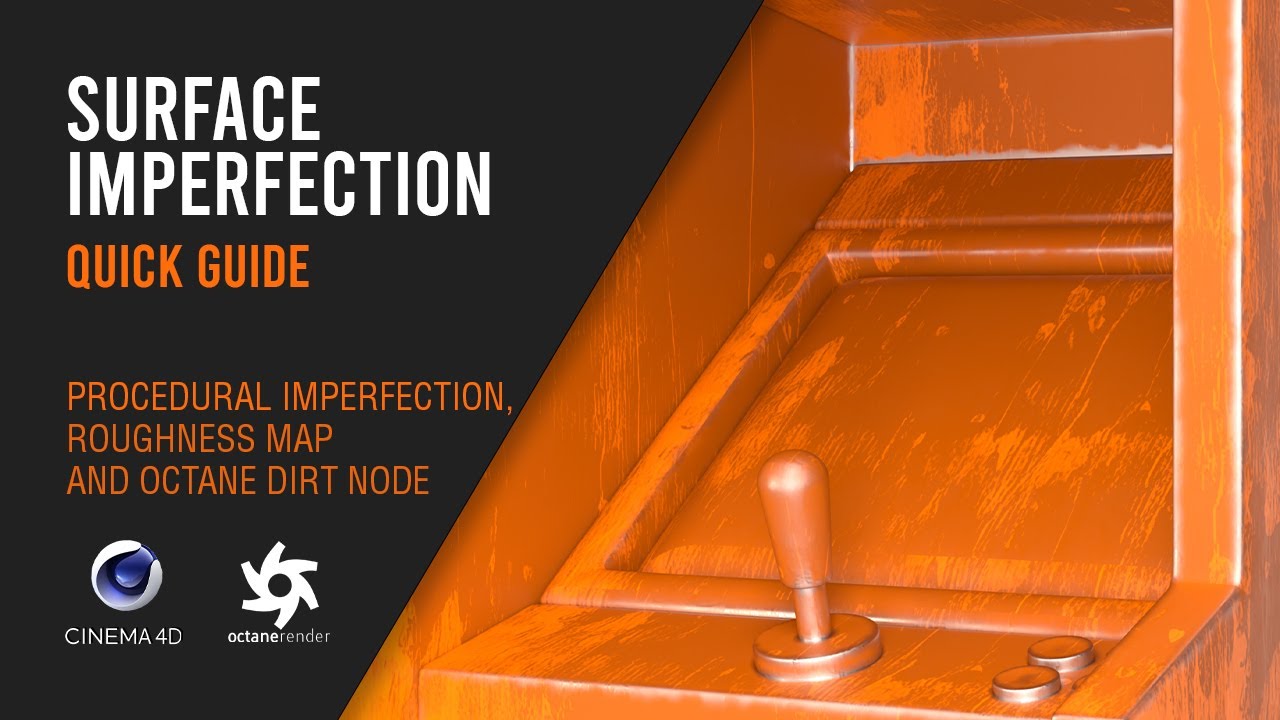
Octane Surface Imperfections
5.0 / 5 (0 votes)