10 May 2025
Summary
TLDRThis tutorial guides users through the process of creating vector data in QGIS. It covers the steps of creating point, line, and polygon vector layers, defining attributes in the attribute table, and digitizing data on a topographical sheet. The video also explains how to manage columns in the attribute table, including adding, editing, and deleting them. The tutorial emphasizes the importance of consistent coordinate reference systems and provides practical tips for digitizing features and saving the project. This is a comprehensive guide for beginners working with vector data in QGIS.
Takeaways
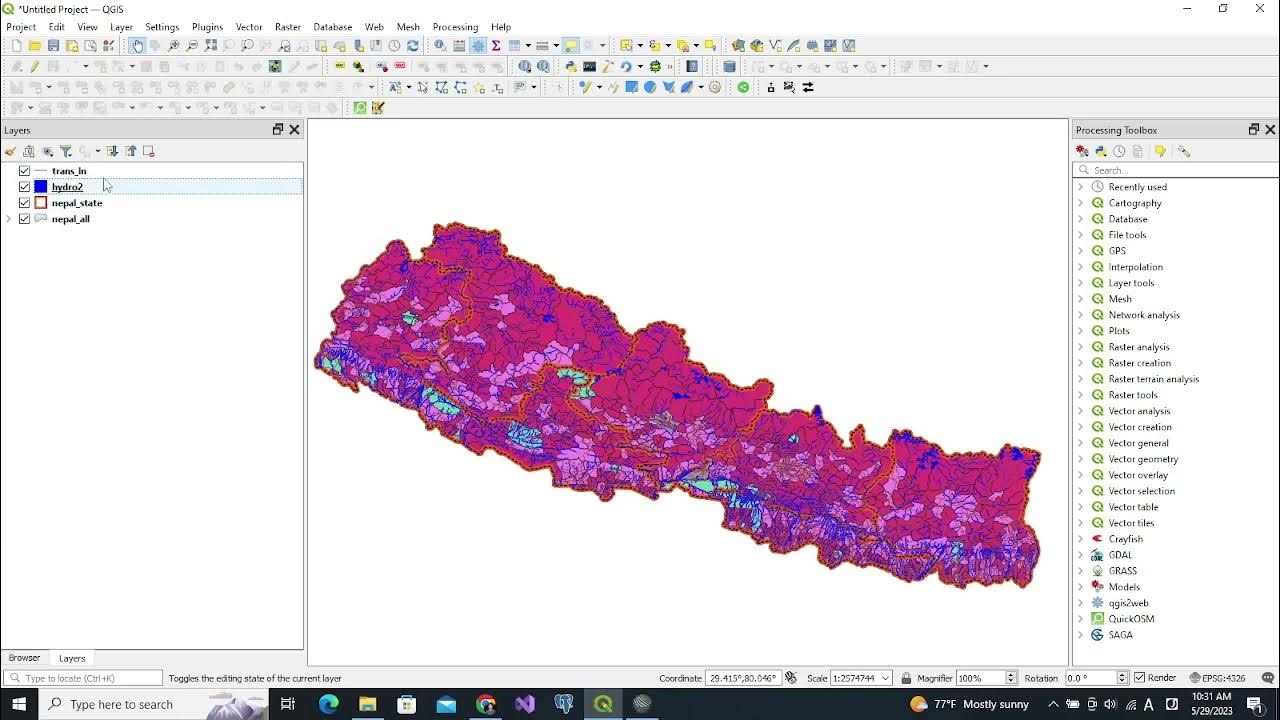
- 😀 Open a projected topographical sheet in QGIS to start creating vector data.
- 😀 Use the 'Create Layer' option from the Layers menu to initiate a new shapefile layer.
- 😀 Save the shapefile in a specific folder and select the appropriate file format (Shapefile .shp).
- 😀 Choose the correct Coordinate Reference System (CRS), such as WGS84/UTM Zone 43N (EPSG: 32643), for consistency across the project.
- 😀 Add attribute columns to the attribute table, such as 'Place Name', ensuring proper column names and types (e.g., Text for place names).
- 😀 Activate editing mode to start digitizing points, lines, or polygons on the map, and enter attribute information in the pop-up window.
- 😀 For point features, use the 'Add Point Feature' tool and fill in the attributes for each point, such as place name.
- 😀 When creating line features (e.g., railroads), select 'Line' as the geometry type and use the 'Add Line Feature' tool to digitize the feature.
- 😀 To create polygons (e.g., town boundaries), use the 'Add Polygon Feature' tool and define the boundary by clicking on the map.
- 😀 Save edits to ensure your digitized data is stored, and manage your layers efficiently by toggling editing and saving when necessary.
Q & A
What is the first step in creating a vector layer in QGIS?
-The first step is to open the projected topographical sheet on your QGIS canvas.
How do you create a new vector layer in QGIS?
-To create a new vector layer, go to the menu bar and click on 'Layer' > 'Create Layer' > 'New Shapefile Layer.'
What is the significance of setting the Coordinate Reference System (CRS) in QGIS?
-The CRS ensures that all layers and data in the project align correctly in terms of geographic coordinates. In this case, WGS84/UTM Zone 43 North (EPSG 32643) is used for consistency.
Why is it recommended to use short and understandable names for columns in the attribute table?
-Short and understandable names are recommended because only 10 characters are allowed for a column name, and spaces may cause issues with computer languages. Therefore, underscores are used instead of spaces.
What field type should you choose when creating a column for place names in the attribute table?
-For place names, you should choose the 'Text' field type, as it allows you to enter alphabetic characters, numbers, and special symbols.
How do you add and edit fields in the attribute table of a vector layer?
-To add a field, click on 'New Field' after activating 'Toggle Editing' mode. You can edit the field properties like name, type, and length. To remove a field, select it and click 'Delete Field'.
What is the process for digitizing a point on a topographical map in QGIS?
-To digitize a point, activate 'Toggle Editing,' then use the 'Add Point Feature' tool. Left-click on the location on the map where you want to place the point, and enter relevant data in the pop-up form.
How can you create a line or polygon in QGIS?
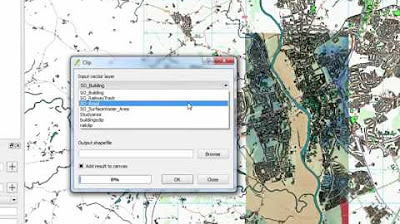
-To create a line or polygon, select the appropriate layer (e.g., 'Railroad' for lines, 'Towns' for polygons), activate 'Toggle Editing,' and then use the 'Add Line Feature' or 'Add Polygon Feature' tool to digitize the features on the map.
What is the function of the 'Toggle Editing' button in QGIS?
-'Toggle Editing' enables editing mode, allowing you to add, modify, or delete features in the vector layer. You must save your changes before exiting the editing mode.
How can you save a QGIS project and its data?
-To save a QGIS project, go to 'Project' > 'Save As,' select the desired folder, and provide a project name. The project is saved with a .qgs file extension, which includes all layers and data.
Outlines

This section is available to paid users only. Please upgrade to access this part.
Upgrade NowMindmap

This section is available to paid users only. Please upgrade to access this part.
Upgrade NowKeywords

This section is available to paid users only. Please upgrade to access this part.
Upgrade NowHighlights

This section is available to paid users only. Please upgrade to access this part.
Upgrade NowTranscripts

This section is available to paid users only. Please upgrade to access this part.
Upgrade NowBrowse More Related Video


5.0 / 5 (0 votes)