CARA MEMASUKAN GAMBAR KE E-TIKET DI AUTOCAD
Summary
TLDRThis tutorial walks through the process of inserting a custom-made image into an AutoCAD layout and exporting it as a PDF. The video covers steps such as selecting the right layout, modifying settings for PDF output, creating a border for the image, adding labels, and positioning the image for proper alignment. It also demonstrates how to adjust the image size and save it as a PDF file that can be viewed on mobile devices. The final result is a neatly formatted PDF with accurate dimensions, ready for printing or sharing.
Takeaways
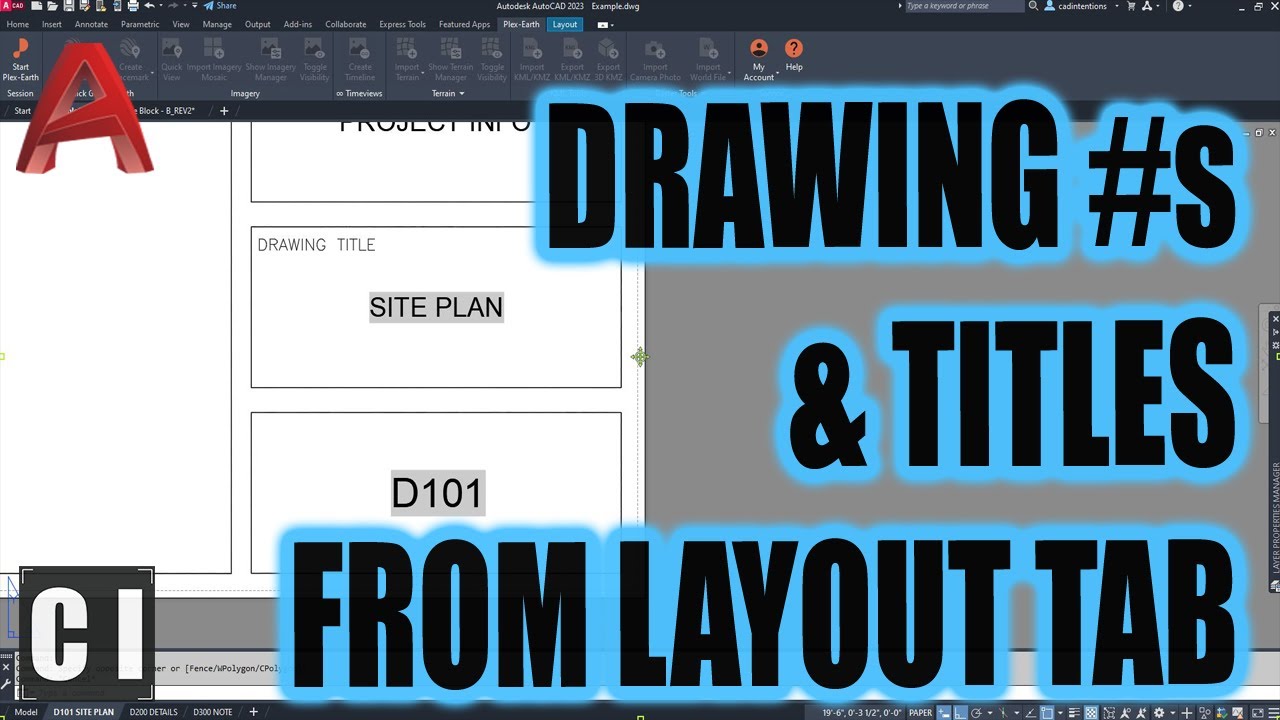
- 😀 The tutorial shows how to insert a custom image into a layout in AutoCAD 3D.
- 😀 The process involves setting the layout to ISO full blade 4 and selecting DWG to PDF for output.
- 😀 You start by deleting existing content in the layout before modifying settings for PDF output.
- 😀 The layout orientation is set to landscape before adding the boundary line of 297mm by 210mm.
- 😀 The tutorial demonstrates how to use the offset command to adjust dimensions by specific values.
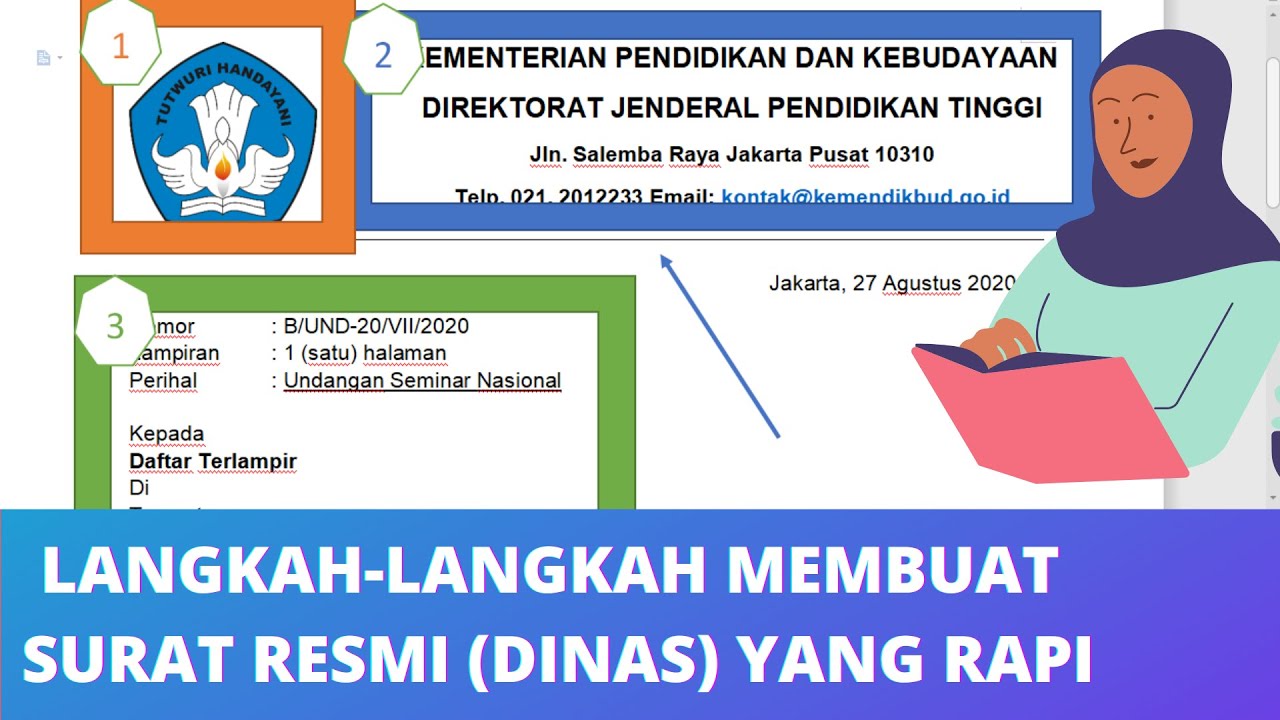
- 😀 The next step is to create the labels (etiquettes) by specifying dimensions and positions on the layout.
- 😀 The labels are positioned according to specific values such as 25mm, 185mm, and 65mm.
- 😀 The 'MV' command is used to move the model into the layout, and the view is adjusted accordingly.
- 😀 The tutorial shows how to resize and reposition the model to fit within the layout box.
- 😀 Finally, the layout is saved as a PDF file by using the plot and save options, ensuring the final design is ready for printing or viewing on a mobile device.
Q & A
What is the main purpose of this tutorial?
-The main purpose of the tutorial is to teach how to insert an image created in AutoCAD into a layout and save it as a PDF file that can be viewed on a mobile device.
What software is being used in this tutorial?
-The tutorial uses AutoCAD 3D to create and edit the image before saving it as a PDF.
How do you set up the layout for printing to PDF?
-To set up the layout for PDF printing, you go to 'Layout 1', delete the existing elements, then open the 'Page Setup Manager'. You modify the settings to use 'DWG to PDF' as the plotter and adjust the paper size to landscape.
What dimensions are used when drawing the border for the page?
-The border is drawn with a length of 297 mm and a height of 210 mm, which corresponds to the A4 paper size.
What tool is used to move objects in AutoCAD?
-The 'M' (Move) command is used to move objects in AutoCAD, such as the page border and other elements, to the desired position.
How do you offset lines in AutoCAD?
-The 'Offset' command ('O') is used to create parallel lines at a specific distance from the original line. You can choose the direction and distance for the offset.
What is the purpose of the 'TR' command in AutoCAD?
-The 'TR' (Trim) command is used to remove unwanted parts of objects. In this tutorial, it is used to trim lines where they intersect to create a clean layout.
How do you add text labels to the layout?
-Text labels are added using the 'L' (Line) command. You define the positions of the labels and assign appropriate measurements, such as 25, 185, and other values for the length and position of the labels.
How do you adjust the view of the inserted image?
-To adjust the view of the inserted image, you use the 'MV' (Viewport) command. After placing the image, you can double-click on it to adjust its scale and position within the layout.
What is the final step to save the file as a PDF?
-Once the layout is set up and the image is properly positioned, you go to the 'Plot' command, select the 'Plotter' as 'DWG to PDF', and then save the file to your desired location, naming it as you wish.
Outlines

This section is available to paid users only. Please upgrade to access this part.
Upgrade NowMindmap

This section is available to paid users only. Please upgrade to access this part.
Upgrade NowKeywords

This section is available to paid users only. Please upgrade to access this part.
Upgrade NowHighlights

This section is available to paid users only. Please upgrade to access this part.
Upgrade NowTranscripts

This section is available to paid users only. Please upgrade to access this part.
Upgrade Now


5.0 / 5 (0 votes)