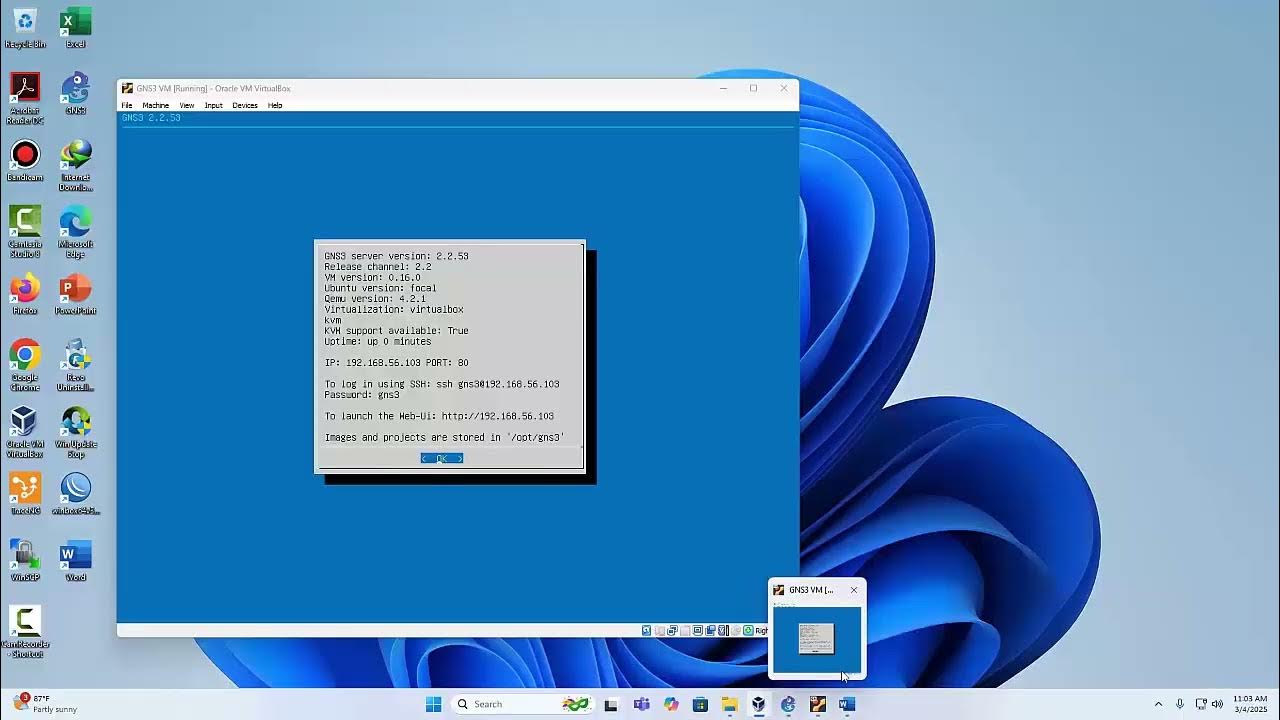
Penggunaan DNS3
Summary
TLDRThis video demonstrates how to use GNS3, a network simulation software, to set up virtual machines and create a network environment for learning and experimentation. The presenter shows how to connect various machines, including Kali Linux and a victim server, within a GNS3 project. They configure network settings and use tools like Wireshark to capture network traffic, demonstrating how unencrypted protocols like Telnet can be easily intercepted. The tutorial offers insight into creating basic network simulations, experimenting with network security, and understanding real-world hacking scenarios, making it a useful resource for learning networking and ethical hacking.
Takeaways
- 😀 GNS3 is a network simulation software that allows users to design and test networks using graphical representations.
- 😀 VirtualBox virtual machines, such as Kali Linux and Ubuntu, can be integrated into GNS3 to simulate real network environments.
- 😀 Users can create a new project in GNS3 and add VirtualBox machines, making it easy to simulate different devices in a network.
- 😀 Kali Linux and Ubuntu server can be configured with different network adapters, allowing for versatile network setups in GNS3.
- 😀 A simple network setup involves using NAT and Ethernet switches to connect Kali Linux and the victim server for testing purposes.
- 😀 Both Kali Linux and the victim server can be connected and powered on simultaneously within GNS3, simulating a live network environment.
- 😀 The `ping` command is used to verify network connectivity between the two machines, confirming proper configuration and communication.
- 😀 GNS3 allows seamless internet access through the NAT setup, enabling virtual machines to reach external networks without issues.
- 😀 A **Telnet attack** is demonstrated, showing how Telnet transmits data unencrypted, making it susceptible to sniffing by attackers.
- 😀 Wireshark is used to capture and analyze network packets, revealing sensitive information such as plaintext passwords during a Telnet session.
- 😀 The demonstration emphasizes the security risks of using unencrypted protocols like Telnet and highlights the importance of using secure protocols like SSH.
Q & A
What is GNS3 and what is its primary purpose?
-GNS3 is a network simulation software that allows users to create virtual network topologies using graphical interfaces. Its primary purpose is to simulate real-world network configurations and test network setups without the need for physical hardware.
How does GNS3 integrate with VirtualBox?
-GNS3 integrates with VirtualBox by allowing users to add virtual machines (VMs) that are already running in VirtualBox into the GNS3 environment. This enables seamless network simulations involving virtual machines alongside network devices such as routers and switches.
What types of virtual machines were used in this demonstration?
-The virtual machines used in the demonstration were Kali Linux, Ubuntu Desktop, and Ubuntu Server. Kali Linux is typically used for penetration testing, while the Ubuntu machines are configured as servers and victims for the network simulation.
What are the steps to add a VirtualBox VM to GNS3?
-To add a VirtualBox VM to GNS3, you must first edit the preferences in GNS3 and add VirtualBox VM. After selecting the desired VM from the list of running VMs in VirtualBox, you can configure it within GNS3 as either a device or a router, and assign network adapters as needed.
How can you configure the network adapters of a virtual machine in GNS3?
-In GNS3, you can configure the network adapters of a virtual machine by editing the VM settings. You can specify the number of network adapters and their types, allowing you to create various network topologies such as LANs or WANs. This configuration is done directly in the GNS3 interface after adding the VM.
What is the significance of setting up NAT in the network topology?
-Setting up NAT (Network Address Translation) allows the devices within the GNS3 simulated network to access the internet. NAT helps in translating private IP addresses within the simulated environment to public IP addresses, enabling external connectivity while keeping the network isolated.
What does the 'ping' command verify in this simulation?
-The 'ping' command is used to verify the connectivity between different devices in the simulated network. By pinging the IP address of the victim server from Kali Linux, the presenter checks whether the devices are properly connected and can communicate over the network.
What vulnerability does the demonstration highlight using Telnet?
-The demonstration highlights the vulnerability of Telnet as an unencrypted protocol. During the demonstration, the Telnet session's credentials (including the password) are captured in plaintext by Wireshark, showing how easily information can be intercepted when using Telnet instead of a secure protocol like SSH.
Why is SSH recommended over Telnet in network security?
-SSH (Secure Shell) is recommended over Telnet because SSH encrypts all data transmitted between the client and server, making it much harder for attackers to intercept sensitive information such as passwords. In contrast, Telnet transmits data in plaintext, making it susceptible to eavesdropping attacks.
What tool was used to capture the network packets during the demonstration?
-The tool used to capture the network packets during the demonstration was Wireshark. Wireshark is a popular network protocol analyzer that allows users to capture and inspect network traffic in real-time.
Outlines

このセクションは有料ユーザー限定です。 アクセスするには、アップグレードをお願いします。
今すぐアップグレードMindmap

このセクションは有料ユーザー限定です。 アクセスするには、アップグレードをお願いします。
今すぐアップグレードKeywords

このセクションは有料ユーザー限定です。 アクセスするには、アップグレードをお願いします。
今すぐアップグレードHighlights

このセクションは有料ユーザー限定です。 アクセスするには、アップグレードをお願いします。
今すぐアップグレードTranscripts

このセクションは有料ユーザー限定です。 アクセスするには、アップグレードをお願いします。
今すぐアップグレード関連動画をさらに表示

Pembahasan soal UKK TKJ 2025 Paket 1 di VirtualBox-GNS3 Komplit (part-1)

Basics of Cisco Packet Tracer (Part 1)

Tutorial - Cara Install Debian 10 pada Virtualbox (Untuk Pemula)

Cara Membuat Jaringan Peer To Peer di Cisco Packet Tracer

Cybersecurity Tip: Build A Basic Home Lab (2/3)

Belajar Mikrotik Tanpa "Mikrotik"
5.0 / 5 (0 votes)
