Cara Membuat Jaringan Peer To Peer di Cisco Packet Tracer
Summary
TLDRIn this tutorial, viewers are guided through the process of creating a peer-to-peer network simulation using Cisco Packet Tracer. The video demonstrates how to set up two PCs, assign them static IP addresses, and connect them using a crossover cable. The tutorial also covers testing the connection between the PCs by pinging each other. Finally, the video explains how to send messages between the two PCs, completing the peer-to-peer network simulation. It's a straightforward guide for those looking to set up a basic network in Cisco Packet Tracer.
Takeaways
- 😀 Introduction to peer-to-peer network simulation in Cisco Packet Tracer.
- 😀 Peer-to-peer network model where each device acts as both a client and a server.
- 😀 The tutorial demonstrates the creation of a peer-to-peer network with two PCs.
- 😀 The first PC is labeled with the IP address 192.168.1.1.
- 😀 The second PC is labeled with the IP address 192.168.1.2.
- 😀 A crossover cable is used to connect the two PCs.
- 😀 Configuration of the first PC involves setting the IP address to 192.168.1.1 using static IP settings.
- 😀 The second PC is also configured with a static IP address of 192.168.1.2.
- 😀 After configuration, a successful ping test is done to verify the connection between the two PCs.
- 😀 The video concludes with an explanation of how easy it is to set up a peer-to-peer network in Cisco Packet Tracer.
Q & A
What is a peer-to-peer network?
-A peer-to-peer network is a network model where each device or node in the network functions both as a client and a server, meaning devices can share resources directly without the need for a centralized server.
What are the key components needed to create a peer-to-peer network simulation in Cisco Packet Tracer?
-To create a peer-to-peer network simulation in Cisco Packet Tracer, you need two PCs and an appropriate network cable, like a crossover cable or automatic cable, for the connection.
How do you assign IP addresses to the PCs in the simulation?
-IP addresses are assigned by accessing the desktop of each PC, selecting 'IP Configuration', setting it to 'Static', and then entering the desired IP addresses (e.g., 192.168.1.1 for PC0 and 192.168.1.2 for PC1).
What type of cable is used to connect the two PCs in the simulation?
-A crossover cable is used to connect the two PCs in the simulation. Alternatively, an automatic cable could also work.
How do you check if the two PCs are successfully connected?
-You can test the connection between the two PCs by using the ping command in the command prompt of one of the PCs, such as 'ping 192.168.1.2'. A successful reply indicates the connection is working.
What does the successful ping test indicate in this simulation?
-A successful ping test indicates that the two PCs can communicate with each other, meaning the peer-to-peer connection has been successfully established.
Why is it important to configure the IP addresses manually in this simulation?
-Configuring the IP addresses manually ensures that each PC has a unique address within the network, which is essential for communication and proper data transmission between the devices.
What other devices could be added to a peer-to-peer network in Cisco Packet Tracer?
-Other devices such as routers, switches, or additional PCs could be added to expand the network and simulate more complex scenarios, though in this tutorial, only two PCs are used.
Can you use a different type of network cable for this simulation?
-Yes, you can use an automatic cable instead of a crossover cable in some cases, but typically a crossover cable is preferred for direct connections between two PCs.
How does this tutorial benefit beginners in network simulation?
-This tutorial provides a simple and clear demonstration of how to set up a basic peer-to-peer network in Cisco Packet Tracer, making it a great starting point for beginners to understand networking concepts and configuration in a hands-on environment.
Outlines

This section is available to paid users only. Please upgrade to access this part.
Upgrade NowMindmap

This section is available to paid users only. Please upgrade to access this part.
Upgrade NowKeywords

This section is available to paid users only. Please upgrade to access this part.
Upgrade NowHighlights

This section is available to paid users only. Please upgrade to access this part.
Upgrade NowTranscripts

This section is available to paid users only. Please upgrade to access this part.
Upgrade NowBrowse More Related Video

Cisco Packet Tracer - Membangun Jaringan Peer to Peer di Cisco Packet Tracer 8.2
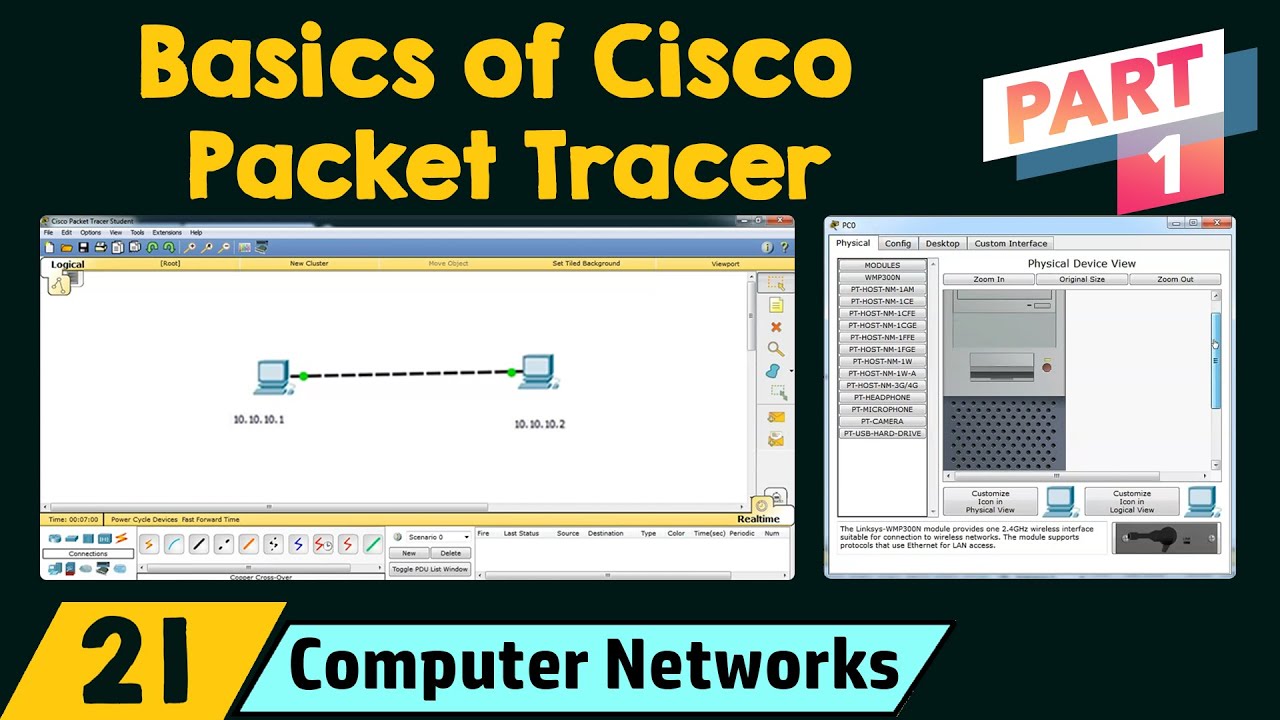
Basics of Cisco Packet Tracer (Part 1)

Jaringan Komputer Sederhana | Tutorial Belajar Online Lengkap CISCO CCNA 200-301 Part 5

Cisco Packet Tracer | Everything You Need to Know

Netzwerktutorial: Cisco Packet Tracer - Installation, Konfiguration & ein erster Aufbau
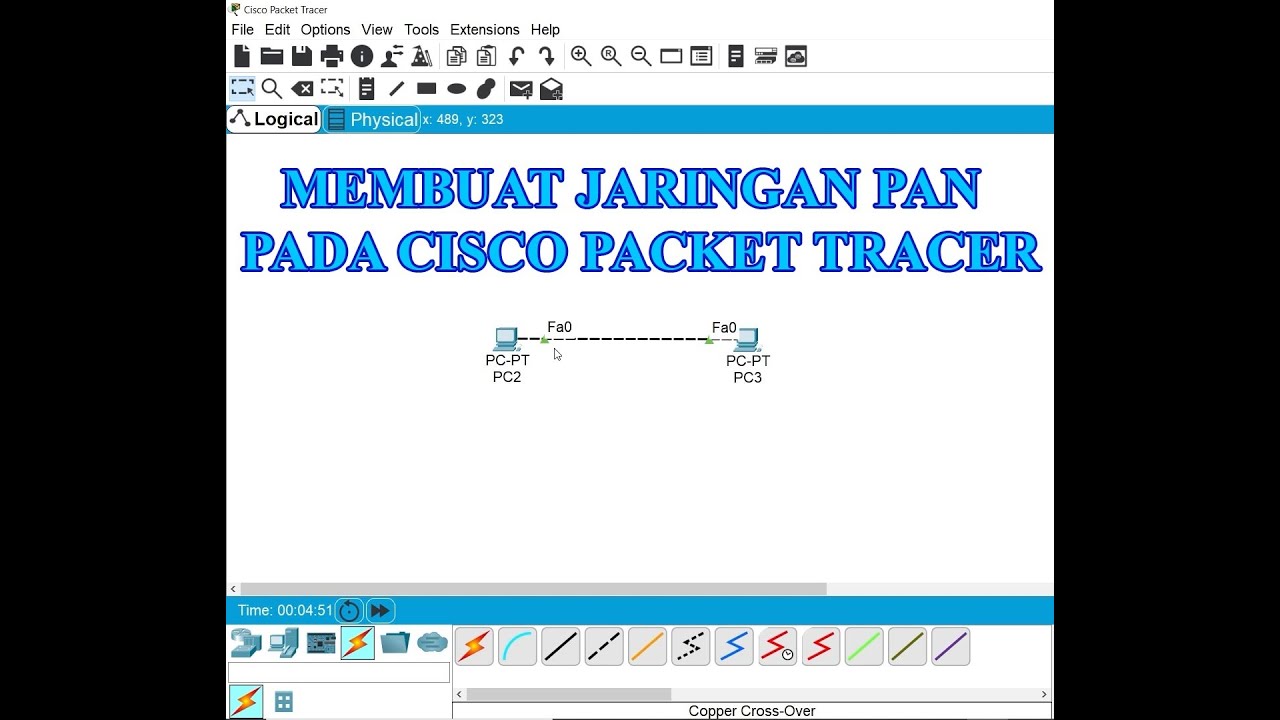
Membuat Jaringan PAN pada Cisco Packet Tracer
5.0 / 5 (0 votes)