Blender BEGINNER tutorial! - Roblox Development
Summary
TLDRThis tutorial video offers a beginner's guide to using Blender, focusing on its basics and application in Roblox development. It covers downloading the latest version of Blender, navigating the workspace, and basic modeling techniques such as selecting, moving, and manipulating vertices, edges, and faces. The video also introduces shortcuts for efficiency and highlights the importance of wireframe and solid views for effective modeling. The instructor encourages viewers to learn these fundamentals for future advanced tutorials and hints at a potential part two for intermediate topics.
Takeaways
- 😀 The video provides a beginner's tutorial on using Blender, particularly for Roblox development but also applicable as a general guide.
- 🔗 The latest version of Blender can be downloaded from blender.com, which may differ from previous versions.
- 🎥 Basic navigation in Blender includes using the scroll wheel to spin around and zoom, and holding shift with the scroll wheel to move the camera.
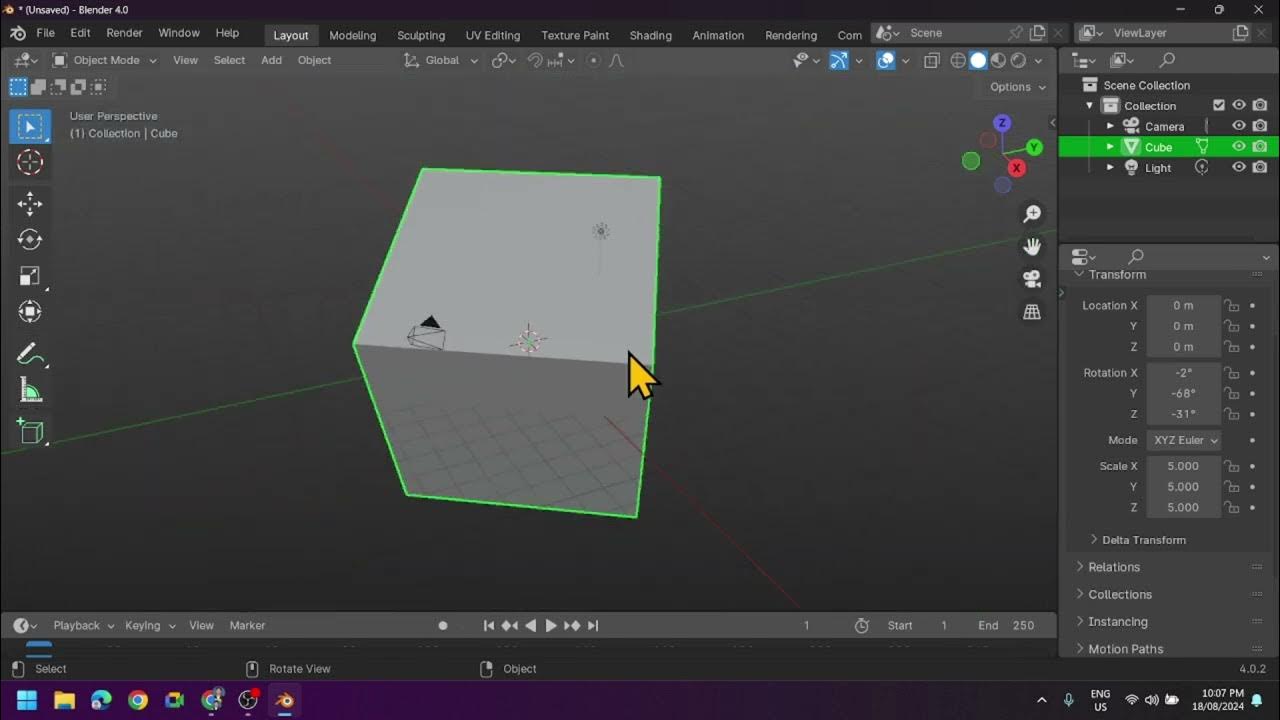
- 📐 Selecting and deleting objects in the workspace is done with the left click and delete key, respectively.
- 🛠️ To add new shapes like cubes or cylinders, use the 'Add Mesh' option from the menu, with the 3D cursor indicating the object's location.
- 🔧 Moving the 3D cursor is done with shift and right-click, and it can be reset to the center with shift and 'C'.
- 🔄 The video introduces the concept of low-poly modeling, which is beneficial for performance, especially in mobile gaming and Roblox.
- 🔲 In edit mode, vertices, edges, and faces can be selected and manipulated to create different shapes, a key aspect of modeling.
- 📏 The number pad on the keyboard is useful for quickly switching between different view orientations, aiding in precise modeling.
- ⚙️ Blender offers shortcuts for extruding, rotating, scaling, and moving vertices, which are essential for efficient modeling.
- 👁 Two main views for beginners are solid and wireframe, which can be toggled using the 'Z' key for better visibility during modeling.
Q & A
What is the main purpose of the video?
-The main purpose of the video is to provide a basic tutorial on using Blender, with a focus on Roblox development, but it can also serve as a general Blender tutorial.
Where can viewers download the latest version of Blender mentioned in the video?
-Viewers can download the latest version of Blender from blender.com, and the tutorial provides a link in the description for easy access.
How does the video guide users to navigate the Blender workspace?
-The video explains that users can navigate the Blender workspace by using the scroll wheel on their mouse to spin around and zoom in and out, as well as using the 'Shift' key combined with the scroll wheel for panning.
What is the 3D cursor in Blender and how can it be moved?
-The 3D cursor in Blender is a reference point where objects are added. It can be moved by using the 'Shift' and 'A' keys to select the cursor and then moving it to the desired location.
How can shapes be added to the Blender workspace?
-Shapes can be added to the Blender workspace by using the 'Add' button and selecting 'Mesh' from the options, or by using the shortcut 'Shift' + 'A' and selecting the desired shape from the menu.
What is the significance of the number of loops in a shape in Blender?
-The number of loops in a shape determines the level of detail and complexity. More loops can add more detail, but for low-poly modeling, fewer loops are used for better performance, especially for mobile players.
What is the purpose of the 'Extrude' function in Blender?
-The 'Extrude' function in Blender allows users to add more vertices to a shape, which can then be manipulated to create various forms and details in the modeling process.
How can users quickly switch between different views in Blender?
-Users can quickly switch between different views in Blender by using the number pad on their keyboard, with '1' for front view, '3' for side view, and '7' for top view.
What is the 'Alt Click' trick mentioned in the video for selecting vertices in Blender?
-The 'Alt Click' trick allows users to select an entire row or set of vertices quickly by holding down the 'Alt' key and clicking on the desired vertices.
What are the two main views recommended for beginners in Blender for modeling?
-The two main views recommended for beginners in Blender are the Solid view and the Wireframe view, which can be toggled using the 'Z' key.
What is the importance of learning shortcuts in Blender as mentioned in the video?
-Learning shortcuts in Blender is important as they make the modeling process faster and more efficient, allowing users to focus on creating rather than navigating menus.
Outlines

Esta sección está disponible solo para usuarios con suscripción. Por favor, mejora tu plan para acceder a esta parte.
Mejorar ahoraMindmap

Esta sección está disponible solo para usuarios con suscripción. Por favor, mejora tu plan para acceder a esta parte.
Mejorar ahoraKeywords

Esta sección está disponible solo para usuarios con suscripción. Por favor, mejora tu plan para acceder a esta parte.
Mejorar ahoraHighlights

Esta sección está disponible solo para usuarios con suscripción. Por favor, mejora tu plan para acceder a esta parte.
Mejorar ahoraTranscripts

Esta sección está disponible solo para usuarios con suscripción. Por favor, mejora tu plan para acceder a esta parte.
Mejorar ahoraVer Más Videos Relacionados
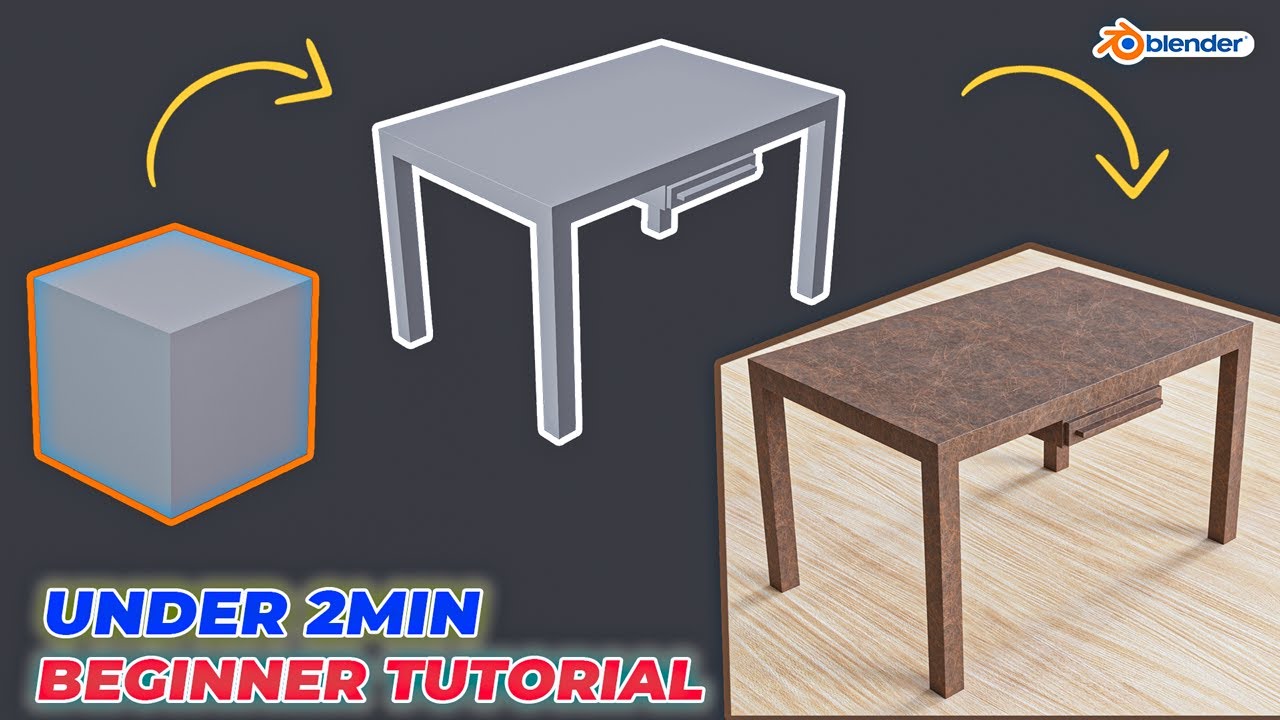
Modeling Table Under 2Min || Blender Beginners Tutorial

How to Study the Bible: Beginner Level - Impact Workshops

Tutorial Sculpt untuk pemula

Working with Visual Studio .NET | C#.NET Tutorial | Mr. Bangar Raju
Introduction to Blender 3D: Getting Started with the Interface & Essential Tools in Blender

How To Make Pixel Art In Blender - The Complete Guide
5.0 / 5 (0 votes)
