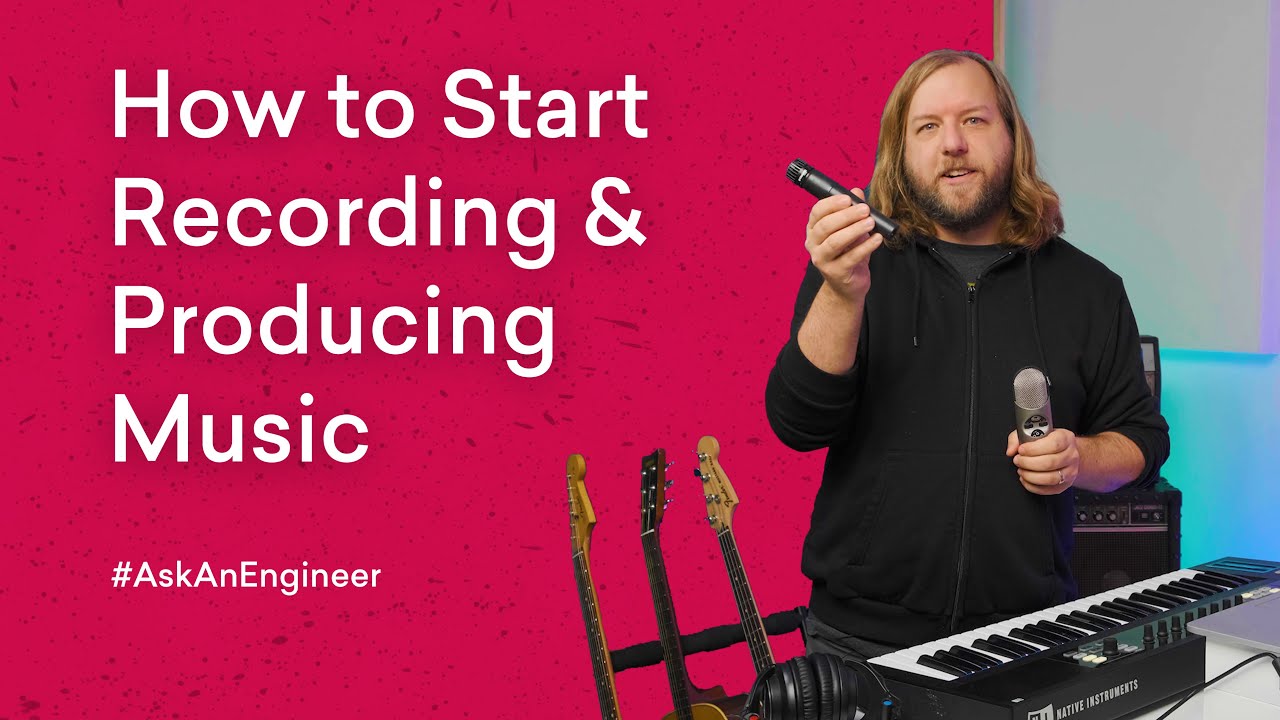
Perekaman Sederhana dengan Aplikasi DAW
Summary
TLDRThis video tutorial walks viewers through the basics of simple music recording using a Digital Audio Workstation (DAW). It covers essential tools needed for recording, such as a smartphone app, earphones with a microphone, and musical instruments. The process includes setting up the recording environment, preparing the music, and recording each part of a song—guitar, rhythmic accompaniment, and vocals—step by step. Tips on ensuring clear sound quality and effective recording techniques are also shared, emphasizing the importance of different sound wave patterns for a fuller listening experience.
Takeaways
- 😀 Prepare the right equipment for simple music recording, such as a free music recording app, earphones with a microphone, and a splitter.
- 🎶 Set up a quiet and enclosed space for optimal recording quality and minimal background noise.
- 🎸 Use the instrument of choice, such as a guitar, to record the song’s parts.
- 🖥 Choose a free or trial version of a recording application on your smartphone for a simple setup.
- 🎧 Use earphones and a clip-on microphone to record music, ensuring clear sound and separation between audio channels.
- ⏱ Maintain a consistent tempo throughout the recording process to ensure all parts flow smoothly together.
- 🔄 Record the guitar parts twice to create a stereo effect, making it sound like the guitar is playing in both the left and right speakers.
- 🎵 Create a rhythmic accompaniment, using alternatives like a table for percussive sounds if no rhythm instrument is available.
- 🎤 Position the clip-on microphone about 5 cm away from the mouth and between the nose and mouth to avoid unwanted breath sounds during vocal recording.
- 📝 Practice each part of the song before recording to ensure smooth and effective recording sessions.
- 📀 After recording, review and adjust the sections to ensure the final track sounds polished and cohesive.
Q & A
What is the first step to start simple music recording?
-The first step is to prepare the necessary tools, including a recording application on your smartphone, such as a free or trial version of an app like Andro.
Why is it important to use a clip-on microphone for recording?
-A clip-on microphone is important because it allows you to place the mic close to the sound source, ensuring better sound quality and minimizing background noise.
What role does the earphone or headphone play in the recording process?
-The earphone or headphone helps monitor the audio during the recording process, while the clip-on microphone captures the sound. The splitter allows both devices to be used simultaneously.
How should the location of the recording affect the sound quality?
-It’s important to record in a quiet and enclosed space to ensure the sound is clean and free from unwanted background noise.
Why is it necessary to rehearse the song and its parts before recording?
-Rehearsing ensures that each section of the song is well-prepared, helping the recording process to be more efficient and effective.
What is the reason for recording the guitar part twice?
-Recording the guitar part twice creates a stereo effect, where the left and right speakers will produce slightly different audio waves, making it sound like two distinct sources of sound rather than a single one.
Why can't you simply copy and paste the same guitar recording instead of recording it twice?
-Copying and pasting the same guitar recording would result in identical sound waves, which would not create the stereo effect. Two different recordings produce a richer, more natural stereo sound.
What is the purpose of recording the rhythmic accompaniment using the hands and a table?
-The rhythmic accompaniment is recorded by tapping a table with the hands to simulate a rhythm, especially when no other instruments are available to play the accompaniment.
How should you position the clip-on microphone while recording vocals?
-The clip-on microphone should be placed about 5 cm from the mouth, between the nose and mouth, to capture the voice clearly while avoiding the sounds of breath exhalation.
What is the final outcome after all the recording steps are completed?
-After all the parts are recorded and adjusted for optimal sound, the final result is a clean and well-mixed version of the song, ready for playback or sharing, such as in the example 'Soleram.'
Outlines

Dieser Bereich ist nur für Premium-Benutzer verfügbar. Bitte führen Sie ein Upgrade durch, um auf diesen Abschnitt zuzugreifen.
Upgrade durchführenMindmap

Dieser Bereich ist nur für Premium-Benutzer verfügbar. Bitte führen Sie ein Upgrade durch, um auf diesen Abschnitt zuzugreifen.
Upgrade durchführenKeywords

Dieser Bereich ist nur für Premium-Benutzer verfügbar. Bitte führen Sie ein Upgrade durch, um auf diesen Abschnitt zuzugreifen.
Upgrade durchführenHighlights

Dieser Bereich ist nur für Premium-Benutzer verfügbar. Bitte führen Sie ein Upgrade durch, um auf diesen Abschnitt zuzugreifen.
Upgrade durchführenTranscripts

Dieser Bereich ist nur für Premium-Benutzer verfügbar. Bitte führen Sie ein Upgrade durch, um auf diesen Abschnitt zuzugreifen.
Upgrade durchführenWeitere ähnliche Videos ansehen
5.0 / 5 (0 votes)


