Arduino voice command on & off, like a personal assistant
Summary
TLDRIn this engaging tutorial, the presenter explores the power of sound sensing with an Arduino setup. They demonstrate how to connect a microphone to the Arduino, using a voltage divider to read sound levels accurately. The session includes practical steps to analyze audio signals and control an LED based on sound commands, showcasing the integration of recorded voice commands. Despite encountering some technical challenges with processing power and bugs, the experiment provides valuable insights into working with audio inputs, making it an informative resource for enthusiasts looking to enhance their projects with voice control.
Takeaways
- 🎤 The importance of listening: The script emphasizes the power of listening and how it affects the project.
- 🔌 Power supply setup: A 5-volt power supply is necessary for the microphone to function properly.
- 📉 Voltage challenges: The microphone's tapping voltage is low, which limits access to Arduino's 10-bit resolution.
- 🛠️ Voltage divider usage: A voltage divider is connected to the microphone to enhance the signal for better reading.
- 📊 Understanding resolution: The Arduino's resolution is crucial for accurately interpreting sound levels.
- 🔄 Use of a potentiometer: A potentiometer is introduced to help achieve 10-bit resolution in sound detection.
- 💻 Arduino connections: The sound sensor is connected to an Arduino's analog pin for data acquisition.
- ⏱️ Delay adjustments: A delay of 50 milliseconds is recommended for better sound wave analysis.
- 💡 LED control: The script details how to control an LED based on sound commands using Arduino.
- 🎶 Voice commands: The user can store voice commands on an SD card to control the LED, demonstrating the integration of voice recognition.
Q & A
What is the main purpose of using a microphone in the experiment?
-The microphone is used to detect sound, allowing the experimenter to analyze sound waves and control an LED based on voice commands.
Why is a voltage divider necessary for the microphone?
-A voltage divider is necessary to ensure that the microphone's low voltage signal can be measured accurately by the Arduino, which requires a specific voltage range for optimal performance.
What is the significance of 10-bit resolution in the Arduino?
-10-bit resolution allows the Arduino to differentiate 1024 different levels of voltage. This precision is important for accurately reading the varying voltage levels produced by the microphone.
How does the delay affect the sound wave analysis?
-The delay controls how frequently the Arduino reads the microphone's signal. A 50-millisecond delay is suggested for better sound wave analysis, providing a balance between responsiveness and accuracy.
What challenges does the Arduino face with voice command recognition?
-The Arduino may struggle with processing multiple voice command values due to its limited computational power, leading to issues like lag or failure to recognize commands.
What is the role of the D player in this experiment?
-The D player is used to store and playback recorded voice commands, enabling the system to respond to specific spoken instructions for turning the LED on and off.
How does the script ensure that the LED turns on or off in response to voice commands?
-The script compares the detected microphone values against predefined thresholds for 'light on' and 'light off' commands. If the detected value matches the threshold, the LED is activated or deactivated accordingly.
What kind of data is saved to the SD card during the experiment?
-Voice recordings are saved as MP3 files to the SD card, allowing the system to playback specific commands when triggered.
What could be a potential solution for the computational limitations of the Arduino?
-One potential solution could be to use a more powerful microcontroller or processor that can handle more complex calculations and multiple audio inputs simultaneously.
What are the key steps in setting up the microphone for the experiment?
-The key steps include connecting the microphone to the Arduino via a voltage divider, adjusting the potentiometer for optimal signal reading, and uploading the appropriate code to read the analog input.
Outlines

此内容仅限付费用户访问。 请升级后访问。
立即升级Mindmap

此内容仅限付费用户访问。 请升级后访问。
立即升级Keywords

此内容仅限付费用户访问。 请升级后访问。
立即升级Highlights

此内容仅限付费用户访问。 请升级后访问。
立即升级Transcripts

此内容仅限付费用户访问。 请升级后访问。
立即升级浏览更多相关视频

menyalakan lampu dengan tepuk tangan arduino

[IN HINDI] Arduino Car Parking System
motor speed controller with arduino in tinkercad | motor speed controller with PWM in tinkercad
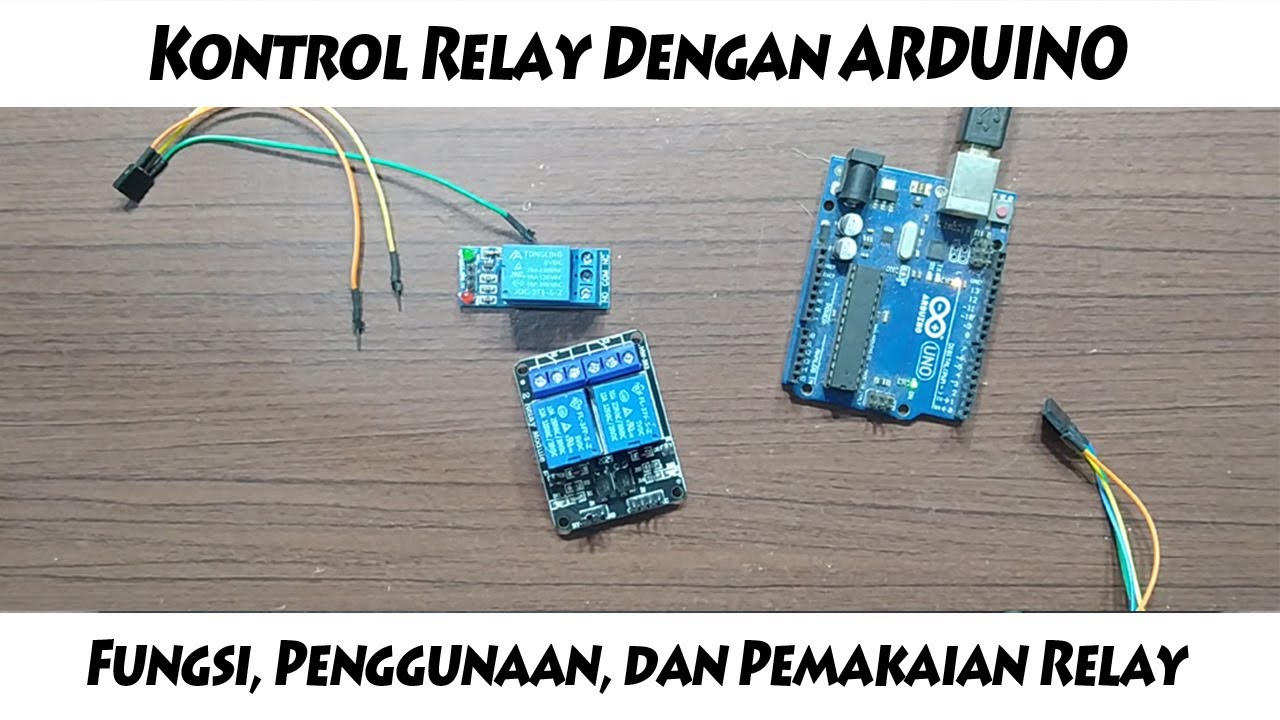
Cara penggunaan dan pengoperasian relay dengan ARDUINO UNO

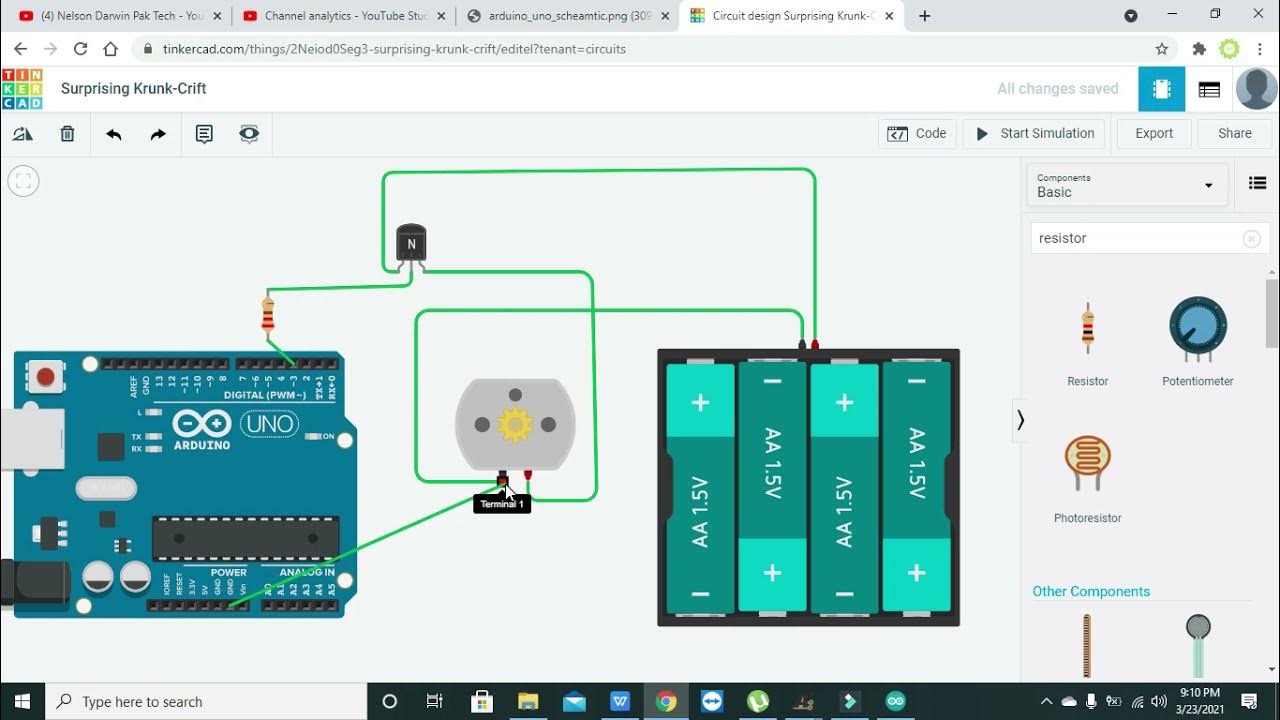
Creating Automatic Lights Using Sound Sensors and Arduino Uno

ARDUINO Project #001 : Mesin Penghitung Otomatis E18-D80NK
5.0 / 5 (0 votes)
