Jaringan Komputer Sederhana | Tutorial Belajar Online Lengkap CISCO CCNA 200-301 Part 5
Summary
TLDRThis video tutorial walks viewers through the process of setting up a simple computer network using Cisco Packet Tracer. Starting with connecting two PCs using UTP cables, the video covers how to configure IP addresses for both computers, followed by testing the network connection using the ping command. Additionally, the video introduces an alternative method to test connectivity with Packet Tracer's packet tool. This beginner-friendly guide ensures viewers can successfully simulate a basic network and understand essential networking concepts. Perfect for those new to Cisco Packet Tracer and networking basics.
Takeaways
- 😀 The video demonstrates how to download and install Cisco Packet Tracer.
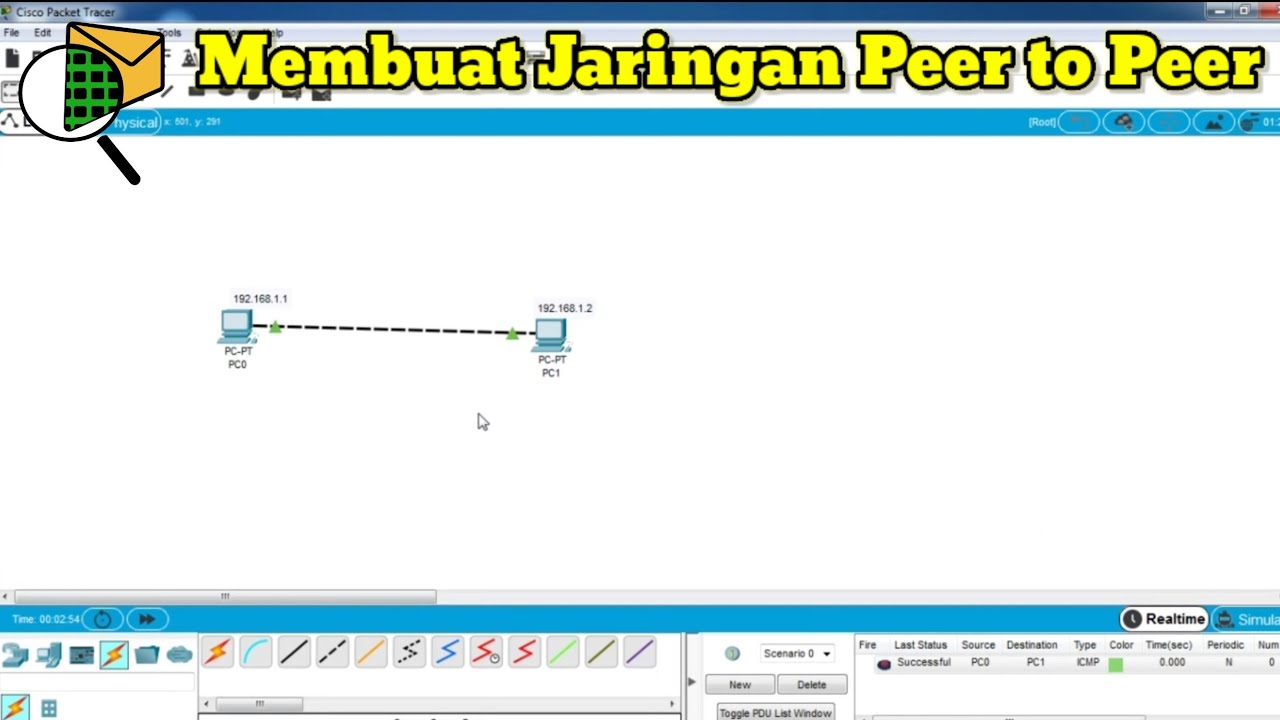
- 😀 The goal is to simulate a simple computer network, connecting two PCs.
- 😀 To resize the interface, users can adjust the font size in the Preferences menu.
- 😀 Two PCs are placed in Cisco Packet Tracer for the network simulation.
- 😀 UTP cables are used to connect the two PCs in the simulation.
- 😀 IP addresses need to be configured on both PCs for them to communicate.
- 😀 The first PC is configured with IP address 192.168.1.1, and the second PC is given 192.168.1.2.
- 😀 The IP address configuration can be done via the Desktop > IP Configuration menu on each PC.
- 😀 To test the network connection, the 'ping' command is used from the command prompt.
- 😀 The video also shows how to test network connectivity using the 'packet' tool in Cisco Packet Tracer, but in real-world scenarios, only the 'ping' command is available.
Q & A
What is the main objective of the video?
-The main objective of the video is to introduce the basics of computer networking using Cisco Packet Tracer, specifically showing how to connect two computers and test communication between them.
How can you resize the interface in Cisco Packet Tracer?
-To resize the interface, go to Preferences in the Cisco Packet Tracer settings. For Windows, it can be found under the 'File' menu, and for Mac, under 'Cisco Packet Tracer'. In the Preferences window, adjust the 'Font Size' to your preferred size and apply the changes.
What type of cable is used to connect the two computers in the simulation?
-A UTP (Unshielded Twisted Pair) cable is used to connect the two computers in the simulation.
Why is it necessary to configure IP addresses on the PCs?
-Configuring IP addresses is necessary because computers need unique IP addresses in order to communicate with each other over a network.
How do you configure the IP address on a PC in Cisco Packet Tracer?
-To configure the IP address, click on the PC, go to the 'Desktop' tab, and then click 'IP Configuration'. Enter the IP address in the respective field and leave the default subnet mask.
What are the IP addresses used for PC 0 and PC 1 in the simulation?
-PC 0 is configured with the IP address 192.168.1.1, and PC 1 is configured with the IP address 192.168.1.2.
How can you test the communication between the two PCs?
-To test the communication, you can use the 'ping' command in the Command Prompt of one PC, targeting the IP address of the other PC. A successful ping will show a reply from the destination PC.
What is the 'ping' command used for in this context?
-The 'ping' command is used to test the connectivity between two devices in a network. In this case, it tests the communication between PC 0 and PC 1.
What does a successful ping response indicate?
-A successful ping response indicates that the two PCs are successfully communicating over the network. The response will show a reply from the target IP, with the round-trip time and TTL (Time To Live).
What other method can be used to test connectivity in Cisco Packet Tracer besides 'ping'?
-In addition to the 'ping' command, you can also use the 'packet' tool in Cisco Packet Tracer to send a packet from one PC to another and check if the transfer is successful.
Outlines

This section is available to paid users only. Please upgrade to access this part.
Upgrade NowMindmap

This section is available to paid users only. Please upgrade to access this part.
Upgrade NowKeywords

This section is available to paid users only. Please upgrade to access this part.
Upgrade NowHighlights

This section is available to paid users only. Please upgrade to access this part.
Upgrade NowTranscripts

This section is available to paid users only. Please upgrade to access this part.
Upgrade NowBrowse More Related Video

Netzwerktutorial: Cisco Packet Tracer - Installation, Konfiguration & ein erster Aufbau
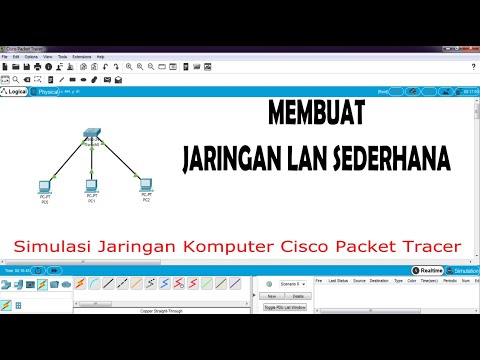
Cara Membuat Jaringan LAN Sederhana Cisco Packet Tracer
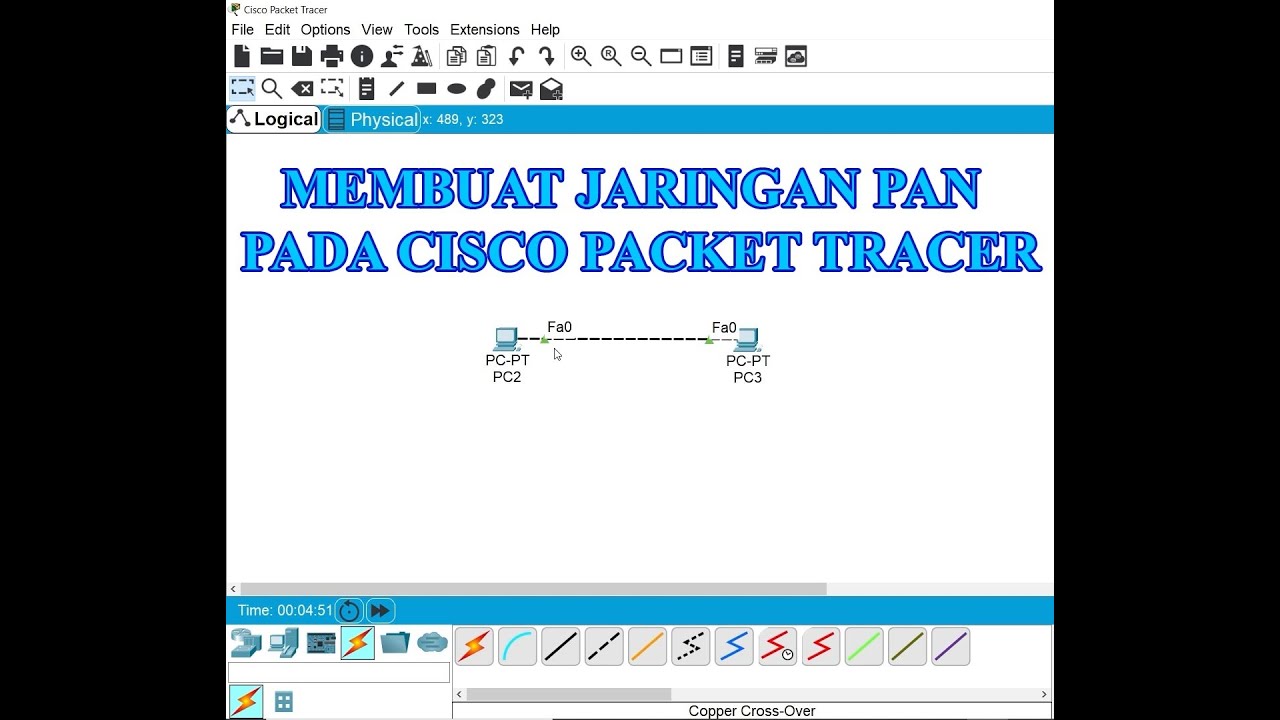
Membuat Jaringan PAN pada Cisco Packet Tracer

Cisco Packet Tracer | Everything You Need to Know

MATERI (NETWORK FUNDAMENTAL) || CISCO || IT || NETWORK ENGINEER ||
Cara Membuat Jaringan Peer To Peer di Cisco Packet Tracer
5.0 / 5 (0 votes)