Cara Membuat Rangkaian Sederhana Sensor Air Hujan
Summary
TLDRIn this tutorial, Henry demonstrates how to set up and test a rainwater detection sensor using basic components such as a sensor module, jumper cables, resistors, LEDs, and buzzers. The video covers both digital and analog outputs, explaining how the sensor reacts to water by either triggering an LED light or a buzzer. Henry provides detailed instructions on wiring and adjusting the sensor’s sensitivity using a potentiometer. The project is beginner-friendly, showing how the sensor can be used for water detection, with optional components to personalize the output indicator.
Takeaways
- 😀 The video introduces a rainwater sensor and its functionality, including the components involved such as the module, jumper cables, and rainwater sensor.
- 😀 The rainwater sensor module has two types of output: digital and analog, with the digital output being preferred for simplicity in practice.
- 😀 Users can adjust the sensitivity of the rainwater sensor using a potentiometer, which is controlled via a screwdriver.
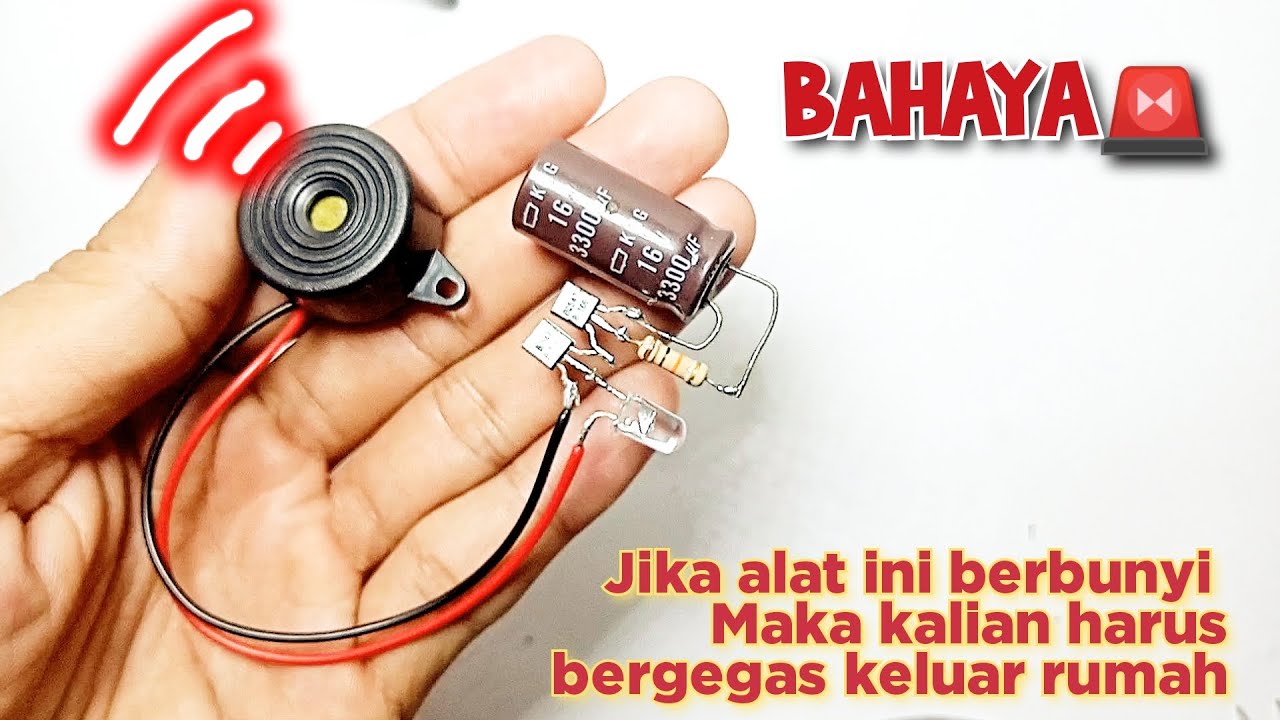
- 😀 The rainwater sensor can be connected to various output indicators like LEDs or buzzers, which activate when the sensor detects rainwater.
- 😀 When testing, water (simulated as rainwater) is used to activate the sensor, which then triggers the LED or buzzer as an indicator.
- 😀 A resistor is used with the buzzer to prevent overloading, ensuring safe operation when connected to the sensor's output.
- 😀 A diode is connected to the sensor's output to protect the circuit from voltage spikes caused by rainwater detection.
- 😀 The digital output mode of the sensor gives an immediate 0V output when rain is detected, while the analog output decreases gradually as the sensor detects varying levels of water.
- 😀 The video demonstrates the basic wiring setup for connecting the sensor, including using a breadboard, a battery (typically AA batteries in series), and proper connections for power, ground, and output.
- 😀 The video highlights that users have the flexibility to choose different types of indicators (buzzer or LED) based on preference, with the functionality being the same in either case.
Q & A
What is the main purpose of the rainwater detection sensor demonstrated in the video?
-The main purpose of the rainwater detection sensor is to detect the presence of water (such as rain) and trigger an indicator, such as a buzzer or LED, to alert users when water is detected.
How can the sensitivity of the rainwater sensor be adjusted?
-The sensitivity of the rainwater sensor can be adjusted using a potentiometer on the module. Turning it with a screwdriver allows users to set the desired sensitivity level for detecting water.
What are the two types of outputs available on the rainwater sensor module?
-The rainwater sensor module provides two types of outputs: analog output (AO) and digital output. The digital output changes immediately when water is detected, while the analog output decreases gradually with varying levels of water presence.
Why is a resistor used in the circuit with the buzzer or LED?
-A resistor is used in the circuit with the buzzer or LED to prevent excessive load on the components and to ensure that they operate within safe current limits.
What role does the diode play in the rainwater sensor circuit?
-The diode ensures that the voltage from the sensor, which changes when water is detected, flows in the correct direction and prevents any potential damage or incorrect behavior in the circuit by redirecting the current properly.
What happens when the rainwater sensor detects water?
-When the rainwater sensor detects water, it triggers the output signal, causing the digital output to drop to 0 volts (ground), which activates the connected indicator (such as an LED or buzzer).
Can the rainwater sensor module function without the use of a breadboard?
-Yes, the rainwater sensor module can function without a breadboard, but the breadboard is used in the demonstration to simplify connections and help organize the components. It is not a strict requirement for operation.
What kind of power source is used in the video for testing the sensor?
-The power source used in the video is a set of AA batteries arranged in series, providing approximately 4.8 volts, which is rounded up to 5 volts for the sensor module.
What happens if the rainwater sensor uses the analog output instead of the digital output?
-If the analog output is used, the voltage decreases gradually depending on the amount of water detected. In contrast, the digital output immediately drops to 0 volts when water is detected.
Is it necessary to use both a buzzer and an LED as indicators in the circuit?
-No, it is not necessary to use both a buzzer and an LED. The user can choose either one as an indicator, depending on their preference or the specific application.
Outlines

This section is available to paid users only. Please upgrade to access this part.
Upgrade NowMindmap

This section is available to paid users only. Please upgrade to access this part.
Upgrade NowKeywords

This section is available to paid users only. Please upgrade to access this part.
Upgrade NowHighlights

This section is available to paid users only. Please upgrade to access this part.
Upgrade NowTranscripts

This section is available to paid users only. Please upgrade to access this part.
Upgrade NowBrowse More Related Video
Cara membuat alarm pendeteksi gempa dengan rangkaian elektronika sederhana

Perangkat Cerdas Pendeteksi Hujan || Raindrop Sensor Dengan Arduino || Full Code dan Penjelasan

No Contact Fluid Sensor

Komponen Penunjang Single Board Controller | Sistem Komputer | Informatika XII

menyalakan lampu dengan tepuk tangan arduino

Sensor de presença - PIR ( Como funciona, com instalar e como usar)
5.0 / 5 (0 votes)