Mengimplementasi IoT pada Smart home | Simulasi menggunakan Cisco Packet Tracer
Summary
TLDRIn this tutorial, Dena Refando from class 11 TKJ1 demonstrates how to implement an Internet of Things (IoT) system in a smart home using Cisco Packet Tracer. The steps include configuring devices such as a gateway, laptop, door locks, lights, and fans to create a connected home. Dena walks through setting up the IoT server as a home gateway, configuring wireless connections, and managing device conditions like 'open' and 'closed' for doors. The tutorial emphasizes the simplicity and flexibility of customizing device names and settings, making it an insightful guide for beginners in IoT.
Takeaways
- 😀 Start the process by selecting the **Gateway** option in Cisco Packet Tracer.
- 😀 Choose a **laptop** to act as the control device for the IoT system.
- 😀 Add smart home devices like doors for the **living room**, **parent’s room**, and **children’s room**, as well as devices like the **garage**, **fan**, and **lights**.
- 😀 Set up the **IoT server** as the **Home Gateway** and configure its settings.
- 😀 Adjust the **IO Config** to **Wireless** to ensure proper connectivity for all devices.
- 😀 Rename each IoT component to avoid confusion during the setup.
- 😀 Configure the laptop to **WBPC 300N** and connect it to the IoT system by refreshing the connection in the desktop’s wireless settings.
- 😀 Access the **Web Browser** of the laptop and input the IP address `192.8.25.1` to access the **Home Gateway login** page.
- 😀 Use the default username and password (**admin**) to log in to the system and access the configuration interface.
- 😀 Set up **Conditions** for device states, such as **Open** and **Closed**, ensuring each action corresponds to the correct state of the devices.
Q & A
What is the main focus of the script?
-The main focus of the script is the implementation of the Internet of Things (IoT) in a smart home using the Cisco Packet Tracer application.
Which devices are being configured in the smart home project?
-The devices being configured in the smart home project include a laptop, doors for the living room, parents' room, and children's room, a garage, a fan, and lights for the parents' and children's rooms.
What is the purpose of setting the IoT server to 'home Gateway'?
-Setting the IoT server to 'home Gateway' allows the smart home devices to be connected to the home network, facilitating communication between the devices and the server.
How is the wireless connection for the devices configured?
-The wireless connection for the devices is configured by going to the IoT server settings, selecting 'wireless', and ensuring that each device is connected to the home Gateway.
What steps are taken to change the configuration of the laptop?
-To change the configuration of the laptop, the user clicks on the laptop, turns it off, changes its settings to 'wbpc 300n', and then turns it back on. Afterward, the laptop is connected to the Gateway via wireless.
How does the user access the home Gateway interface?
-The user accesses the home Gateway interface by entering the URL '192.8.25.1' in the web browser of the laptop, logging in with the username and password 'admin', and submitting the details to access the settings.
What is the purpose of setting 'open' and 'closed' conditions for the doors?
-The purpose of setting 'open' and 'closed' conditions is to control the state of the doors in the smart home system, such as unlocking or locking the doors based on the defined conditions.
How does the user configure the door conditions in the system?
-The user configures the door conditions by clicking 'add' to create new conditions, naming them ('open' or 'closed'), setting the conditions to either true or false, and applying these settings to the relevant devices.
What is the significance of the 'clock to unlock' action?
-The 'clock to unlock' action is used to define the state change of the door, which allows the door to be unlocked when the condition is met, such as when the 'open' condition is true.
What does the user do after setting the conditions for all devices?
-After setting the conditions for all devices, the user clicks 'OK' to confirm the settings and then exits the configuration interface. To test, the user clicks 'Alt' and the left mouse button to check if the system is working as expected.
Outlines

This section is available to paid users only. Please upgrade to access this part.
Upgrade NowMindmap

This section is available to paid users only. Please upgrade to access this part.
Upgrade NowKeywords

This section is available to paid users only. Please upgrade to access this part.
Upgrade NowHighlights

This section is available to paid users only. Please upgrade to access this part.
Upgrade NowTranscripts

This section is available to paid users only. Please upgrade to access this part.
Upgrade NowBrowse More Related Video
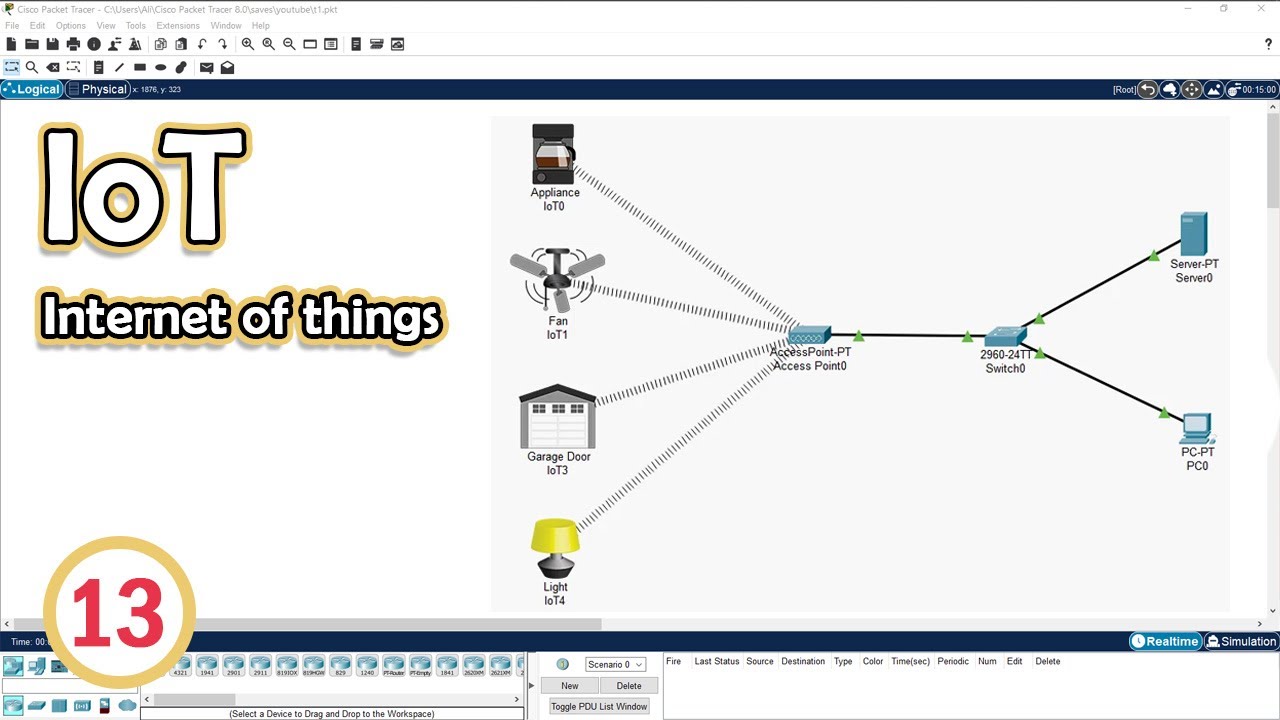
Simulate IoT #13 || cisco packet tracer
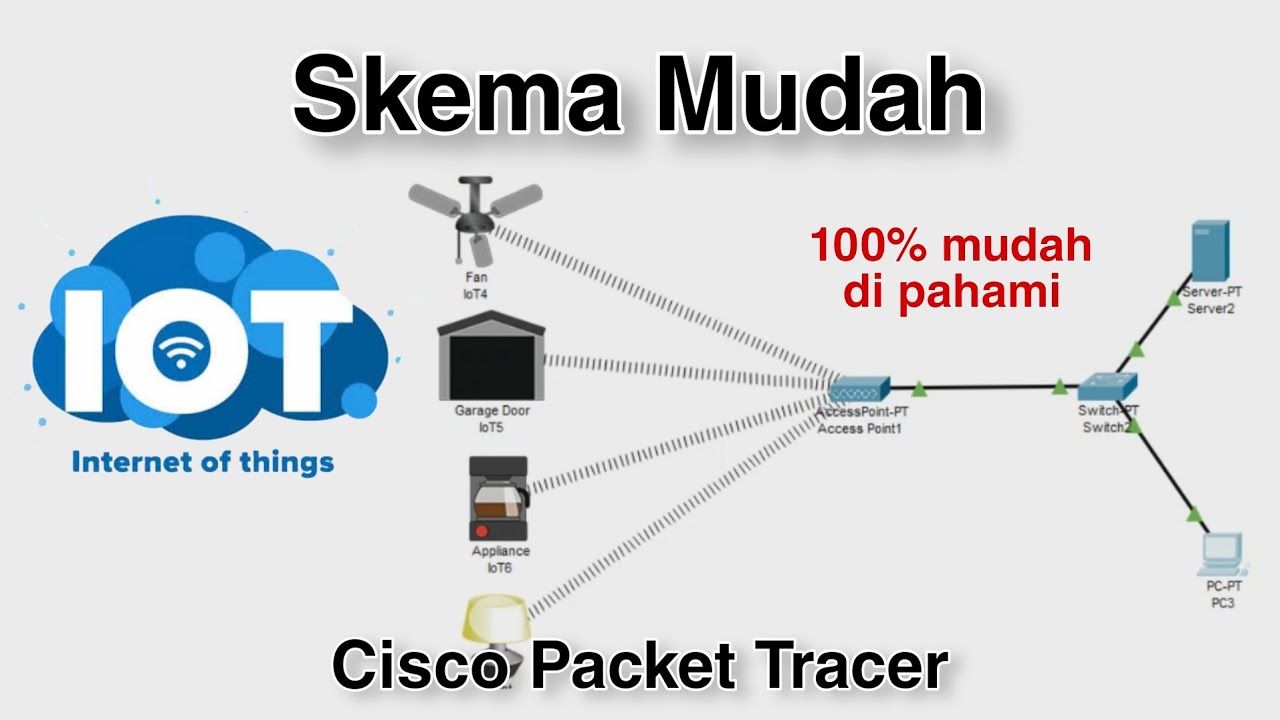
Konfigurasi IoT Perangkat Smart Home - Internet of Things | Cisco Packet Tracer

Smart Traffic Light System using Cisco Packet Tracer | IoT Simulation Tutorial | Edge Computing
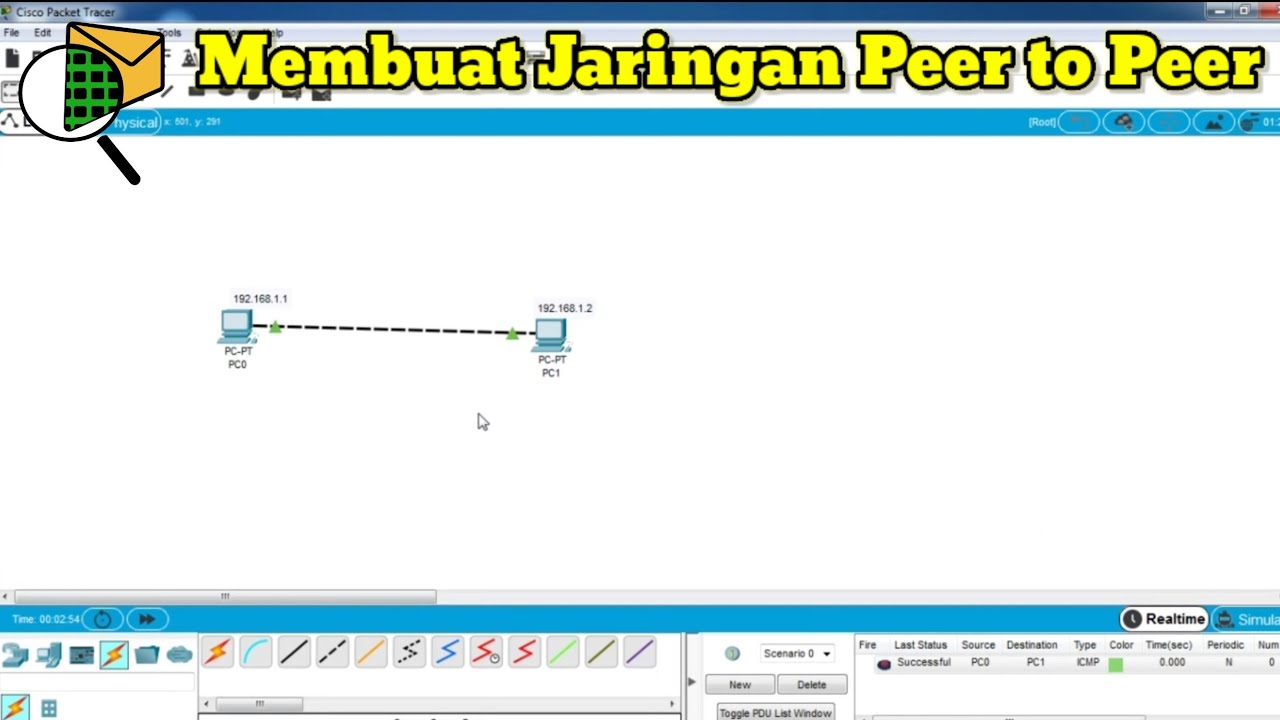
Cara Membuat Jaringan Peer To Peer di Cisco Packet Tracer

Netzwerktutorial: Cisco Packet Tracer - Installation, Konfiguration & ein erster Aufbau
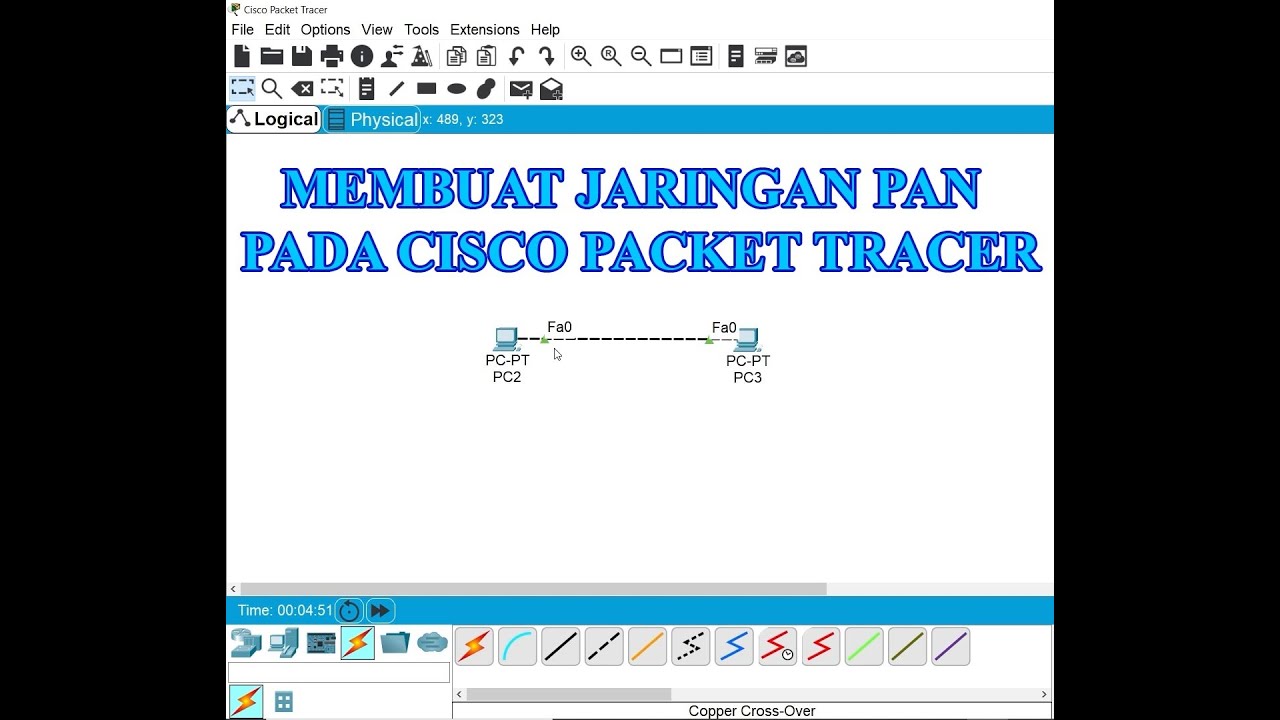
Membuat Jaringan PAN pada Cisco Packet Tracer
5.0 / 5 (0 votes)