Cara membuat 3D Nut/Mur menggunakan AUTOCAD
Summary
TLDRIn this tutorial, the presenter guides viewers on how to create a 3D drawing using a drawing application. The steps involve starting the app, creating polygons, adjusting dimensions, adding shapes like circles and helices, and applying different views and settings to refine the design. The tutorial emphasizes working with measurements, creating precise shapes, and manipulating the design for realism. It’s a detailed process suitable for beginners looking to learn the basics of 3D drawing with step-by-step instructions.
Takeaways
- 😀 Start by opening the drawing application and selecting the 'Start Drawing' menu.
- 😀 Deactivate the grid option to make the drawing process easier (this is optional).
- 😀 Begin by creating a polygon using the 'Polygon' tool and adjusting the shape as needed.
- 😀 Zoom in to refine the drawing and focus on the details of the polygon.
- 😀 Create a circle inside the polygon with a chosen diameter (e.g., 8).
- 😀 Adjust the view to 3D to visualize the drawing in a different perspective.
- 😀 Apply a realistic rendering style to the polygon to make it look more detailed.
- 😀 Use the 'Blackstrut' tool to adjust the height of the polygon, setting it to a specific value (e.g., 6).
- 😀 Drill holes into the shape by creating a circle and adjusting the dimensions for accuracy.
- 😀 Insert a 'Helix' shape and adjust its parameters, including the number of segments and spacing.
- 😀 Add more circles or shapes to the design and modify their dimensions and positions for a refined look.
Q & A
What is the first step to begin the 3D drawing process in the tutorial?
-The first step is to open the application and select the 'start drawing' option to begin the drawing process.
Why is it important to turn off the grid in the drawing application?
-Turning off the grid is optional but helps to avoid unnecessary visual clutter, making it easier to focus on the design.
What type of shape is used to start the drawing process?
-The drawing starts with creating a polygon shape using the 'Polygon' tool.
What is the significance of setting the diameter to 8 when creating the polygon?
-Setting the diameter to 8 ensures that the polygon has the correct size and proportions before proceeding with further steps.
How does the 'view' setting change during the tutorial?
-The view is changed to 'bpsw xmetrik,' which adjusts the perspective to make the drawing more manageable for the next steps.
What role does the 'Blackstrut' tool play in the drawing process?
-The 'Blackstrut' tool is used to modify the height of the design, which is set to a value of 6 in the tutorial.
Why is it important to adjust the edges of the circle with a distance setting of 0.3?
-Adjusting the edges of the circle with a 0.3-meter distance helps to smooth out the sharpness of the circle's corners, creating a more refined design.
What is the purpose of creating a Helix shape in the tutorial?
-The Helix shape is used to add a spiral element to the design, with specific settings for the number of loops and spacing between them.
How do you adjust the spacing of the Helix in the drawing process?
-The spacing of the Helix is adjusted by setting the gap between the loops to 0.8, allowing for a controlled spiral effect.
What is the final appearance of the design after all steps are completed?
-The final design has a realistic 3D appearance, with well-defined shapes like the polygon, circle, and Helix, smoothly integrated into the overall model.
Outlines

This section is available to paid users only. Please upgrade to access this part.
Upgrade NowMindmap

This section is available to paid users only. Please upgrade to access this part.
Upgrade NowKeywords

This section is available to paid users only. Please upgrade to access this part.
Upgrade NowHighlights

This section is available to paid users only. Please upgrade to access this part.
Upgrade NowTranscripts

This section is available to paid users only. Please upgrade to access this part.
Upgrade NowBrowse More Related Video
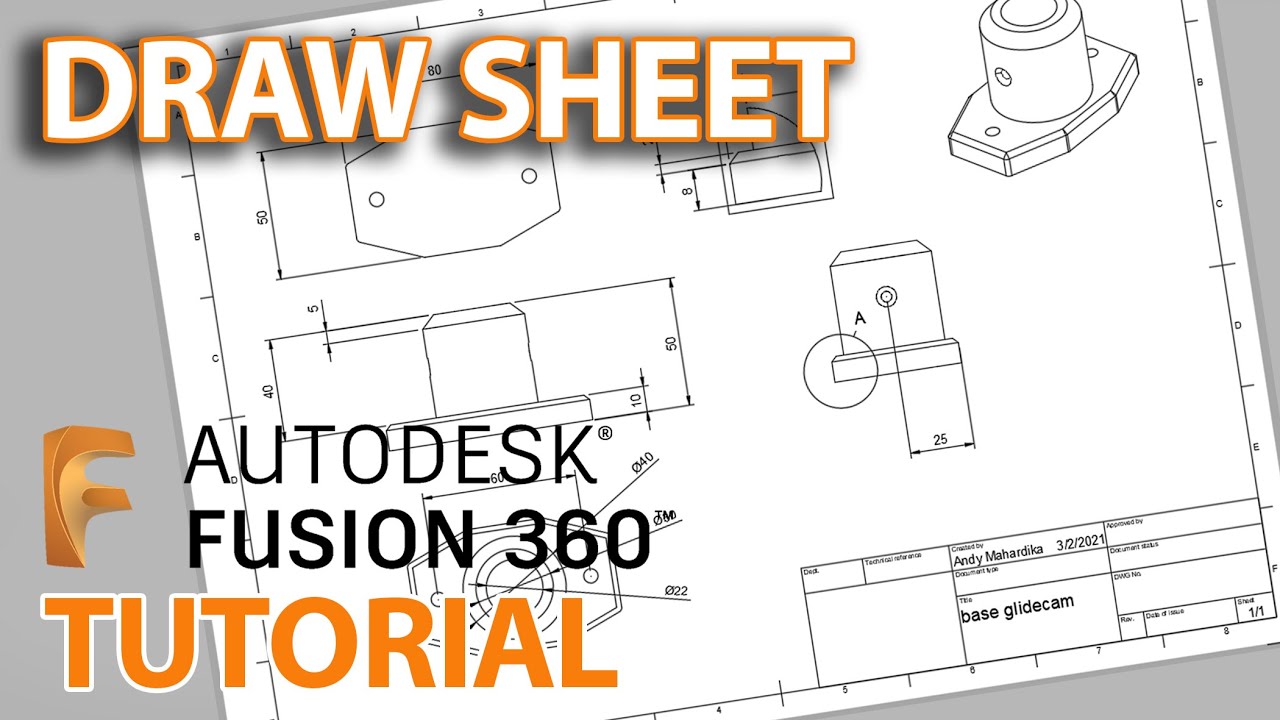
Fusion 360 Tutorial : Membuat Gambar kerja - Untuk pemula
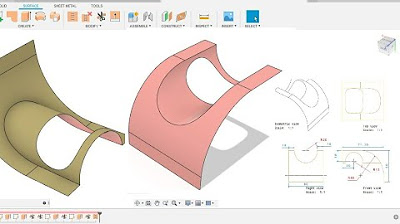
Fusion 360 beginner's Exercise #9 - Fusion 360 tutorial
SolidWorks - Tutorial for Beginners in 13 MINUTES! [ COMPLETE ]
Tutorial Drawing #1 Mengubah Ukuran Kertas dan Garis Tepi Di Autodesk Inventor Indonesia
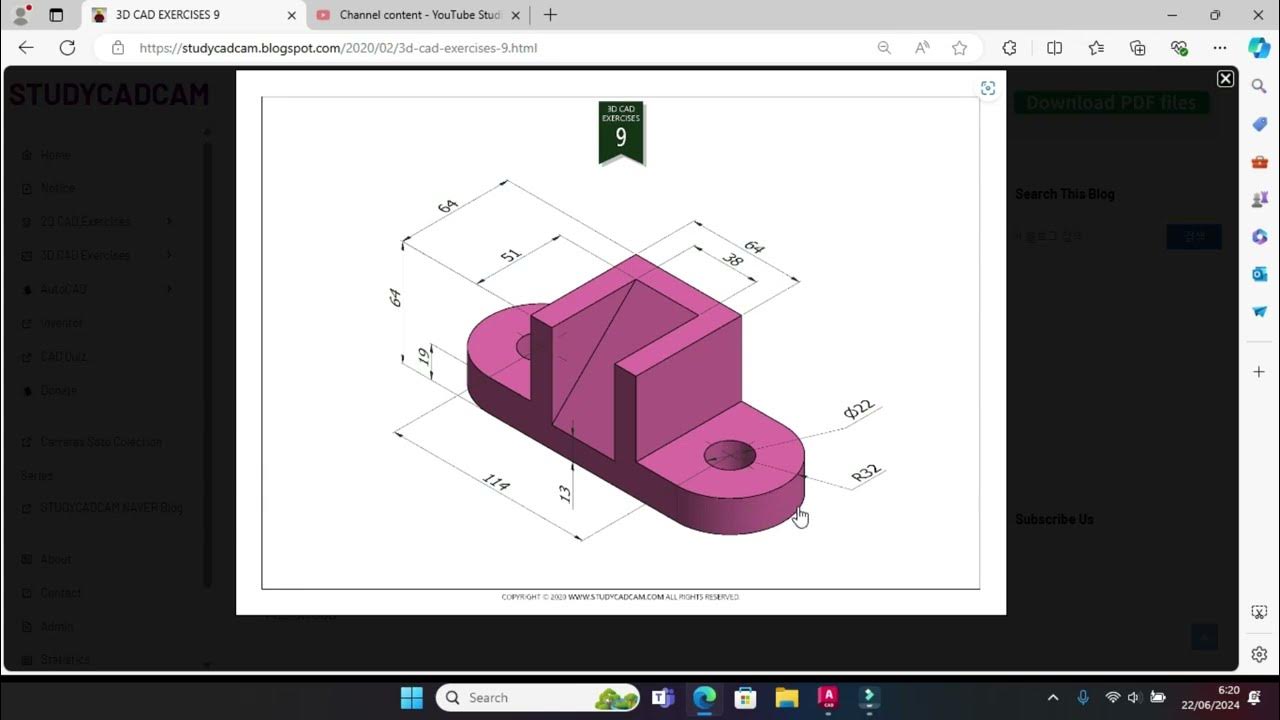
Tutorial Autocad 3D II Studycadcam Exercise 9

Orthographic Projection from isometric view in Engineering drawing
5.0 / 5 (0 votes)