Fusion 360 Tutorial : Membuat Gambar kerja - Untuk pemula
Summary
TLDRThis video tutorial demonstrates how to create technical drawings from 3D models using Fusion 360. The creator opens a pre-made file, explains the drawing setup with paper size options, and details how to project 3D views into 2D drawings. It covers steps to adjust views, create section and detail views, and add annotations like dimensions and centerlines. The tutorial also provides tips on exporting the final drawing as a PDF or sending it to a printer. Aimed at simplifying the design process, it encourages viewers to subscribe for more tutorials.
Takeaways
- 😀 This tutorial covers how to create a working drawing from a 3D model using Fusion 360.
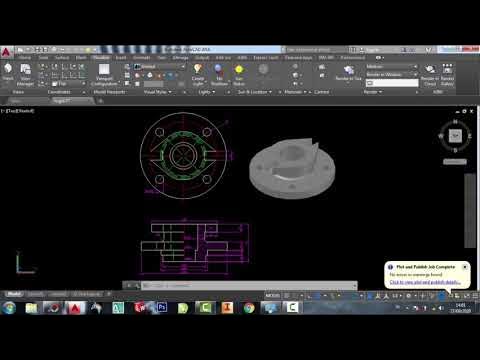
- 📁 The process starts with opening a pre-made 3D model file to work on.
- 🖱️ Navigate to the design section and select the 'Drawing' option to create a work drawing from the model.
- 📏 Paper size can be customized (e.g., A0, A1, A2, A3, A4) and the tutorial uses A3 in landscape format.
- 🖼️ Use 'Best View' to project different views (front, top, bottom, side) of the object into the drawing.
- 🛠️ The tutorial explains how to add different types of views like section views to show internal parts and detail views for more focus on specific areas.
- ✏️ Annotations and dimensions can be added to specify details like material, part numbers, and precise measurements.
- 🔧 Dimensions are applied to objects, showing distances between holes or diameters, and they remain accurate even if the drawing is scaled.
- 📜 Additional tools like centermarks and centerlines can be used to mark holes and axes for better precision.
- 📤 The final output can be exported as a PDF or printed, and Fusion 360 offers flexible options for scaling and adding more worksheets to the document.
Q & A
What is the purpose of this tutorial?
-The purpose of this tutorial is to demonstrate how to create working drawings from a 3D model using Fusion 360. It explains the process of generating 2D drawings from 3D models for easier projection and documentation.
What file format is used for working on the 3D models?
-The tutorial uses a 3D model that has already been created in Fusion 360. The speaker opens a previously made model file in the software.
How does one create a working drawing from a 3D model in Fusion 360?
-To create a working drawing, you select 'Drawing' under the 'Design' tab, then choose 'From Design' to generate a 2D drawing from the 3D model. The paper size and layout can be adjusted, such as using A3 paper in landscape format.
What is the 'Best View' option in Fusion 360, and what does it do?
-The 'Best View' option allows users to select the optimal view of the 3D model to use in the 2D drawing. It shows different perspectives like the front view and ensures the drawing displays key details.
How are projection views such as top, bottom, and side views created?
-Projection views can be generated by selecting 'Project View' after placing the main view on the drawing. The top, bottom, and side views are automatically aligned with the main view.
What is the 'Section View' feature used for?
-The 'Section View' feature creates a cutaway view of the object, showing internal details by cutting through a specified area of the model.
What is the purpose of the 'Detail View' in the drawing?
-The 'Detail View' zooms in on a specific area of the drawing, showing a more detailed view of complex parts. It enlarges a selected portion to display fine details more clearly.
What does the tutorial say about adding dimensions to the drawing?
-Dimensions can be added using the 'Dimension' tool. Users can click on points, edges, or objects to measure and display distances, diameters, or other relevant dimensions within the drawing.
How does Fusion 360 handle annotations like centerlines and centermarks?
-Fusion 360 allows users to add centerlines and centermarks for better clarity, especially for symmetrical objects or those with holes. This is done by selecting the 'Centerline' or 'Centermark' options and applying them to the relevant geometry.
What options are available for exporting or printing the final working drawing?
-The final working drawing can be exported as a PDF, but the export features may depend on the license type (educational or personal). Users can also print directly by selecting a printer and paper size, or add more sheets for multi-page drawings.
Outlines

This section is available to paid users only. Please upgrade to access this part.
Upgrade NowMindmap

This section is available to paid users only. Please upgrade to access this part.
Upgrade NowKeywords

This section is available to paid users only. Please upgrade to access this part.
Upgrade NowHighlights

This section is available to paid users only. Please upgrade to access this part.
Upgrade NowTranscripts

This section is available to paid users only. Please upgrade to access this part.
Upgrade NowBrowse More Related Video
How to 3D Print your own Cityscapes and Terrains (FREE Method)
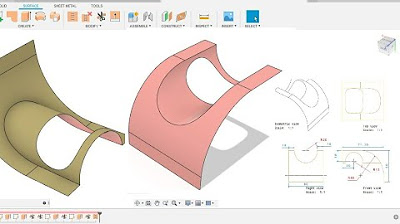
Fusion 360 beginner's Exercise #9 - Fusion 360 tutorial
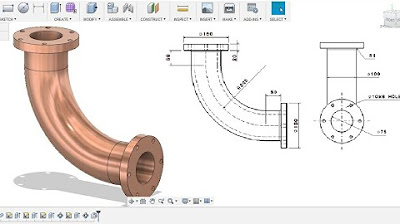
Fusion 360 beginner's Exercise #1 - Fusion 360 tutorial
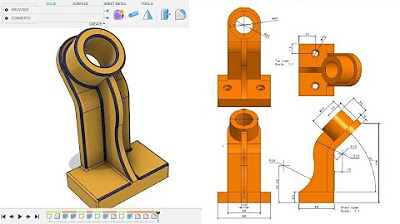
Fusion 360 beginner's Exercise #10 - Fusion 360 tutorial
Autocad 2dimensional to 3dimensional beginner # 42 mechanical engineering
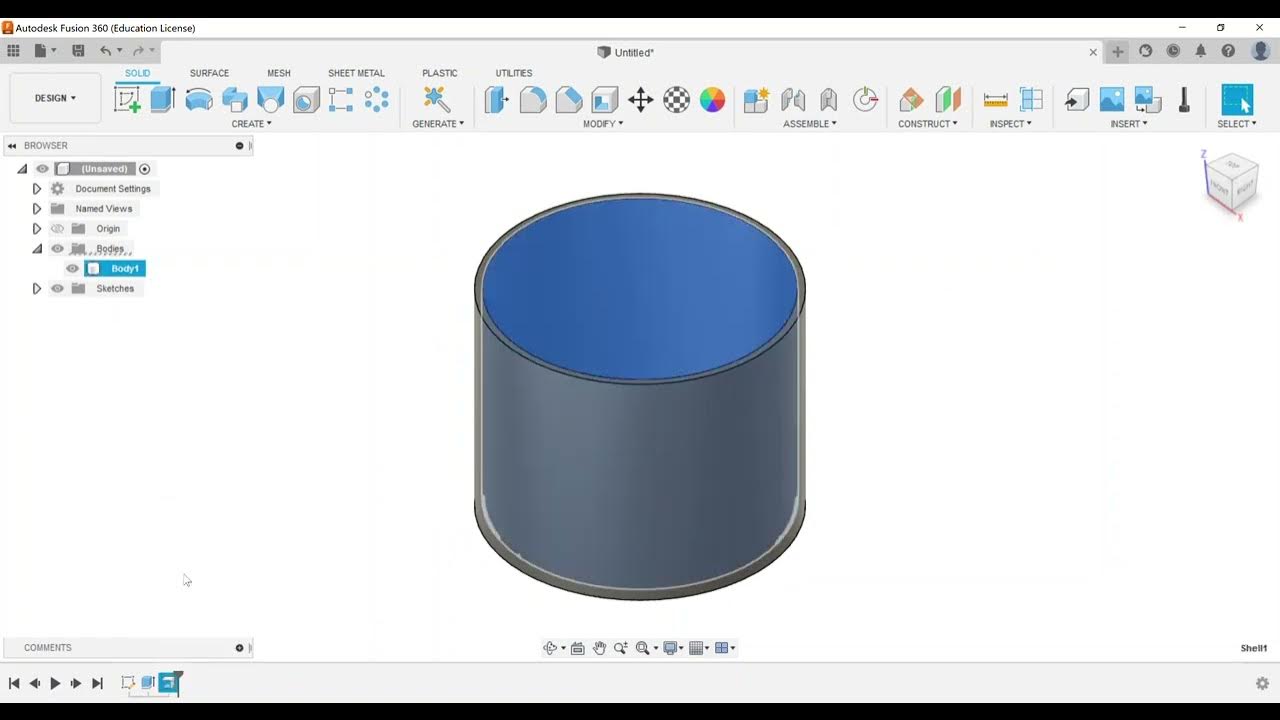
Part Modeling - Create a Shell Feature
5.0 / 5 (0 votes)