Cara Membuat Stempel di Coreldraw x7 dengan Mudah
Summary
TLDRIn this tutorial, the presenter demonstrates how to create a simple stamp design using CorelDraw X7. Starting with creating circles and adjusting their size, the process continues with adding a rectangle for cutting and adjusting text to fit the design. The tutorial also includes steps for adding an outer text, positioning objects symmetrically, and drawing a star. Clear instructions are given for each step, ensuring the creation of a professional-looking stamp. The video concludes by encouraging viewers to subscribe and share the tutorial, with an invitation for questions or comments.
Takeaways
- 😀 Open CorelDraw X7 to start the design process.
- 😀 Begin by drawing a circle using the Ellipse tool (F7). Hold *Shift* to maintain equal proportions.
- 😀 Create a second, smaller circle inside the first one by holding *Shift* while dragging.
- 😀 Use the Rectangle tool to draw a rectangle in the center of the smaller circle.
- 😀 Align the rectangle to the center of the smaller circle using the *C* and *E* keys.
- 😀 Use the *Intersect* tool to cut out the intersection between the rectangle and the circle.
- 😀 Add text by selecting the Text tool and typing your desired message.
- 😀 Fit the text to the path of the circle using the *Fit Text to Path* option under the Text menu.
- 😀 Adjust text position and alignment to center it within the circle.
- 😀 Rotate and mirror the text to ensure the correct orientation and fit within the design.
- 😀 Use the Polygon tool to draw a star shape, holding *Control* to maintain proportions.
- 😀 Apply color to the star and adjust text and shapes to complete the stamp design.
Q & A
What is the primary software used for creating the stamp in this tutorial?
-The primary software used in the tutorial is CorelDraw X7.
How do you create the first circle in CorelDraw X7?
-To create the first circle, you use the ellipse tool or press F7 on the keyboard. Hold down the 'Ctrl' key while dragging to create a perfect circle.
What is the purpose of holding the Shift key when creating the smaller circles?
-Holding the Shift key while creating the smaller circles ensures that the circles are perfectly symmetrical and centered inside the larger circle.
How do you align the rectangle to the center of the small circle?
-To align the rectangle to the center of the small circle, select both the rectangle and the small circle, then press 'C' and 'E' on the keyboard. This aligns the objects horizontally and vertically.
What is the function of the 'Intersect' option in CorelDraw?
-The 'Intersect' option allows you to keep only the overlapping areas of two objects while removing the non-overlapping parts.
How do you add text around the circle in CorelDraw?
-To add text around the circle, use the Text Tool, type the desired text, and then choose the 'Fit text to path' option. Adjust the positioning of the text until it fits neatly around the circle.
What does the 'Fit text to path' option do in CorelDraw?
-'Fit text to path' allows the text to follow the curvature of a path, such as a circle, making it appear as if the text is part of the shape.
How can you ensure the text is centered on the circle?
-To center the text on the circle, select the text, then set the alignment options to 'Center' by adjusting the values in the text properties menu.
What tool is used to create the star shape in the tutorial?
-The Polygon Tool is used to create the star shape, and you hold down the 'Ctrl' key to ensure it remains symmetrical.
How do you duplicate the star shape in CorelDraw?
-To duplicate the star shape, simply copy and paste it using the standard copy-paste commands or use 'Ctrl + C' to copy and 'Ctrl + V' to paste.
Outlines

This section is available to paid users only. Please upgrade to access this part.
Upgrade NowMindmap

This section is available to paid users only. Please upgrade to access this part.
Upgrade NowKeywords

This section is available to paid users only. Please upgrade to access this part.
Upgrade NowHighlights

This section is available to paid users only. Please upgrade to access this part.
Upgrade NowTranscripts

This section is available to paid users only. Please upgrade to access this part.
Upgrade NowBrowse More Related Video
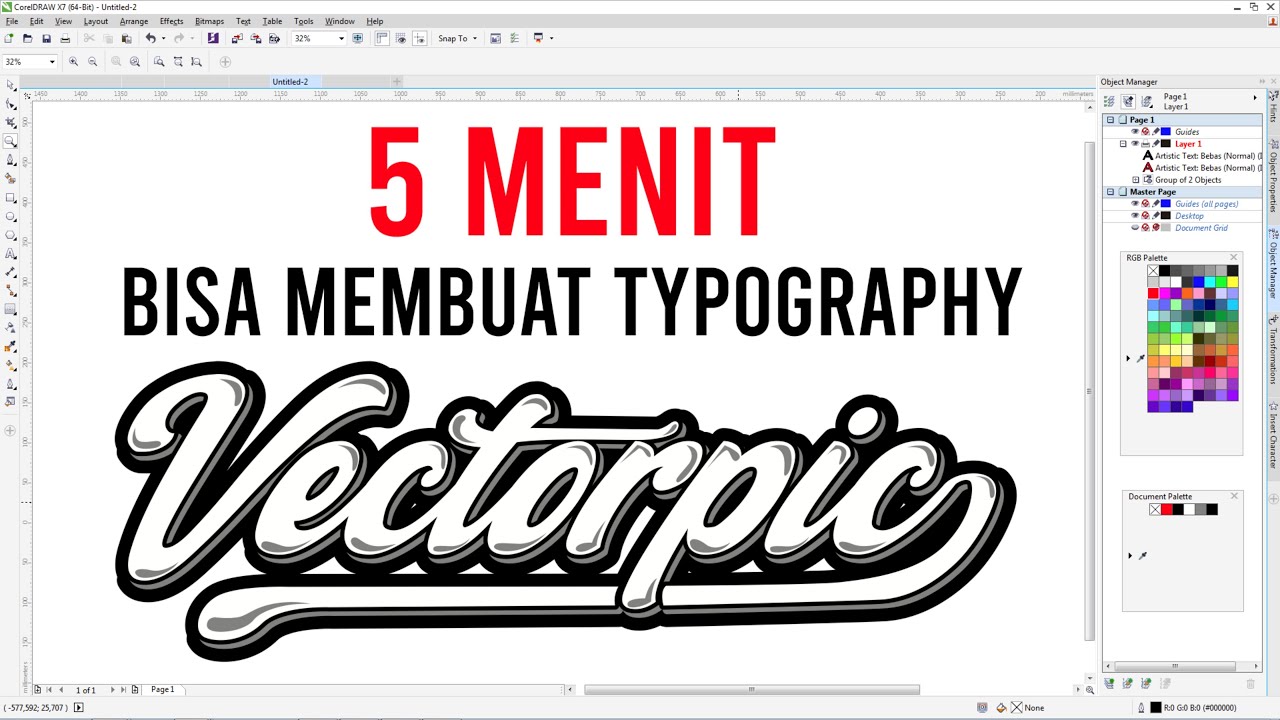
TUTORIAL BELAJAR MUDAH DAN SEDERHANA MEMBUAT TYPOGRAPHY DENGAN CORELDRAW
Cara Membuat Desain MUG CUSTOM di CorelDraw || How to Make a CUSTOM MUG Design in CorelDraw
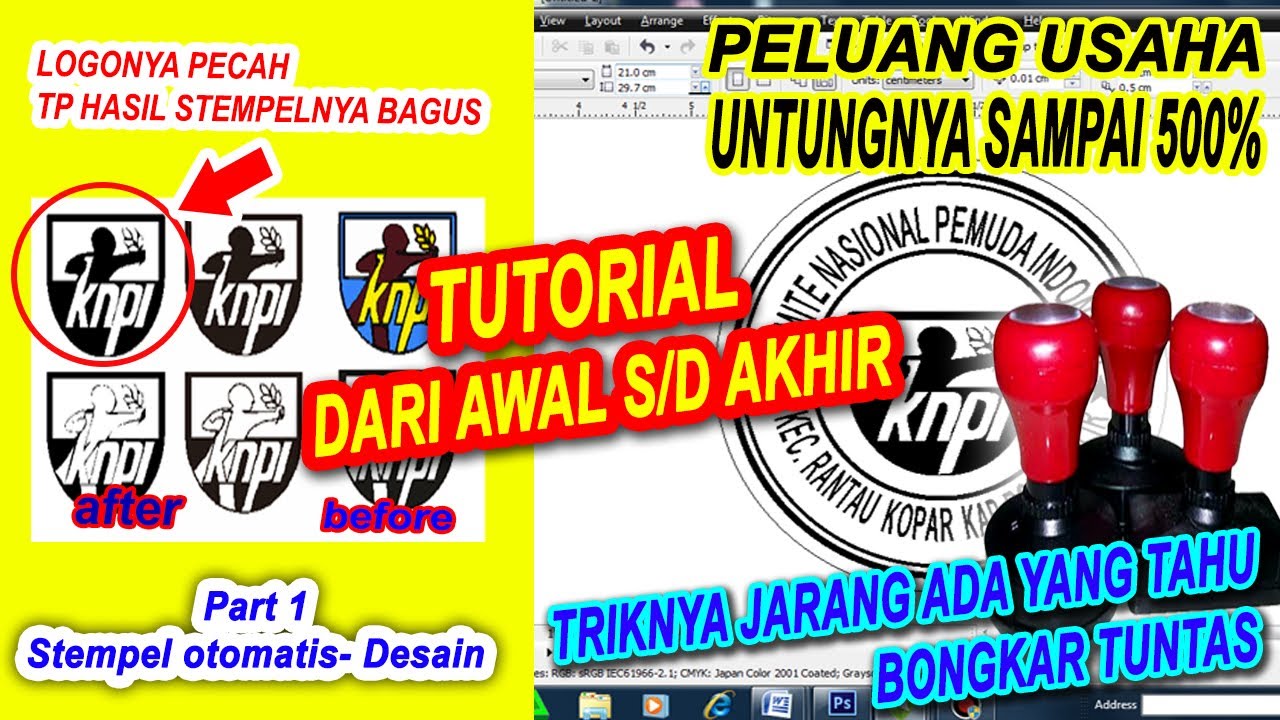
STEMPEL OTOMATIS |CARA MEMBUAT STEMPEL FLASH/ OTOMATIS FLASH| PART 1 - DESAIN KOMPUTER

Tutorial CorelDRAW | Belajar 12 Tools Dasar CorelDRAW Untuk Pemula (30 Menit Langsung Jago Abis)
Cara Membuat Undangan Pernikahan Dengan Corel Draw x7 | Sayahrull production
CARA MEMBUAT PINTU DI SKETCHUP - GAMPANG BANGET
5.0 / 5 (0 votes)