Konfigurasi Hotspot Pada GNS3
Summary
TLDRThis tutorial video guides viewers through the process of configuring a hotspot on a MikroTik router using a game simulation. It demonstrates how to set up the hotspot via both console and Winbox methods, starting with basic configurations such as setting local addresses, DNS, and user passwords. The step-by-step instructions show users how to manage network settings and secure the connection, ensuring a functional hotspot setup. By the end of the video, users will be able to access the internet through their newly configured hotspot.
Takeaways
- 😀 The tutorial covers configuring a hotspot on MikroTik using a simulation game environment.
- 😀 The setup process involves both Winbox and console methods for configuring the hotspot.
- 😀 The user is guided through adding a MikroTik device to the project and naming it.
- 😀 The correct network topology is essential for the hotspot configuration to work properly.
- 😀 Wi-Fi interface activation is a necessary step before proceeding with the configuration.
- 😀 The local IP address for the hotspot network should be configured, commonly `192.168.1.1/24`.
- 😀 The address pool for the hotspot network can be set to a range like `192.168.100.2` to `192.168.100.100`.
- 😀 Username and password settings for the hotspot are configured, with the option for custom values.
- 😀 DNS settings can be configured for the hotspot network, but are optional in this tutorial.
- 😀 The final test of the configuration involves verifying internet access from a connected device.
- 😀 An alternative method using Winbox is available for users who prefer a graphical interface to configure the hotspot.
Q & A
What is the purpose of the video?
-The video provides a tutorial on how to configure a hotspot on a MikroTik router, using both a game simulation and practical methods.
How is the project named in the video?
-The project is named 'Hotspot Configuration Project' to keep the process organized and clear.
What equipment is used in the setup?
-The setup involves using a MikroTik router, cables, and an interface for configuration. The demonstration also includes both the console and Winbox methods for configuration.
How can you access the MikroTik interface?
-You can access the MikroTik interface by powering on the device and connecting to the Wi-Fi. The video shows how to proceed with the interface setup.
Which two methods are shown for configuring the hotspot?
-The video demonstrates two methods: configuring the hotspot via the MikroTik console and using the Winbox interface.
What is the first command entered in the console for hotspot configuration?
-The first command entered is 'IP hotspot setup,' which initiates the hotspot configuration process.
What network information needs to be configured for the hotspot?
-You need to configure the interface (e.g., Ether1), set the local address and network range, and define DNS settings. The video provides specific values for each setting.
How do you set up the user credentials for the hotspot?
-For the user credentials, you can use 'admin' for both the username and password. However, the video mentions that you can change these credentials according to your preference.
What should be done if the hotspot connection is not accessible after configuration?
-If the hotspot is not accessible, check the local area connection settings and ensure that the configurations have been properly applied.
What is the final step after completing the hotspot configuration?
-The final step is to test the connection by ensuring that users can access the internet through the configured hotspot. If everything is set up correctly, the system should function as intended.
Outlines

This section is available to paid users only. Please upgrade to access this part.
Upgrade NowMindmap

This section is available to paid users only. Please upgrade to access this part.
Upgrade NowKeywords

This section is available to paid users only. Please upgrade to access this part.
Upgrade NowHighlights

This section is available to paid users only. Please upgrade to access this part.
Upgrade NowTranscripts

This section is available to paid users only. Please upgrade to access this part.
Upgrade NowBrowse More Related Video
SETTING DHCP SERVER MIKROTIK
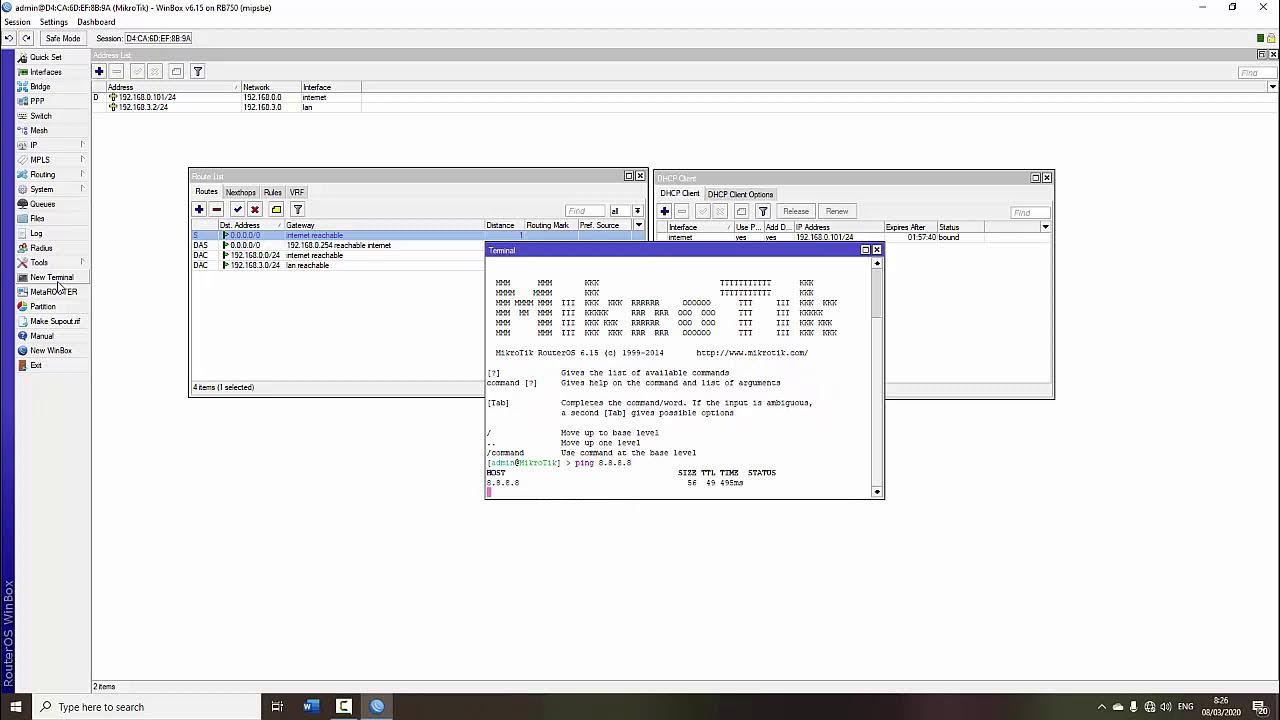
TUTORIAL DASAR MIKROTIK (KONEKSI INTERNET)
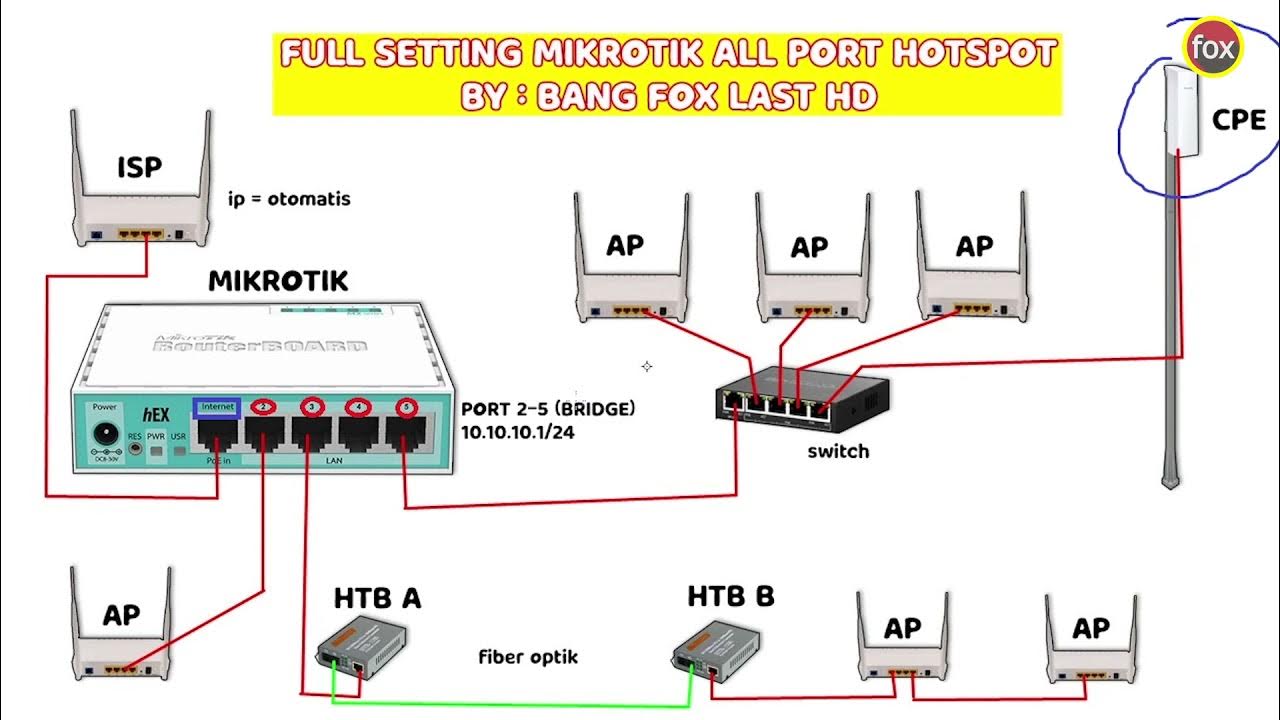
Full Setting Mikrotik Semua Port Bridge untuk Mode Hotspot Voucheran + Topologi Settingan Mikrotik

Setting Pakai HP: TP-Link WR840N (ID) Mode AP Hotspot Voucher
CARA SETTING HOTSPOT MIKROTIK PALING LENGKAP (part 1/5) - BASIC CONFIGURATION
Cara Setting Hotspot Mikrotik Dengan WinBox Untuk Pemula
5.0 / 5 (0 votes)