How To Make a DOOM CLONE in Unity || E1M7 Basic UI
Summary
TLDR本视频教程介绍了如何为Doom克隆游戏创建用户界面(UI)。首先,在Unity中创建一个新的UI Canvas,并设置为随屏幕尺寸缩放。接着,添加背景和健康指示器等UI元素,并使用锚点预设来调整它们的位置和大小。教程还涵盖了如何使用Text Mesh Pro创建自定义字体文本,并为UI元素编写脚本以实现动态更新。通过创建一个Canvas Manager脚本来管理UI元素的引用,并使用Singleton模式确保脚本可以在游戏的其他脚本中轻松访问。最终,通过在游戏脚本中调用Canvas Manager来更新UI,确保UI与游戏状态同步。
Takeaways
- 🎮 创建了一个名为'playerui'的UI画布,用于Doom克隆游戏的界面设计。
- 🔧 设置了UI的缩放模式,使其能够根据屏幕尺寸进行调整,并设置了参考分辨率1920x1080。
- 🖼️ 在UI中创建了背景图像,并调整了其大小和锚点,以适应不同分辨率。
- 👤 为游戏中的'Doom Guy'创建了四个不同的面部表情精灵,并将其设置为2D UI纹理。
- 💊 创建了健康指示器UI图像,并设置了其大小和位置,用于显示玩家的生命值。
- 🔑 创建了钥匙指示器和子图像,用于显示玩家收集的钥匙数量和类型。
- 📜 使用了自定义字体,并利用Text Mesh Pro创建了UI文本,用于显示弹药、健康和护甲信息。
- 🔄 设计了一个UI管理器脚本,用于统一管理UI元素的更新,而不是每个脚本单独更新。
- 🔑 实现了通过脚本控制UI元素的显示,如根据玩家状态更新角色的面部表情和钥匙指示器。
- 🔧 通过Singleton模式简化了对UI管理器的访问,使得其他脚本可以方便地调用UI管理器的功能。
- 🛠️ 在Unity中对脚本进行了测试和调试,确保UI元素能够正确反映玩家的状态变化。
Q & A
在Unity中创建UI Canvas的第一步是什么?
-在Unity的层级结构中创建一个新的UI Canvas,并暂时命名为playerUI。
如何设置UI Canvas以适应不同屏幕尺寸?
-设置UI Canvas的Scale Mode为Scale With Screen Size,并设置参考分辨率,例如1920x1080。
如何将2D精灵设置为UI图像?
-将精灵拖入UI Canvas中,然后更改其Texture Type为2D UI。
如何调整UI元素的位置和大小?
-使用锚点预设(Anchor Presets)来调整UI元素的位置和大小,可以通过同时按住Shift和Alt键来同时改变锚点和位置。
如何创建健康指示器UI图像?
-在player canvas中创建一个新的UI图像,并命名为健康指示器(health indicator),然后使用锚点预设进行定位和调整大小。
如何为UI添加自定义字体?
-首先创建一个名为font的新文件夹,将下载的.ttf字体文件拖入其中,然后在Text Mesh Pro中使用Font Asset Creator生成字体图集。
如何使用Text Mesh Pro创建UI文本?
-在UI中创建一个新的UI Text Text Mesh Pro,设置字体资产,并使用Wreck Tool调整大小和位置。
如何更新UI文本元素的值?
-创建一个UI管理器(Canvas Manager)脚本,该脚本持有对每个文本元素的引用,并在其他脚本中调用UI管理器的更新函数来更新值。
如何实现UI管理器的单例模式?
-在Canvas Manager脚本中声明一个私有静态Canvas Manager实例,并提供一个公共静态实例访问器,确保全局只有一个UI管理器实例。
如何通过脚本更新玩家的生命值、护甲和弹药?
-在玩家健康、护甲和弹药相关的脚本中调用Canvas Manager的updateHealth、updateArmor和updateAmmo函数,并传递相应的值。
如何在游戏中更新和重置钥匙的UI显示?
-使用Canvas Manager的updateKeys函数来更新钥匙UI的显示,并使用clearKeys函数来重置所有钥匙的状态。
Outlines

This section is available to paid users only. Please upgrade to access this part.
Upgrade NowMindmap

This section is available to paid users only. Please upgrade to access this part.
Upgrade NowKeywords

This section is available to paid users only. Please upgrade to access this part.
Upgrade NowHighlights

This section is available to paid users only. Please upgrade to access this part.
Upgrade NowTranscripts

This section is available to paid users only. Please upgrade to access this part.
Upgrade NowBrowse More Related Video
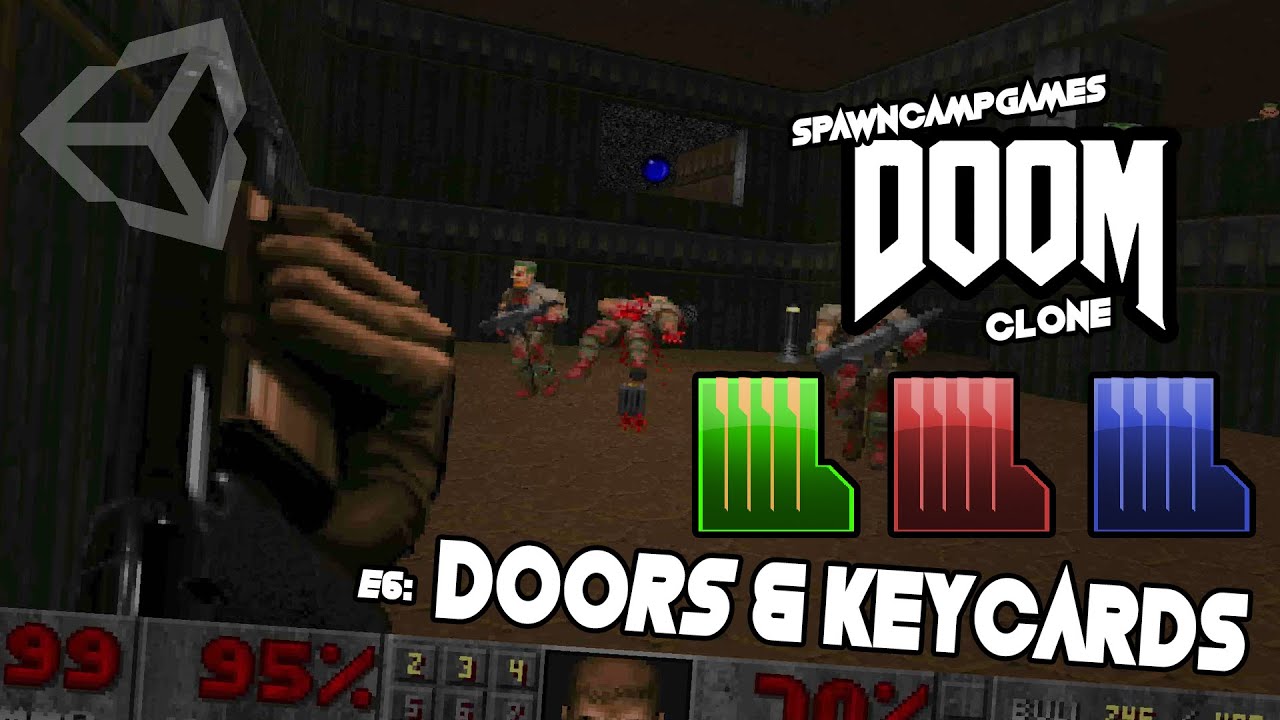
How to make a DOOM CLONE in Unity || E1M6 Doors and Keys
Shader Creation for Everyone! - An intro to Ben Cloward's YouTube channel
How to make a DOOM CLONE in Unity || E1M1 First Person Player
Unreal Engine 5 RPG Tutorial Series - #20: AI Behavior Trees Patrolling
How To Use Taskade AI | Step-by-Step Guide For Beginners 2023
How to create playable Ads
5.0 / 5 (0 votes)
