Konfigurasi Dasar Mikrotik (Indonesia)
Summary
TLDRThis video provides a step-by-step guide on configuring a MikroTik router for local network and internet access. It covers key tasks such as IP address planning, setting up interfaces for local and internet connections, configuring NAT (Network Address Translation) for internet access, and managing speed limits for specific devices. The video also demonstrates how to configure DNS settings, ensure time synchronization using NTP, and perform basic troubleshooting. This guide is ideal for users looking to effectively set up a MikroTik router for both local network management and internet connectivity.
Takeaways
- 😀 MikroTik routers are commonly used to share internet access across multiple devices in a local network and manage bandwidth and access rights.
- 😀 Proper network planning is essential, including the assignment of IP addresses for both the local network and router interfaces.
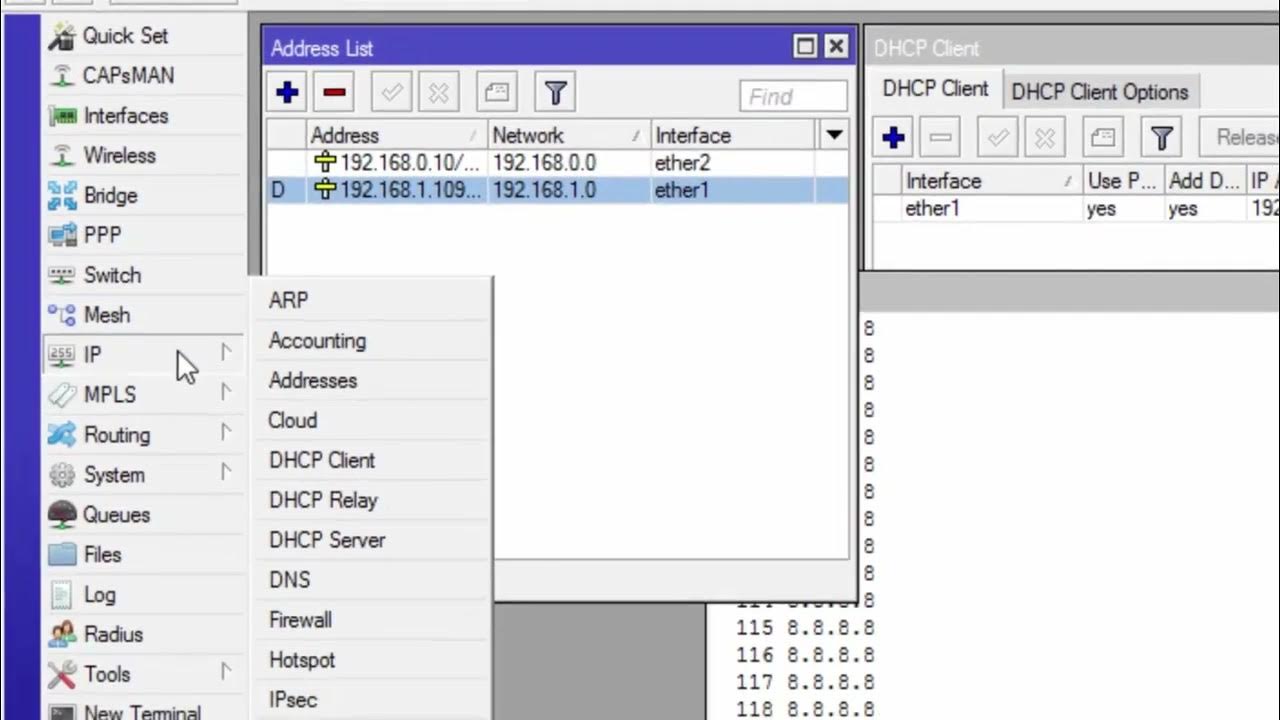
- 😀 To configure a MikroTik router, you need to assign a static IP to the router’s local interface and select the appropriate interface for internet access.
- 😀 DHCP can be used on the public interface to automatically receive IP configurations from the ISP, simplifying internet access setup.
- 😀 A default route must be configured to allow devices in the local network to access the internet, especially when using static IP from the ISP.
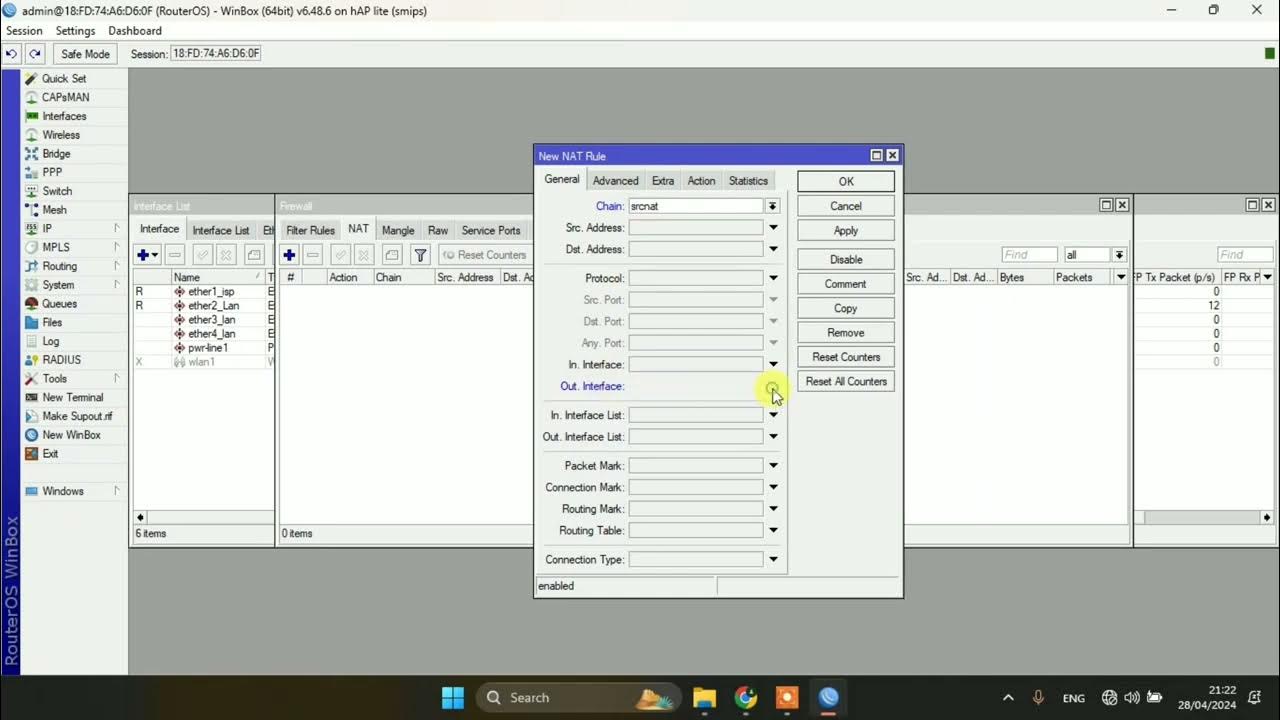
- 😀 The NAT (Network Address Translation) feature is necessary to allow local devices with private IPs to access the internet using the router's public IP.
- 😀 Speed limiting for specific devices can be achieved using MikroTik's Simple Queue feature, which controls upload and download speeds.
- 😀 NTP (Network Time Protocol) should be enabled on the router to synchronize time with an external server for accurate time management.
- 😀 It is important to set the correct time zone (e.g., Asia/Jakarta) to ensure accurate time logging and synchronization on the router.
- 😀 After configuring the router, test the network setup by pinging external sites like Google to ensure proper internet connectivity and IP configuration.
Q & A
What is the main purpose of configuring a MikroTik router for a local network?
-The main purpose is to share internet access among multiple devices in the local network, manage access rights, and control bandwidth speeds for each device.
How does the router handle internet access for multiple devices in the network?
-The router provides internet access to multiple devices by acting as a gateway and enabling NAT (Network Address Translation) to allow devices with private IPs to access the internet using the router’s public IP.
Why is it necessary to assign a static IP to the local interface of the router?
-Assigning a static IP to the local interface ensures that the router has a fixed address within the local network, which acts as the gateway for all devices in the LAN.
How do you configure the local network IP on a MikroTik router?
-You configure the local network IP on the router’s LAN interface, assigning it a static IP, for example, `192.168.30.1`, with a subnet mask of `255.255.255.0`.
What is the role of DHCP in connecting the router to the internet?
-DHCP allows the router to automatically obtain an IP address and DNS settings from the ISP. It simplifies the configuration process when the ISP supports DHCP.
How do you set up NAT on the MikroTik router?
-NAT is set up by creating a rule in the firewall under IP > Firewall, with the action set to 'Masquerade'. This allows the private IP addresses of LAN devices to be translated into the router’s public IP for internet access.
What is the significance of the Simple Queue in bandwidth management?
-The Simple Queue feature is used to limit the upload and download speeds of specific devices in the network. This helps manage bandwidth distribution and ensures fair usage among users.
How do you verify that the router’s local network interface is working properly?
-You can verify the local network interface by performing a ping test from a laptop to the router’s local IP address (e.g., ping `192.168.30.1`). A successful ping indicates the interface is working properly.
What should you do if the router needs to synchronize its time with an external source?
-To synchronize the router’s time, enable the NTP client in System > SNTP Client and set the NTP server to `pool.ntp.org`. This ensures the router keeps accurate time, even after rebooting.
How do you manually configure the router’s public IP address if DHCP is not used?
-You manually configure the router’s public IP by setting the static IP address provided by the ISP, adding a default route with the ISP’s gateway, and specifying the DNS server settings as provided by the ISP.
Outlines

This section is available to paid users only. Please upgrade to access this part.
Upgrade NowMindmap

This section is available to paid users only. Please upgrade to access this part.
Upgrade NowKeywords

This section is available to paid users only. Please upgrade to access this part.
Upgrade NowHighlights

This section is available to paid users only. Please upgrade to access this part.
Upgrade NowTranscripts

This section is available to paid users only. Please upgrade to access this part.
Upgrade NowBrowse More Related Video
5.0 / 5 (0 votes)


