macOS Menu Bar App (Code Along) | SwiftUI, Xcode
Summary
TLDR本视频教程向观众展示了如何创建一个Mac OS菜单栏应用程序,并与用户的剪贴板进行交互。视频由Flo主持,他首先回顾了之前在Twitter上发布的关于这个菜单栏应用程序的想法,并获得了积极的反响。接着,Flo逐步演示了如何使用Xcode创建项目,设置菜单栏图标,并实现点击菜单栏图标时弹出包含链接列表的弹出窗口。他还详细介绍了如何使用SwiftUI和Core Data来管理应用程序的数据,并展示了如何将链接保存到剪贴板以及如何退出应用程序。此外,Flo还分享了他在开发过程中的一些思考,包括对Swift UI预览功能的看法,以及如何手动生成类和属性。视频最后,Flo鼓励观众订阅频道,点赞视频,并在评论区分享他们的应用想法或其他教程建议。
Takeaways
- 🎓 学习如何创建一个macOS菜单栏应用,并了解如何与用户的剪贴板进行交互。
- 📱 通过点击菜单栏中的图标,可以弹出一个列表,用户可以从中选择链接并复制到剪贴板。
- 🛠️ 使用Xcode创建项目,并选择使用Core Data,随后根据需要对项目进行清理和配置。
- 📝 创建一个名为`ql link`的Core Data实体,包含id、title和url属性。
- 🔄 通过Swift UI创建用户界面,并使用`NSHostingController`来展示。
- 📂 利用状态栏控制器管理菜单栏图标,并定义点击事件来显示或隐藏弹出视图。
- 🔗 通过构建一个`NSPopover`和设置其行为为`transient`,来管理弹出视图的显示和隐藏。
- 💾 通过Core Data的`NSManagedObjectContext`来管理和获取链接数据。
- 🔍 使用Swift UI的`VStack`和`HStack`来布局视图中的链接列表和其他UI元素。
- 🔑 为链接列表中的每个链接项创建一个可点击的文本链接,并在旁边放置复制按钮。
- 🚫 移除主窗口,使应用仅作为一个菜单栏图标存在,通过设置`Application is agent`为`yes`实现。
- 📌 强调了应用的实用性,鼓励观众订阅频道、点赞视频,并在评论区留下反馈或其他应用创意。
Q & A
在视频中,Flo提到了一个用于macOS的菜单栏应用,这个应用的主要功能是什么?
-这个应用的主要功能是在macOS的菜单栏中显示一个图标,用户点击后可以查看和操作一系列链接。用户可以通过文本框输入链接的标题和URL,然后点击按钮将链接复制到剪贴板。此外,应用还包含退出按钮,允许用户退出程序。
Flo在视频中提到了哪些步骤来创建一个macOS菜单栏应用?
-Flo提到了以下步骤:1) 创建Xcode项目并初始化Core Data;2) 清除不需要的Core Data配置;3) 创建菜单栏应用的用户界面;4) 实现点击菜单栏图标后显示的弹出视图;5) 配置状态栏控制器以响应用户点击;6) 实现链接的保存和复制到剪贴板的功能;7) 优化应用界面和布局;8) 配置应用在启动时不显示主窗口,仅显示菜单栏图标。
在创建菜单栏应用的过程中,为什么Flo选择不使用Swift UI预览功能?
-Flo选择不使用Swift UI预览功能是因为在macOS上,Swift UI的实时预览功能并不像在iOS应用中那样工作。在macOS上,点击Swift UI预览的播放按钮会打开一个新的应用窗口来显示组件,而不是在Xcode内部实时显示,Flo认为这样的处理方式不如直接运行应用来得方便。
Flo在视频中提到了如何将链接复制到剪贴板,这个过程涉及到了哪些步骤?
-将链接复制到剪贴板的过程包括:1) 使用NSPasteboard的general实例;2) 调用clearContents方法清除剪贴板原有的内容;3) 使用setString方法将链接的URL作为字符串复制到剪贴板。
在macOS应用开发中,为什么有时候需要先清除剪贴板的内容,然后再复制新的内容?
-在macOS中,有时需要先清除剪贴板的内容,是因为NSPasteboard的setString方法或其他类似方法在没有先清除剪贴板的情况下可能不会生效。因此,为了确保新的内容能够被正确复制,需要先调用clearContents方法。
Flo在视频中提到了使用Core Data进行数据管理,那么在创建Core Data模型时,他创建了哪些属性?
-在创建Core Data模型时,Flo创建了一个名为'QLLink'的实体,它包含了三个属性:id(UID类型)、title(字符串类型)和url(字符串类型)。
在macOS的状态栏应用开发中,如何实现点击状态栏图标后显示一个弹出视图?
-在macOS的状态栏应用开发中,可以通过创建一个NSPopover实例,并在状态栏控制器中配置该实例,然后在用户点击状态栏图标时,使用show(relativeTo:of:preferredEdge:)方法来显示弹出视图。
Flo在视频中提到了如何隐藏应用的主窗口,只保留菜单栏图标,这是如何实现的?
-为了隐藏应用的主窗口,只保留菜单栏图标,Flo在Xcode的项目设置中,针对应用的target,打开了Info.plist文件,并添加了一个键为'Application is agent'的新值,将其设置为'YES'。这样,应用在启动时不会显示主窗口,只有菜单栏图标会显示。
在视频中,Flo创建了一个名为'PopOverView'的Swift UI视图,这个视图的作用是什么?
-在视频中,'PopOverView'是用来作为菜单栏应用点击后弹出视图的Swift UI视图。它包含了显示链接列表的界面,以及用于添加新链接的文本框和按钮。
Flo在实现复制链接到剪贴板的功能时,遇到了哪些问题,他是如何解决的?
-Flo在实现复制链接到剪贴板的功能时遇到了一个问题,即直接使用NSPasteboard的setString方法并不能将内容复制到剪贴板。他通过先调用clearContents清除剪贴板原有的内容,然后再使用setString方法复制新的链接,解决了这个问题。
在macOS菜单栏应用中,如何确保应用在用户关闭主窗口后仍然运行?
-在macOS菜单栏应用中,可以通过设置Info.plist中的'Application is agent'键为'YES',使得应用在用户关闭主窗口后仍然在后台运行,并且只保留菜单栏图标。
Flo在视频中创建了一个状态栏控制器,这个控制器的作用是什么?
-状态栏控制器的作用是管理菜单栏中的图标和与之相关的行为。在Flo的视频教程中,状态栏控制器负责创建和配置状态栏图标,以及定义点击图标后显示的弹出视图和相关的交互逻辑。
Outlines

This section is available to paid users only. Please upgrade to access this part.
Upgrade NowMindmap

This section is available to paid users only. Please upgrade to access this part.
Upgrade NowKeywords

This section is available to paid users only. Please upgrade to access this part.
Upgrade NowHighlights

This section is available to paid users only. Please upgrade to access this part.
Upgrade NowTranscripts

This section is available to paid users only. Please upgrade to access this part.
Upgrade NowBrowse More Related Video

Anthropic Tools: Say Goodbye to Traditional Function Calling

Python Advanced AI Agent Tutorial - LlamaIndex, Ollama and Multi-LLM!
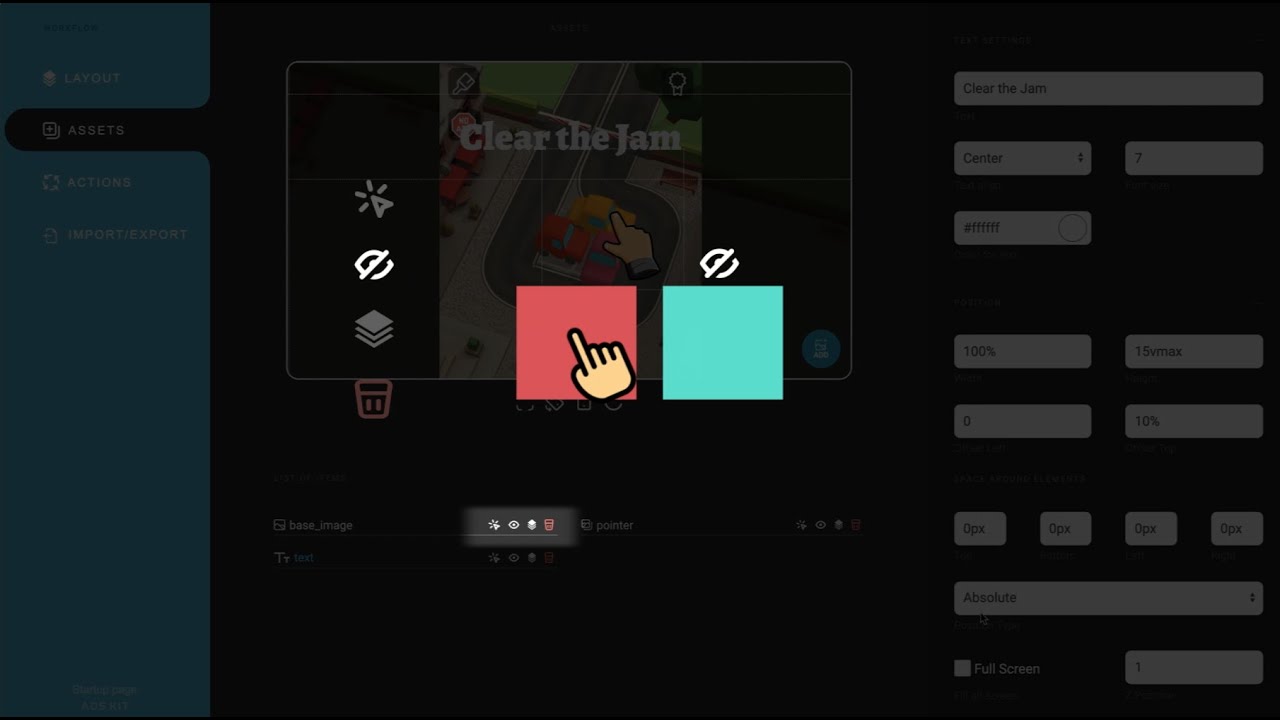
How to create playable Ads

Unreal Engine 5 RPG Tutorial Series - #20: AI Behavior Trees Patrolling

【WordPress零基础建站】第一节:Wordpress建站教程,挑战20分钟快速搭建独立站商城,服务器购买,域名连接,主题安装……
Basic Computing Skills - Orientation
5.0 / 5 (0 votes)
