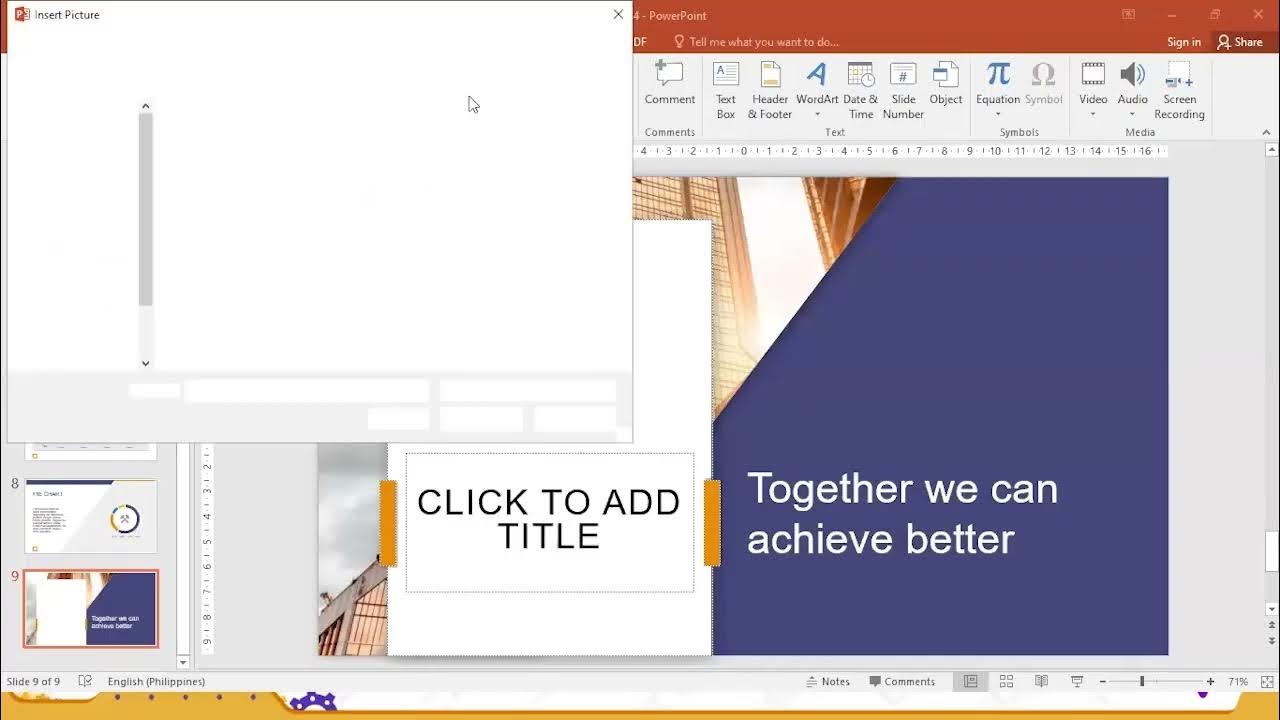
Tutorial PowerPoint untuk pemula - Belajar membuat PPT
Summary
TLDRThis PowerPoint tutorial video guides users through the essential skills needed to create and customize slides. Starting with basic tasks like inserting and cropping images, adjusting text boxes, and formatting, the video progressively introduces more advanced features such as using aspect ratios, creating picture placeholders, and applying slide transitions. The presenter emphasizes helpful shortcuts and tips throughout, making the learning process smoother. The tutorial also includes practical demonstrations and examples, aimed at enhancing productivity in PowerPoint presentations, with a focus on design, object grouping, and visual effects to make slides visually appealing and well-organized.
Takeaways
- 😀 The tutorial covers PowerPoint basics, focusing on inserting, cropping, and formatting images.
- 😀 You'll learn how to adjust image size and position using the crop tool and aspect ratios.
- 😀 Inserting and formatting text boxes, changing fonts, and adjusting text sizes are key lessons.
- 😀 The video explains how to duplicate objects and adjust their alignment using shortcuts like Ctrl + D.
- 😀 It demonstrates how to apply image effects like shadows to enhance visuals in a presentation.
- 😀 Grouping objects is a key technique for easy movement and manipulation of multiple elements.
- 😀 A special section explains how to insert placeholder images and set up master slides for consistent formatting.
- 😀 You can learn how to crop images into specific shapes, like circles or rounded corners, to match your slide design.
- 😀 The tutorial emphasizes using keyboard shortcuts (e.g., Ctrl + Shift) to efficiently move and align objects.
- 😀 Transitions between slides, including effects like Morph, are explained for creating smoother presentations.
Q & A
What is the main focus of this PowerPoint tutorial?
-The main focus of this tutorial is to teach the basics of creating presentation slides, covering key actions like inserting images, text boxes, cropping, formatting, grouping objects, and adding transitions.
How does the tutorial suggest inserting and editing images in PowerPoint?
-To insert an image, go to the 'Insert' menu, select 'Picture', and choose an image from your computer. To crop it, use the 'Crop' tool and adjust the area to your desired position. The tutorial also demonstrates how to crop based on specific aspect ratios and shapes.
What are the steps for inserting and formatting text boxes in PowerPoint?
-To insert a text box, select 'Insert' and then 'Text Box'. You can change the font type, size, and color from the dropdown menu. The tutorial also shows how to duplicate text boxes using keyboard shortcuts like Control + D and resize or adjust them as needed.
What is the 'grouping' feature in PowerPoint and how is it used?
-The 'grouping' feature allows you to combine multiple objects into a single unit for easier movement and manipulation. To group objects, select them, right-click, and choose 'Group' or press Control + G. You can also ungroup them by using Control + Shift + G.
How can you duplicate an object in PowerPoint using shortcuts?
-To duplicate an object in PowerPoint, hold down the Control key and press D. This will create a copy of the selected object. You can also use Control + Shift while dragging to create duplicates in specific positions.
What is the importance of using 'aspect ratio' when cropping images?
-Using an aspect ratio when cropping ensures that the image maintains a specific proportional relationship between width and height, such as 1:1 (square) or 16:9 (wide format). This helps in creating consistent and visually appealing layouts.
How does the tutorial demonstrate working with rounded corners for images?
-The tutorial shows how to crop an image with rounded corners by selecting the 'Crop' tool, then choosing the 'Rounded Corner' shape. This allows the user to create soft edges for images, giving the slide a more polished look.
What are the steps to insert and format placeholders in PowerPoint?
-To insert a placeholder, go to the 'View' menu, then 'Slide Master'. Select 'Insert Placeholder' and choose 'Picture'. Hold down the Shift key to maintain proportional dimensions. After inserting, you can adjust the layout and format the placeholder as needed.
How can you add transitions to slides in PowerPoint?
-To add transitions, go to the 'Transitions' tab, select a transition effect from the available options, and click 'Apply to All' if you want the same transition across all slides. You can also preview the transition before applying it.
What is the role of shadows and effects on images in PowerPoint?
-Adding shadows and effects to images in PowerPoint enhances their visual appeal by creating depth and making the content stand out. The tutorial demonstrates applying shadow effects, such as a simple soft shadow, to images for a professional look.
Outlines

This section is available to paid users only. Please upgrade to access this part.
Upgrade NowMindmap

This section is available to paid users only. Please upgrade to access this part.
Upgrade NowKeywords

This section is available to paid users only. Please upgrade to access this part.
Upgrade NowHighlights

This section is available to paid users only. Please upgrade to access this part.
Upgrade NowTranscripts

This section is available to paid users only. Please upgrade to access this part.
Upgrade NowBrowse More Related Video

POWERPOINT LAYOUT IDEAS

Cara Membuat PowerPoint Aesthetic di Hp dengan Canva

Microsoft PowerPoint Tutorial - Beginners Level 1

PowerPoint Tutorial | Presentation Design | Pictures | To be Expert of PowerPoint in 7 Mins!

CARA MEMBUAT MORPH SLIDE POWERPOINT YANG KEREN DAN MENARIK | Pediaku ID

Workplace Productivity Tools Part 3
5.0 / 5 (0 votes)