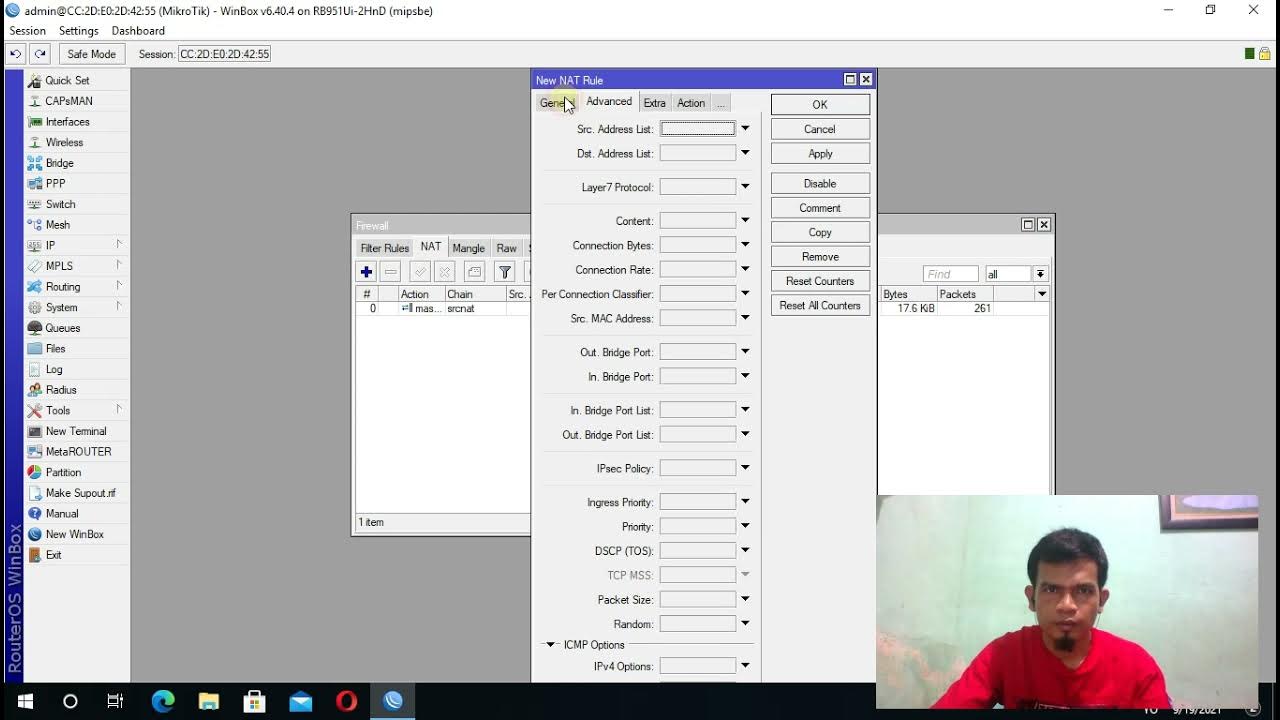
BELAJAR SETTING FIREWALL MIKROTIK SEDERHANA | 3 JENIS FILTER RULE FIREWALL MIKROTIK
Summary
TLDRIn this tutorial, the speaker demonstrates how to configure basic firewall rules on MikroTik routers using Winbox. The video covers three essential scenarios: allowing a specific IP to access the router, blocking a particular IP from access, and blocking all IPs except one. The speaker explains each step clearly and shows how these rules can be applied for both static IPs and DHCP clients. This beginner-friendly guide helps users understand the fundamentals of network security on MikroTik routers.
Takeaways
- 😀 Use Winbox to remotely access MikroTik RouterOS for firewall configuration.
- 😀 The tutorial covers three basic firewall cases for controlling IP access to MikroTik.
- 😀 Case 1: Allow a specific IP (e.g., 192.168.0.22) to access the MikroTik router using the 'Accept' action.
- 😀 Case 2: Block a specific IP (e.g., 192.168.0.22) from accessing the MikroTik router using the 'Drop' action.
- 😀 Case 3: Block all IPs except one specific IP by using the 'Not' option in the firewall rule configuration.
- 😀 The rules apply equally to both static IP and DHCP networks.
- 😀 Verify the configuration by attempting to connect to the router from allowed and blocked IPs.
- 😀 Mikrotik’s firewall rules are effective in controlling access based on IP address configurations.
- 😀 The video demonstrates how to handle communication without internet access, focusing on local network IPs only.
- 😀 After applying firewall rules, the changes can be immediately tested to confirm their functionality.
Q & A
What is the purpose of setting up a firewall on MikroTik?
-The purpose of setting up a firewall on MikroTik is to control and manage network access by defining which IP addresses are allowed or blocked from connecting to the MikroTik device. This helps to secure the network and restrict unauthorized access.
What is the first case discussed in the tutorial regarding firewall configuration?
-The first case involves allowing a specific IP address (e.g., 192.168.0.2) to access the MikroTik device. The configuration is set to 'Accept' for that specific IP address, permitting its access to the router.
How do you configure MikroTik to allow only a specific IP address to access it?
-To allow only a specific IP address to access the MikroTik device, go to the Firewall settings, add a new rule in the 'input' chain, set the source address to the desired IP (e.g., 192.168.0.2), and choose 'Accept' as the action.
What happens when you configure a rule to 'Accept' a specific IP address?
-When a rule is configured to 'Accept' a specific IP address, it allows that IP to successfully connect and access the MikroTik router, while other IPs are not automatically granted access unless specified otherwise.
What is the second case discussed in the tutorial regarding firewall configuration?
-The second case involves blocking a specific IP address (e.g., 192.168.0.2) from accessing the MikroTik router. The configuration is set to 'Drop', preventing that IP from connecting to the router.
How do you block a specific IP address from accessing MikroTik?
-To block a specific IP address from accessing the MikroTik router, go to the Firewall settings, add a new rule in the 'input' chain, set the source address to the blocked IP (e.g., 192.168.0.2), and choose 'Drop' as the action.
What is the result when an IP address is configured to be 'Dropped' in the firewall settings?
-When an IP address is configured to be 'Dropped' in the firewall settings, it will be unable to connect to or access the MikroTik router. The router will reject any attempts from that IP.
What is the third case discussed in the tutorial, and what does it aim to achieve?
-The third case involves configuring the firewall to block all IP addresses except a specific one (e.g., 192.168.0.2). This means that only the allowed IP can access the MikroTik router, while all others will be blocked.
How do you configure the firewall to block all IPs except for one specific IP?
-To block all IPs except for one, you add a new rule in the 'input' chain of the firewall, set the source address to the desired IP with the '!' symbol (indicating 'not'), and choose 'Drop' as the action to block all other IPs.
Can this firewall configuration work with both static and dynamic IP addresses (e.g., DHCP clients)?
-Yes, this firewall configuration will work with both static and dynamic IP addresses. Even if a device gets its IP address dynamically via DHCP, as long as the router's firewall is configured to block or allow a specific IP address, the rule will apply.
Outlines

このセクションは有料ユーザー限定です。 アクセスするには、アップグレードをお願いします。
今すぐアップグレードMindmap

このセクションは有料ユーザー限定です。 アクセスするには、アップグレードをお願いします。
今すぐアップグレードKeywords

このセクションは有料ユーザー限定です。 アクセスするには、アップグレードをお願いします。
今すぐアップグレードHighlights

このセクションは有料ユーザー限定です。 アクセスするには、アップグレードをお願いします。
今すぐアップグレードTranscripts

このセクションは有料ユーザー限定です。 アクセスするには、アップグレードをお願いします。
今すぐアップグレード関連動画をさらに表示

TUTORIAL CARA BLOK SITUS DENGAN FILTER RULES | CARA MUDAH DROP SITUS DI FIREWALL MIKROTIK

KEAMANAN JARINGAN | 3.2.2 Praktik Pengenalan Perangkat Firewal (Mikrotik) - FASE F (SMK TJKT)

Configurações Básicas - Mikrotik RouterOS - P1

Belajar Mikrotik untuk pemula - Part 7/26

KONFIGURASI BLOK SITUS DI MIKROTIK

Filter Rule pada Mikrotik
5.0 / 5 (0 votes)
