PowerPoint Tutorial | Presentation Design | Pictures | To be Expert of PowerPoint in 7 Mins!
Summary
TLDRThis tutorial guides viewers through creating dynamic, attention-grabbing PowerPoint slides using a combination of hollowed-out staggered rounded rectangles, circular thumbnails, and highlighted text. The process involves setting background images, formatting shapes with shadows and gradients, cropping images into perfect circles, and arranging them for visual impact. Each slide is carefully layered to create depth and movement, with the Morph transition applied for smooth animations. By following this step-by-step method, users can transform ordinary slides into visually engaging presentations that instantly capture audience attention, combining creative design techniques with practical PowerPoint skills.
Takeaways
- 😀 Start by inserting five images into your PowerPoint presentation.
- 😀 Copy the images into two groups: one set for the background and another for circular thumbnails.
- 😀 Right-click the images, cut them, and format them as backgrounds on the slides.
- 😀 Insert rounded rectangles with a maximum radius to create visual emphasis on the slides.
- 😀 Adjust the shadow properties of the rectangles for depth and focus (offset, center, blur to 15).
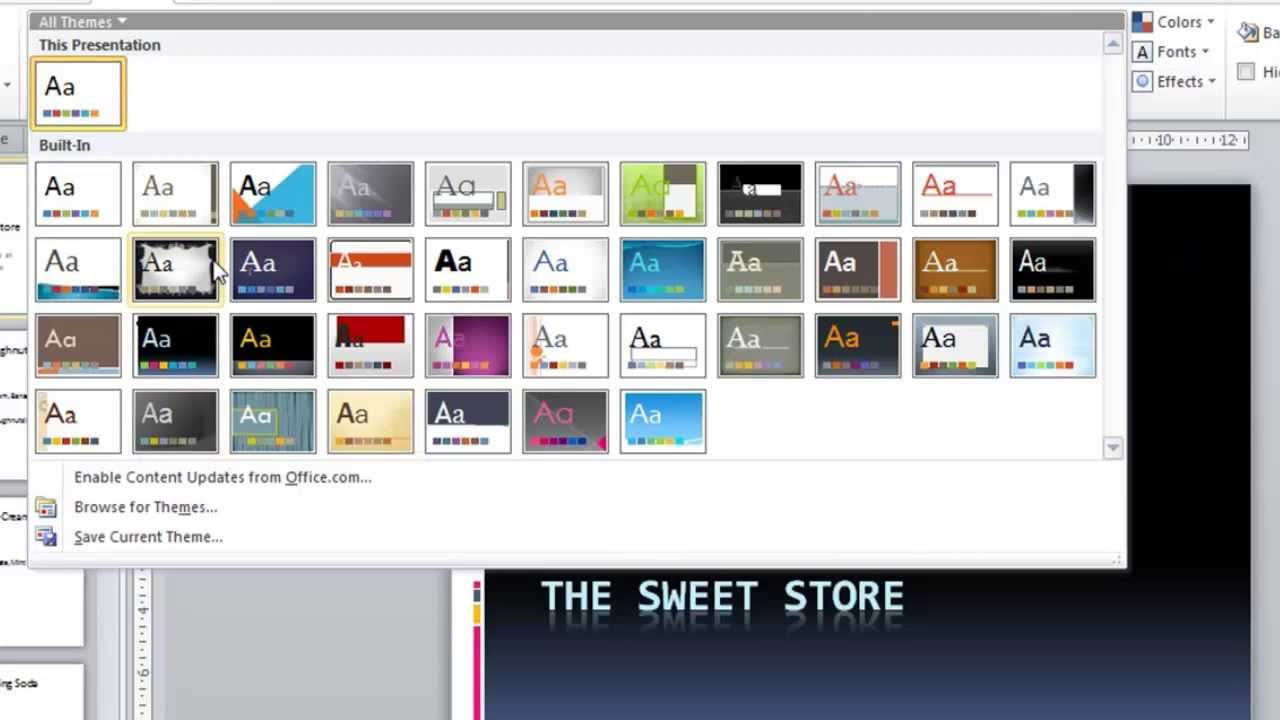
- 😀 Use gradient-filled rectangles for the slide background, transitioning from black to transparent.
- 😀 Ensure the rounded rectangles are staggered and aligned for a dynamic effect.
- 😀 Set the aspect ratio of the images for the thumbnails to 1:1 and crop them into oval shapes.
- 😀 Resize the circular thumbnails to 2.5 cm and arrange them on the left side of each slide.
- 😀 Add necessary text on each slide and apply the 'morph' transition effect for smooth animation across slides.
- 😀 Repeat the steps for all slides, maintaining consistency with sizes, alignments, and effects to keep the presentation professional.
Q & A
What is the main objective of the PowerPoint tutorial in the transcript?
-The main objective is to create dynamic, hollowed-out image groups with circular thumbnails and highlighted text to capture the audience's attention effectively.
How many images should be inserted initially, and how are they used?
-Five images should be inserted. One set is used as the slide background, while the other set is converted into circular thumbnails.
What is the purpose of creating blank slides in this tutorial?
-Four blank slides are created to provide separate slides for each background image and to build the dynamic sequence for the Morph transition effect.
How do you apply images as slide backgrounds according to the transcript?
-Right-click an image → Cut → Right-click slide → Format Background → Picture or Texture Fill → Clipboard. Repeat for each slide.
What steps are involved in creating the staggered, hollowed-out rectangles?
-Insert rounded rectangles, set maximum corner radius, copy five rectangles, remove outlines, add shadow (Offset Center), blur to 15, stagger lengths, and align to middle.
How is the gradient background applied to the slides?
-Insert a full-slide rectangle, remove outline, apply gradient fill, delete middle gradient stops, set left and right stops to black, make right stop transparent (100%), set direction to linear right, then send rectangle to back.
What modifications are made to create circular thumbnails from the images?
-Set the aspect ratio to 1:1, crop to oval shape, set size to 2.5 cm, arrange on the left side of the slide, and copy to other slides. On the first slide, thumbnails are enlarged to 5 cm for emphasis.
Why is the Morph transition used in this presentation setup?
-The Morph transition is used to create smooth animations between slides, making the staggered rectangles and thumbnails appear dynamic and engaging.
What role do shadows and blur play in the design of the rectangles?
-Shadows and blur add depth and a sense of layering to the rectangles, enhancing the visual appeal and making the slide elements pop.
How are text elements incorporated into this dynamic layout?
-Text is inserted on each slide as needed and highlighted where necessary. The Morph transition ensures that text transitions smoothly along with the images and rectangles.
How does the tutorial ensure consistency across all slides?
-By copying the rounded rectangles, gradient backgrounds, and circular thumbnails to each slide and adjusting positions and lengths slightly, the tutorial ensures a consistent yet dynamic look.
What is the significance of sending the gradient rectangle to the back?
-Sending the rectangle to the back ensures it functions as the background without covering other elements like the hollowed rectangles, thumbnails, or text.
Outlines

Cette section est réservée aux utilisateurs payants. Améliorez votre compte pour accéder à cette section.
Améliorer maintenantMindmap

Cette section est réservée aux utilisateurs payants. Améliorez votre compte pour accéder à cette section.
Améliorer maintenantKeywords

Cette section est réservée aux utilisateurs payants. Améliorez votre compte pour accéder à cette section.
Améliorer maintenantHighlights

Cette section est réservée aux utilisateurs payants. Améliorez votre compte pour accéder à cette section.
Améliorer maintenantTranscripts

Cette section est réservée aux utilisateurs payants. Améliorez votre compte pour accéder à cette section.
Améliorer maintenantVoir Plus de Vidéos Connexes

Animated PowerPoint Slide Tutorial 2023
PowerPoint 2010 Tutorial for Beginners #1 Overview (Microsoft PowerPoint)

How I Make Viral AI Thumbnail Full Breakdown🔥

Microsoft PowerPoint Tutorial - Beginners Level 1
Tutorial PowerPoint untuk pemula - Belajar membuat PPT
HOW TO MAKE A COOL AND INTERESTING POWERPOINT MENU SLIDE ANIMATION
5.0 / 5 (0 votes)
