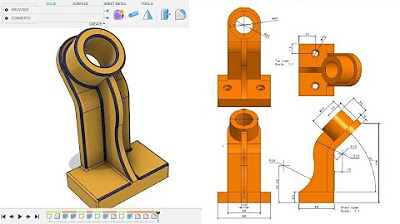
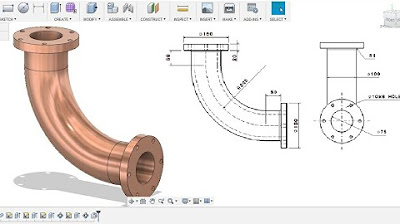
Fusion 360 beginner's Exercise #5 - Fusion 360 tutorial
Summary
TLDRIn this tutorial video, the creator guides viewers through the process of designing a complex 3D model in Fusion 360, starting from basic sketches to intricate extrusions and chamfers. The video offers valuable insights and tricks for beginners, showcasing the creation of a detailed model with specific dimensions and features. Viewers are also provided with a high-resolution PDF for reference. The tutorial concludes with a demonstration of the loft command, a key technique for advanced 3D modeling in Fusion 360.
Takeaways
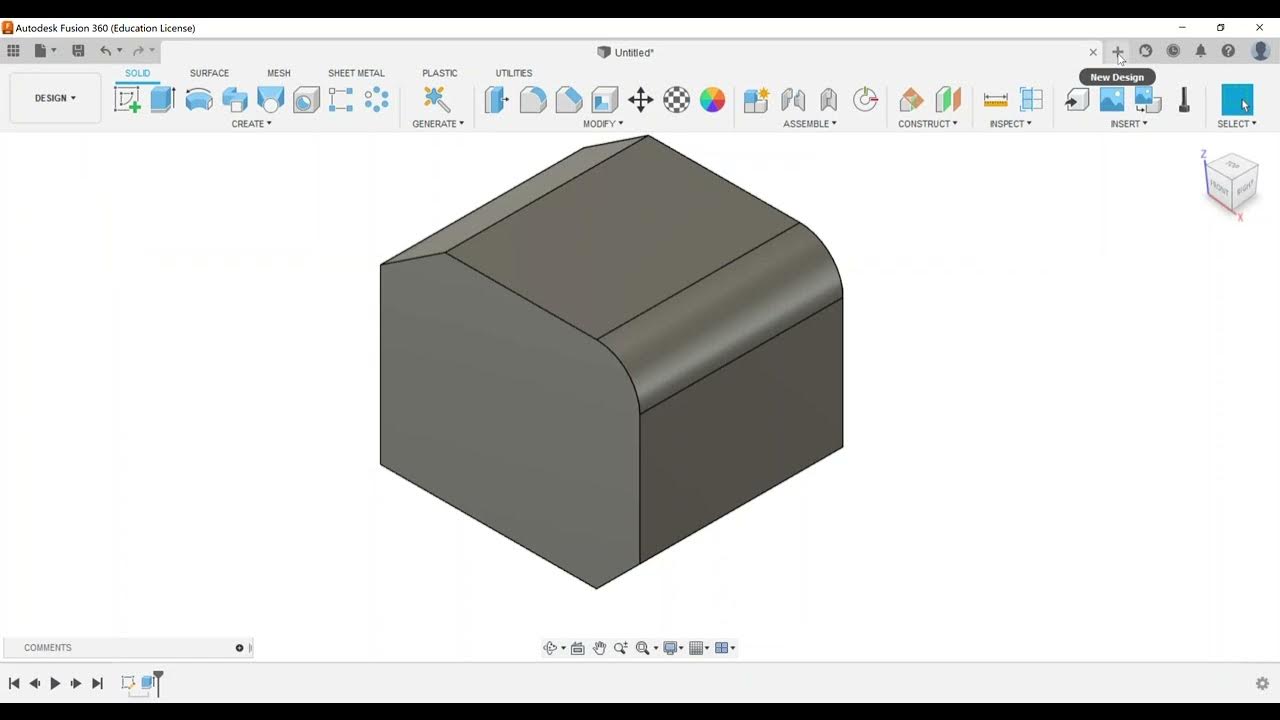
- 😀 The video is a tutorial on creating a 3D model in Fusion 360, starting with a basic block and adding features like engraving and chamfers.
- 🔍 The initial dimensions of the model are 70 mm in length, 40 mm in width, and 40 mm in height.
- 📏 The first step involves creating a sketch with specific dimensions and extruding it to form the base of the model.
- 🛠️ The tutorial demonstrates how to add chamfers to the model, which cannot be achieved with basic commands alone.
- 📐 The process includes creating detailed sketches for the curves and cuts, such as a 40 mm wide rectangle with a depth of cut starting from the 20 mm mark on the 70 mm side.
- 🔨 The video explains the use of the 'Loft' command in Fusion 360 to create complex shapes that cannot be made with standard extrude or profile commands.
- 🎨 The presenter makes a mistake during the tutorial, which is corrected, showing that the learning process involves trial and error.
- 📚 A high-resolution PDF of the tutorial is available in the video description for those who want to follow along.
- 🔍 The tutorial emphasizes the importance of understanding the model's dimensions and how they relate to the design process.
- 🛑 The video mentions that certain features, like the chamfer, need to be manually created because they cannot be achieved with the 'Chain' command.
- 🔄 The process involves multiple steps of sketching, extruding, and cutting to achieve the final model, highlighting the iterative nature of 3D modeling in Fusion 360.
Q & A
What is the main topic of the video?
-The main topic of the video is to demonstrate how to create a 3D model using extruded fusion 360, with a focus on a specific design that involves complex modeling techniques.
What is the initial appearance of the model being created in the video?
-The initial appearance of the model seems easy and simple, but it has intricate faces that cannot be modeled using basic commands like extrude and chain.
Who is the target audience for this video?
-The target audience for this video is likely those who are new to Fusion 360 and want to learn advanced modeling techniques.
What are the dimensions of the engraved model in the video?
-The dimensions of the engraved model are 70 mm in length, 40 mm in width, and 40 mm in height.
What is the first step in creating the model according to the video?
-The first step is to switch to a new design, sketch a rectangle with specific dimensions (17 mm by 40 mm), and then extrude it to a distance of 40 mm.
What is the significance of the chamfer in the model?
-The chamfer, which is at a 45-degree angle and has a depth of 20 mm, is a detail that adds complexity to the model and cannot be achieved with basic Fusion 360 commands.
How is the curve of the model detailed in the video?
-The curve is detailed from the top view, showing a 40 mm width and a depth of cut that starts from 20 mm on the 70 mm side and extends to 30 mm.
What is the process for creating the chamfer on the model?
-The chamfer is created manually by sketching a line at the midpoint of the relevant edges and then extruding it to the specified distance of 20 mm.
Why is the loft command used in the video?
-The loft command is used because it allows for the creation of complex shapes that cannot be achieved with other commands like extrude or chamfer.
What is the final step in completing the model shown in the video?
-The final step is to create a 3D sketch and use the loft command to form the complex face of the model, which is then cut using the join cut operation.
How can viewers access a high-resolution PDF of the model?
-Viewers can find a high-resolution PDF of the model in the description below the video.
Outlines

Cette section est réservée aux utilisateurs payants. Améliorez votre compte pour accéder à cette section.
Améliorer maintenantMindmap

Cette section est réservée aux utilisateurs payants. Améliorez votre compte pour accéder à cette section.
Améliorer maintenantKeywords

Cette section est réservée aux utilisateurs payants. Améliorez votre compte pour accéder à cette section.
Améliorer maintenantHighlights

Cette section est réservée aux utilisateurs payants. Améliorez votre compte pour accéder à cette section.
Améliorer maintenantTranscripts

Cette section est réservée aux utilisateurs payants. Améliorez votre compte pour accéder à cette section.
Améliorer maintenantVoir Plus de Vidéos Connexes
5.0 / 5 (0 votes)

