Desain logo simpel tapi keren - Tutorial photoshop bahasa indonesia
Summary
TLDRThis tutorial guides viewers through the process of designing a Lucky Strike-inspired advertisement using Photoshop. It covers steps like creating the background, drawing an ellipse, adding text, and applying shadow effects. The video also demonstrates how to use various tools such as the Pen Tool, Brush Tool, and Layer Styles to add effects and refine the design. The final steps include adding an optical flare and blending it with the overall design to enhance the visual impact. The tutorial offers practical tips and step-by-step instructions for beginners and design enthusiasts alike.
Takeaways
- 😀 Start by creating a new project in Photoshop with a resolution of 1280px and RGB color mode.
- 😀 Create a dark gray or black background to serve as the base of the design.
- 😀 Use the Ellipse Tool to create a circular shape, adjusting stroke thickness to a blue color while removing the fill.
- 😀 Add text inside the ellipse, using a white font (Thinking of P) and resizing it with 'Ctrl + T' to fit the design.
- 😀 Align the text and ellipse elements by centering them properly on the canvas.
- 😀 Apply a drop shadow to both the ellipse and text via the blending options, adjusting distance and size as needed.
- 😀 Use the Pen Tool to create a custom shadow shape, filling it with black and adjusting opacity for a softer effect.
- 😀 Add a gradient effect to the shadow using the Brush Tool, softening the transition for a more natural look.
- 😀 Import an optical flare (downloaded) into the design, changing its layer mode to 'Screen' for blending.
- 😀 Resize and rotate the optical flare using 'Ctrl + T' to align it with the ellipse and enhance the design's flow.
- 😀 Smooth out the lighting effects by brushing on a new layer with a soft brush, ensuring a more polished and seamless look.
Q & A
What is the first step in creating the graphic design inspired by Lucky Strike?
-The first step is to create a new document in Photoshop with a width of 1280px, a resolution of 200, and an RGB color mode.
What color and design elements are used for the background of the design?
-The background is filled with a dark gray or black color, providing a neutral backdrop for the design elements.
How is the ellipse shape created in the design?
-The ellipse is created using the ellipse tool, and while holding down the Shift key, it is drawn to maintain a perfect circle. The fill color is removed, and a blue stroke is applied with a specified thickness.
What font is used for the text inside the ellipse, and how is it adjusted?
-The font used is 'Thinking of P'. The text is resized and positioned inside the ellipse, and its alignment is adjusted using the Control + T function.
What steps are involved in grouping the ellipse and text layers?
-After creating the ellipse and adding text inside, both elements are selected and grouped together by selecting both layers and pressing Control + G.
What blending options are applied to the grouped layers?
-A drop shadow effect is applied to the grouped layers. The shadow is set to a black color, with the blending mode set to 'Normal' and custom adjustments for distance and size.
How is the shadow effect created and modified?
-The shadow effect is created by using the pen tool to create a shape that represents the shadow. The opacity is adjusted, and a gradient effect is applied to refine the shadow's appearance.
What is the purpose of using the brush tool with a soft setting in this design process?
-The brush tool with a soft setting is used to create gradient effects for light and shadow, softening the transition between colors and giving a more polished look to the design.
How is the optical flare incorporated into the design?
-An optical flare image is imported into the project, and its blending mode is set to 'Screen'. The flare is adjusted using the Control + T function to fit within the ellipse, following the shape of the design.
What final adjustments are made to the optical flare and light effects?
-The optical flare is rotated to align with the shadow, and any areas where the light appears too harsh are smoothed out by creating new layers and brushing over them with a soft brush.
Outlines

Cette section est réservée aux utilisateurs payants. Améliorez votre compte pour accéder à cette section.
Améliorer maintenantMindmap

Cette section est réservée aux utilisateurs payants. Améliorez votre compte pour accéder à cette section.
Améliorer maintenantKeywords

Cette section est réservée aux utilisateurs payants. Améliorez votre compte pour accéder à cette section.
Améliorer maintenantHighlights

Cette section est réservée aux utilisateurs payants. Améliorez votre compte pour accéder à cette section.
Améliorer maintenantTranscripts

Cette section est réservée aux utilisateurs payants. Améliorez votre compte pour accéder à cette section.
Améliorer maintenantVoir Plus de Vidéos Connexes
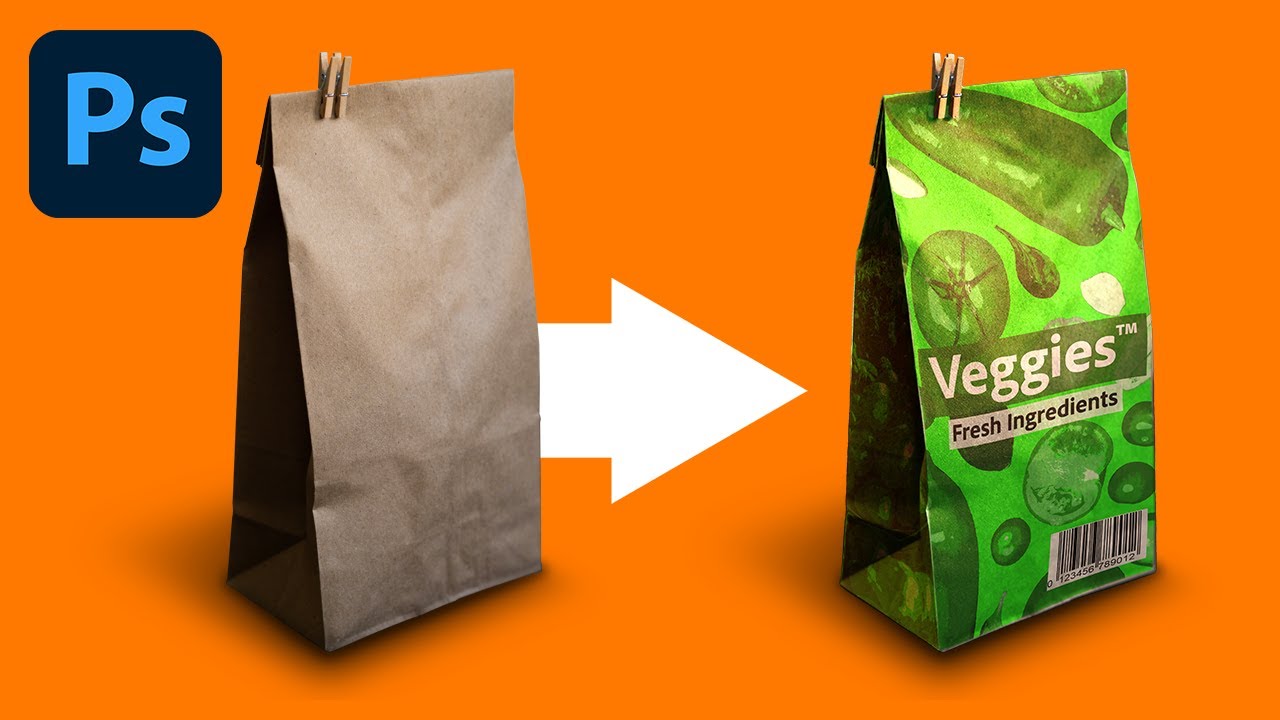
How To Create Realistic Product Mockups in Photoshop (Full Tutorial)

GAMPANG!! MEMBUAT FILTER INSTAGRAM BINGKAI FRAME ACARA DIES NATALIS | SPAK ART + CANVA
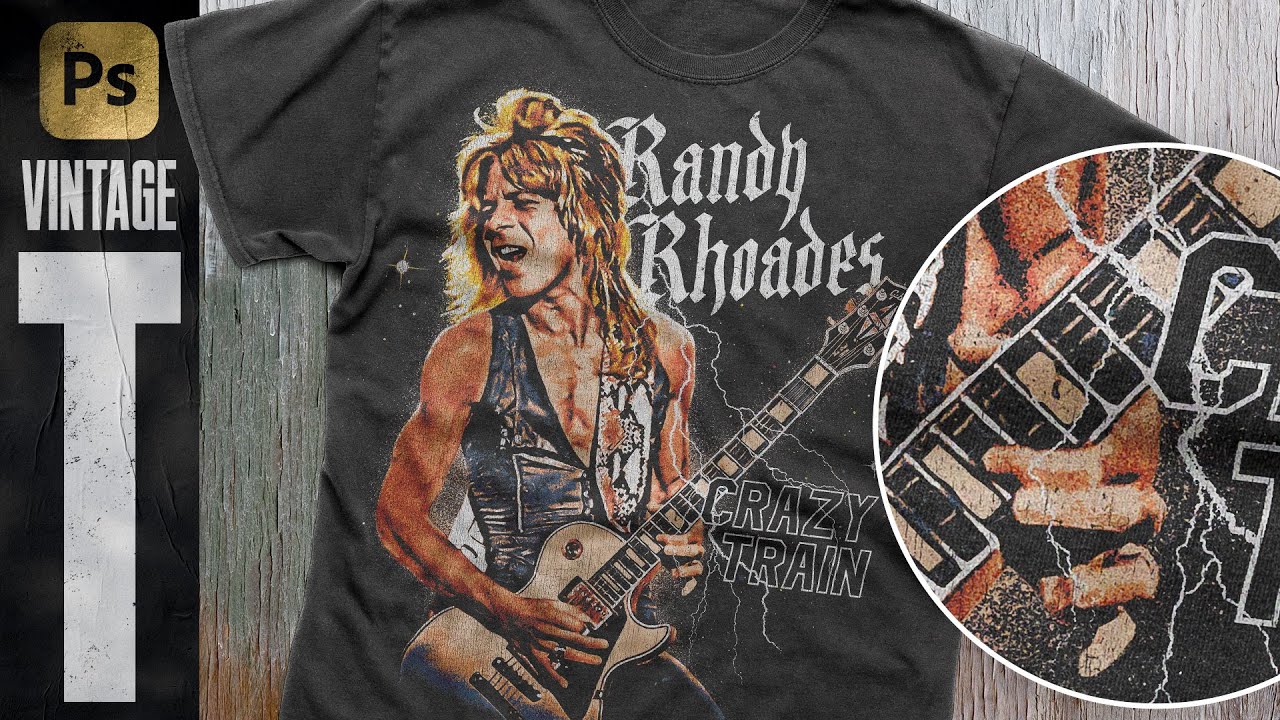
Creating Illustrated 1980s Vintage Tees in Photoshop
How to Use Adobe Photoshop (Part 1) Graphic Design Tutorial for Beginners
How I Make Viral AI Thumbnail Full Breakdown🔥

How to Make a Simple and Very Easy Tic Tac Toe Game in Mit App Inventor
5.0 / 5 (0 votes)
