IMPLEMENTATION OF IOT WITH RASPBERRY PI-I
Summary
TLDRThis script outlines a tutorial on configuring and utilizing a Raspberry Pi with sensors for data collection and processing. It covers the integration of sensors like the DHT for temperature and humidity monitoring, and demonstrates how to visualize data on a server. The tutorial also delves into sensor interfacing, using a relay for automatic cooling systems, and programming with libraries for sensor data acquisition. It concludes with a practical application, showing how to set up a system that automatically controls a fan based on temperature readings, providing a foundation for building more complex IoT projects.
Takeaways
- 📚 The lecture focuses on configuring Raspberry Pi for IoT applications, specifically on integrating sensors and visualizing data on a server.
- 🔧 Over the next three lectures, students will learn how to interface sensors with Raspberry Pi and visualize the collected data on a server.
- 🌡️ The lecture discusses using DHT sensors for measuring temperature and humidity, including the specifics of wiring and coding with Raspberry Pi.
- ⚙️ The use of relays with Raspberry Pi for controlling devices based on sensor data is covered, with emphasis on using board mode for pin configuration.
- 💡 Detailed instructions are given on how to install the necessary libraries for interfacing the DHT sensor with Raspberry Pi using Python.
- 🔌 The lecture explains the process of connecting the DHT sensor to Raspberry Pi, including setting up the GPIO pins and configuring the sensor in BCM mode.
- 💻 Students are shown how to write and execute a Python script that reads data from the DHT sensor and controls a relay to automate a cooling system.
- 🔍 The lecture includes a demonstration of logging into Raspberry Pi remotely and running the Python script to collect and display sensor data.
- 🎛️ The use of a relay board to turn a fan on and off based on temperature readings from the DHT sensor is demonstrated, showing practical IoT applications.
- 📈 The importance of historical data for decision-making in IoT systems is highlighted, along with examples of how automated cooling systems can be implemented.
Q & A
What is the main topic of the lecture series?
-The main topic of the lecture series is about configuring and enabling Raspberry Pi, integrating sensors, and visualizing data on a server.
What will be covered in the upcoming lectures after the current one?
-In the upcoming lectures, the focus will be on how to integrate sensors and the process of data visualization on the server.
What is the purpose of the DHT sensor used in the lecture?
-The DHT sensor is used to measure digital humidity and temperature, which is then used for making decisions based on the captured data.
What is the resistance value of the relay used in the demonstration?
-The relay used in the demonstration has a resistance value of 4.7 kilo ohms.
How is the DHT sensor connected to the Raspberry Pi in the lecture?
-The DHT sensor is connected to the Raspberry Pi using a 3.3-volt power supply, with data being fed to pin 2 of the sensor, and ground connected to the ground of the Raspberry Pi.
What is the significance of the BCM mode mentioned in the context of the DHT sensor?
-BCM mode refers to the Broadcom SOC channel multiplexing mode used in Raspberry Pi, which allows for specific pin configurations. The DHT sensor is used according to the manufacturer's specifications in BCM mode.
What is the voltage range that the relay can handle as mentioned in the lecture?
-The relay can handle an operating voltage range from 6 volts to 12 volts.
What is the purpose of the fan being controlled in the lecture?
-The fan is being controlled as part of a demonstration to create an automatic cooling system based on temperature readings from the DHT sensor.
How is the temperature reading displayed in the lecture?
-The temperature reading is displayed in degrees Celsius, and in the demonstration, it is shown as 25.0 degrees Celsius.
What programming language is used to interface with the DHT sensor and control the fan?
-Python is used as the programming language to interface with the DHT sensor and control the fan based on temperature and humidity readings.
What is the role of the 'if else' loop in the code demonstrated in the lecture?
-The 'if else' loop in the code is used to make decisions based on the temperature readings. If the temperature is higher than 20 degrees, the fan is turned on and after 5 seconds, it is turned off.
Outlines

Cette section est réservée aux utilisateurs payants. Améliorez votre compte pour accéder à cette section.
Améliorer maintenantMindmap

Cette section est réservée aux utilisateurs payants. Améliorez votre compte pour accéder à cette section.
Améliorer maintenantKeywords

Cette section est réservée aux utilisateurs payants. Améliorez votre compte pour accéder à cette section.
Améliorer maintenantHighlights

Cette section est réservée aux utilisateurs payants. Améliorez votre compte pour accéder à cette section.
Améliorer maintenantTranscripts

Cette section est réservée aux utilisateurs payants. Améliorez votre compte pour accéder à cette section.
Améliorer maintenantVoir Plus de Vidéos Connexes
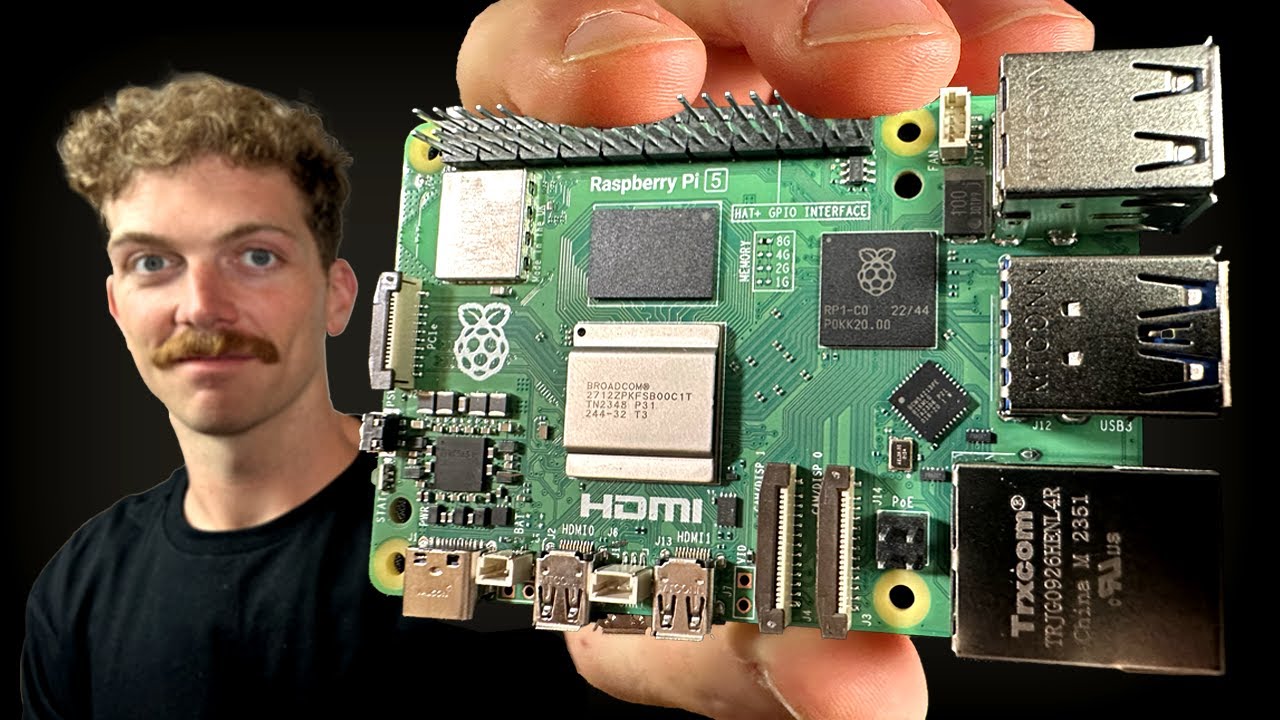
Every Developer Needs a Raspberry Pi
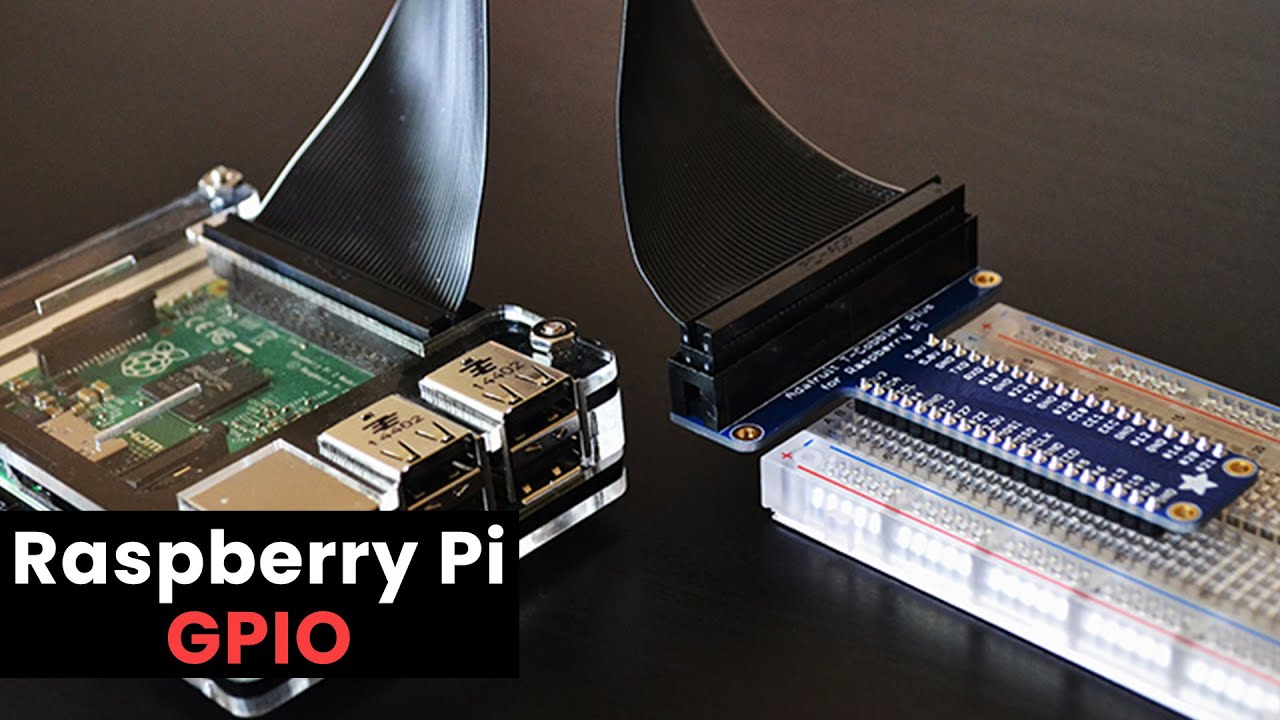
Raspberry Pi GPIO Tutorial: The Basics Explained
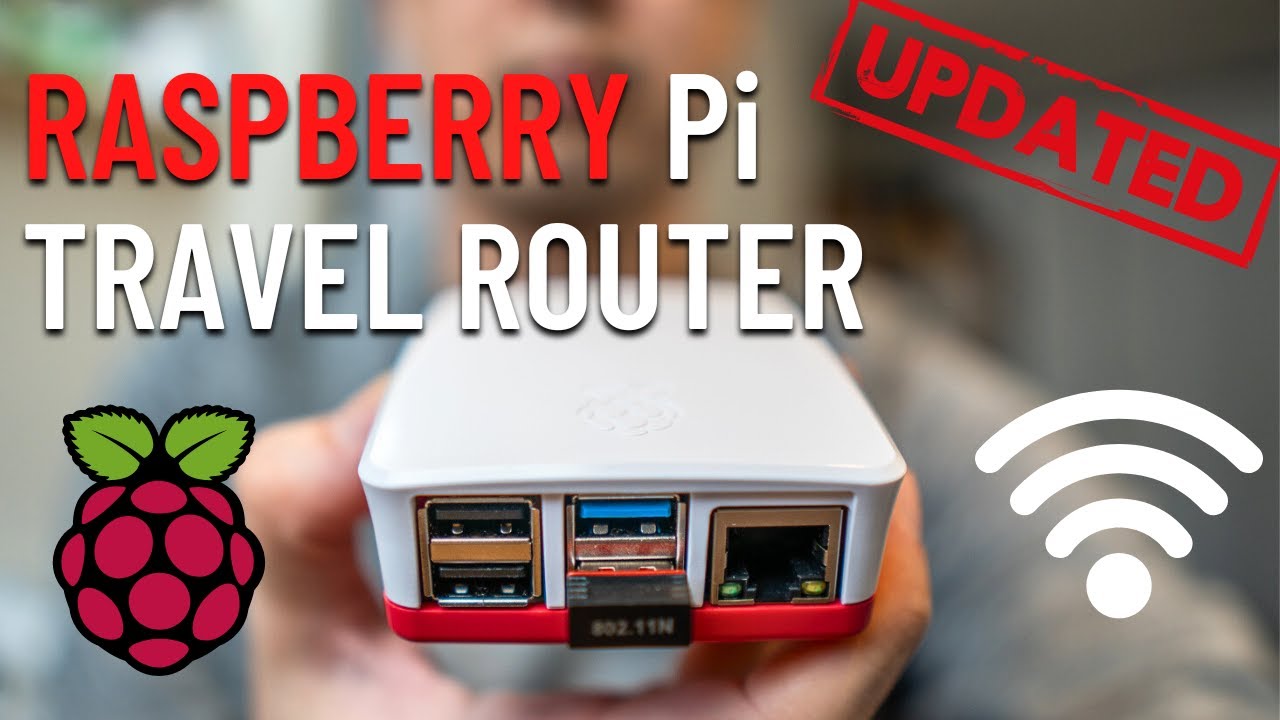
Raspberry Pi Travel Router - RaspAP (2024)
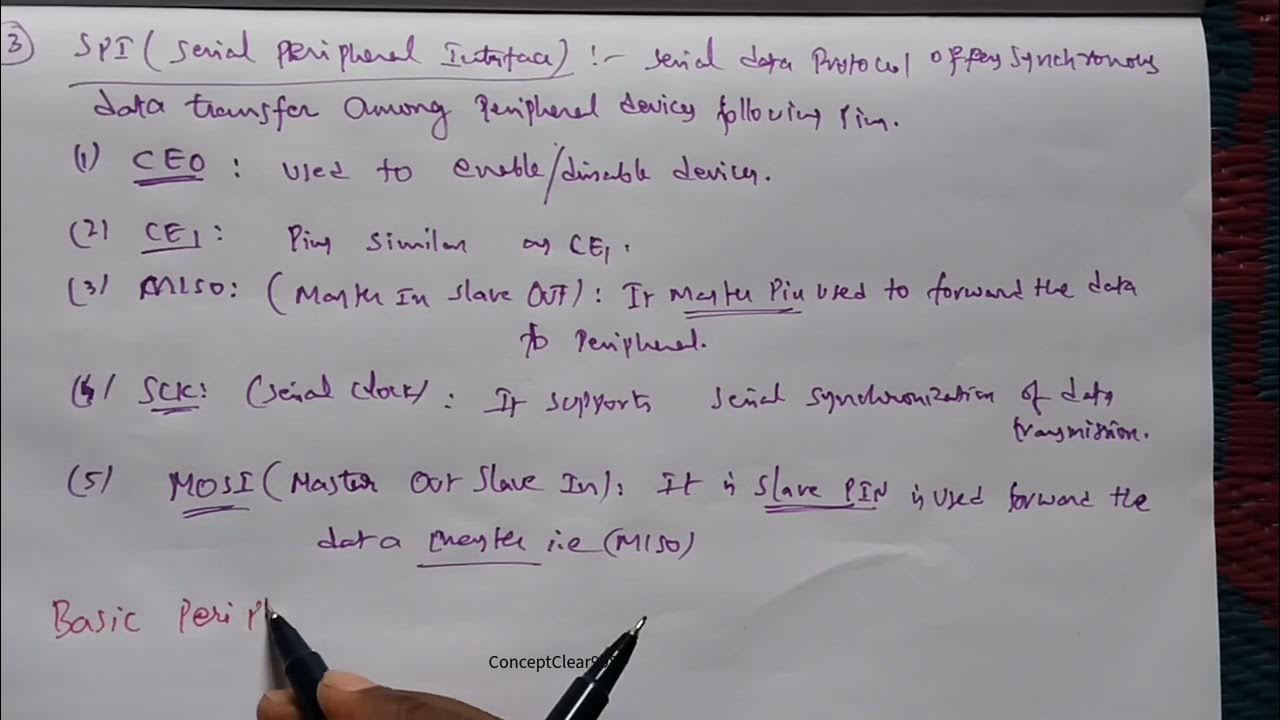
Interfacing Raspberry Pi with Basic Peripherals in FIOT in Telugu & English #FIOT #JNTUH #cse #r22
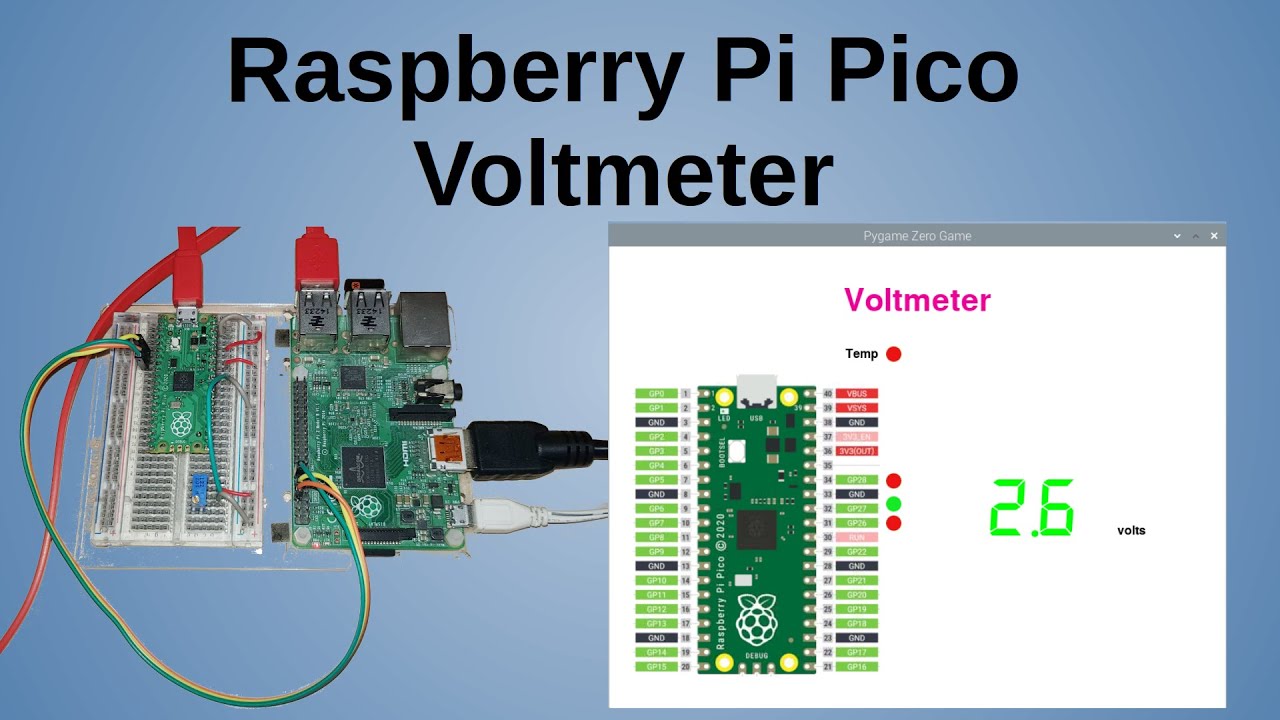
Raspberry Pi Pico Voltmeter - UART serial with the Pico and GUI application in C/C++ and MicroPython
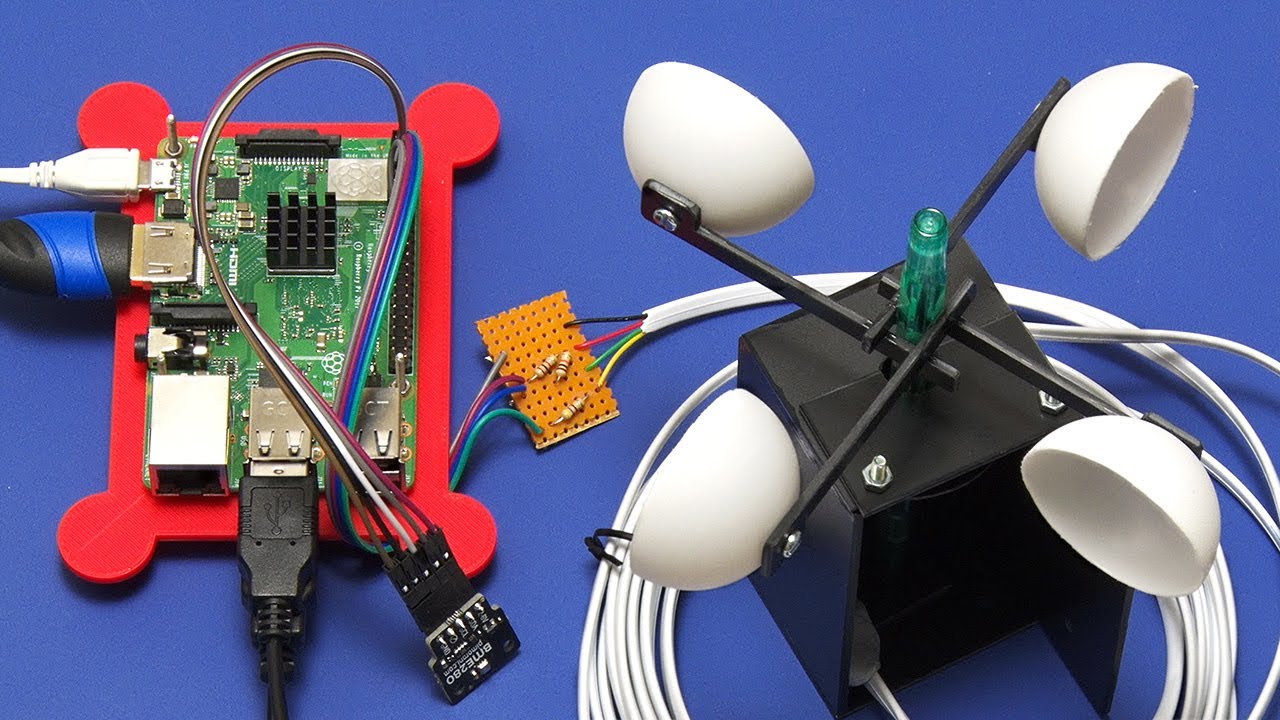
Raspberry Pi Anemometer: Measuring Wind Speed!
5.0 / 5 (0 votes)
