Raspberry Pi GPIO Tutorial: The Basics Explained
Summary
TLDRThis video offers an insightful introduction to Raspberry Pi's GPIO pins, explaining their functionality for connecting and controlling external circuits like sensors, LEDs, and more. It covers the importance of correct pin usage to avoid damaging the Pi, details various pin types such as GPIO, I2C, SPI, and UART, and walks through the setup of necessary modules. The tutorial also demonstrates a simple Python script to blink an LED, offering beginners a hands-on guide to GPIO programming with the Raspberry Pi.
Takeaways
- 😀 GPIO stands for General Purpose Input and Output, allowing communication with external circuits and devices.
- 😀 Incorrect use of GPIO pins can damage the Raspberry Pi, so it’s important to ensure compatible connections.
- 😀 Raspberry Pi models, like the B+ or Pi 2, come with more GPIO pins than earlier models, offering more versatility.
- 😀 The physical numbering system for GPIO pins is easier to understand and follow for connections.
- 😀 GPIO pins are for simple on/off operations (e.g., controlling an LED), while other pins like I2C, SPI, and UART handle more complex tasks.
- 😀 I2C pins allow communication with hardware modules using the I2C protocol, and SPI pins are for SPI device communication.
- 😀 UART (Universal Asynchronous Receiver/Transmitter) pins are used for serial communication with other devices.
- 😀 'DNC' (Do Not Connect) pins should not be connected to any external components.
- 😀 Power and ground pins are used to provide power and ground connections for other devices, all connected to the same line on the Pi.
- 😀 Enabling the I2C and SPI modules on the Raspberry Pi involves using the Raspberry Pi Configuration Tool and rebooting the Pi.
- 😀 A breakout kit is a useful tool for safely accessing the GPIO pins and connecting them to a breadboard for experimentation and prototyping.
Q & A
What does GPIO stand for in the context of Raspberry Pi?
-GPIO stands for General Purpose Input/Output. These pins allow the Raspberry Pi to communicate with other circuits, such as sensors, extension boards, and custom circuits.
Why is it important to use GPIO pins correctly on a Raspberry Pi?
-Using GPIO pins incorrectly can result in damaging your Raspberry Pi. It's crucial to ensure that any device or component connected to the GPIO pins is compatible with the Raspberry Pi's specifications.
What is the difference between GPIO, I2C, SPI, and UART pins?
-GPIO pins are standard pins used for simple on/off control, like turning an LED on or off. I2C (Inter-Integrated Circuit) pins are used for connecting and communicating with hardware modules using the I2C protocol. SPI (Serial Peripheral Interface) pins also allow communication with devices using the SPI protocol. UART (Universal Asynchronous Receiver/Transmitter) pins are used for serial communication with other devices.
What is the purpose of the 'DNC' pin on the Raspberry Pi?
-'DNC' stands for 'Do Not Connect.' These pins should not be used for any connections as they are not meant for communication or power.
How do the power and ground (GND) pins work on the Raspberry Pi?
-The power pins supply power to connected devices, while the ground (GND) pins provide a reference ground. All ground pins are connected to the same line, so it doesn't matter which GND pin is used.
What is a Breakout Kit, and why is it useful for working with Raspberry Pi GPIO pins?
-A Breakout Kit allows you to extend the GPIO pins to a breadboard, making it easier and safer to work with them. It often includes a ribbon cable and a more accessible layout for connecting components.
What are the basic steps to set up I2C and SPI on a Raspberry Pi?
-To enable I2C and SPI, first update your Raspberry Pi using 'sudo apt-get update' and 'sudo apt-get upgrade'. Then, use the 'raspi-config' tool to enable both I2C and SPI in the 'Advanced Options' menu, followed by a reboot to apply the changes.
How do you confirm that the I2C and SPI modules are enabled on the Raspberry Pi?
-You can verify that the I2C and SPI modules are enabled by running the commands 'lsmod | grep i2c' and 'lsmod | grep spi'. These should return module names like 'i2c-bcm2708' for I2C and 'spi-bcm2835' for SPI if the modules are active.
What programming language is typically used to control the GPIO pins on Raspberry Pi?
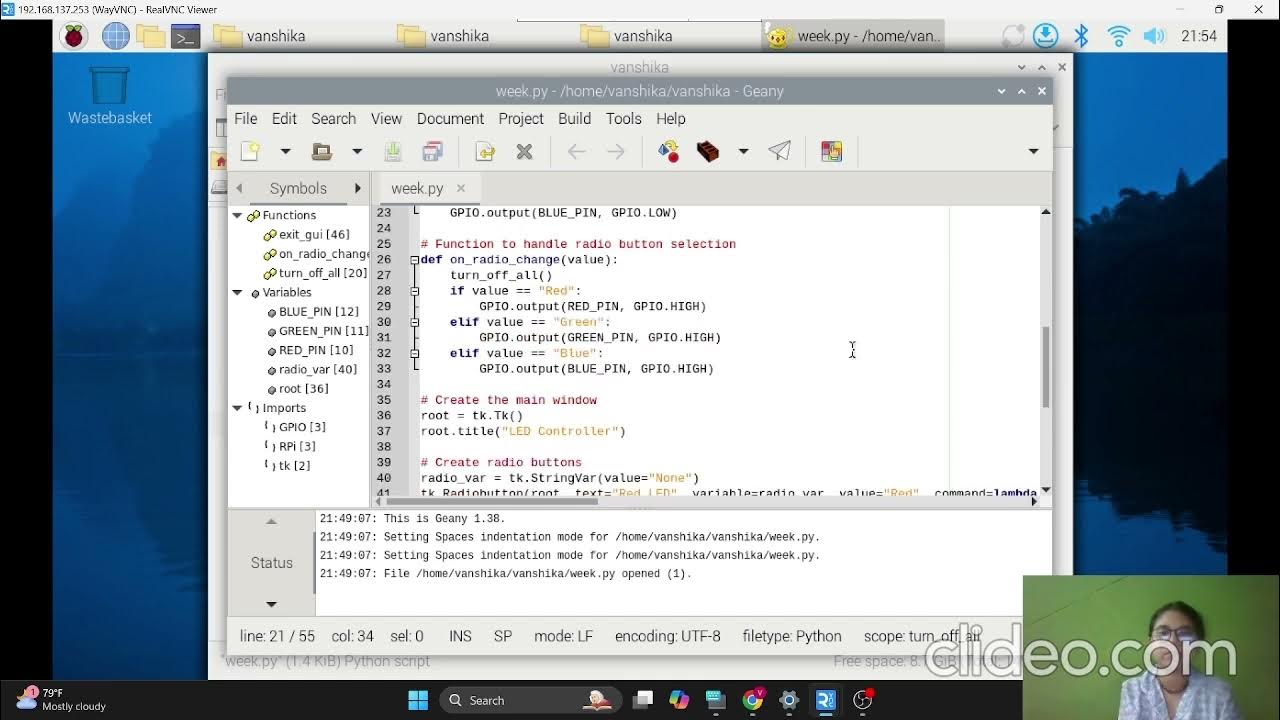
-Python is the default programming language for controlling GPIO pins on Raspberry Pi, with the 'RPi.GPIO' library being commonly used to interact with the pins.
How can you make an LED blink using the Raspberry Pi GPIO pins?
-To make an LED blink, you need to connect the LED to a GPIO pin (like pin 7), write a Python script using the 'RPi.GPIO' library to set the pin mode and control the output, and use a loop to turn the LED on and off, pausing with 'time.sleep' between each change.
Outlines

This section is available to paid users only. Please upgrade to access this part.
Upgrade NowMindmap

This section is available to paid users only. Please upgrade to access this part.
Upgrade NowKeywords

This section is available to paid users only. Please upgrade to access this part.
Upgrade NowHighlights

This section is available to paid users only. Please upgrade to access this part.
Upgrade NowTranscripts

This section is available to paid users only. Please upgrade to access this part.
Upgrade NowBrowse More Related Video


5.0 / 5 (0 votes)