EVERY Tool in the TOOLBAR Explained (Premiere Pro Tutorial)
Summary
TLDRIn this Premiere Basics video, Jill introduces essential Adobe Premiere Pro tools for beginners, simplifying the editing process. She covers the selection tool, track select, ripple edit, rolling edit, and razor tool, explaining their functions and shortcuts. Additionally, she highlights the pen tool for keyframing, and the text tool for adding captions. The video also promotes a Skillshare course for further learning, emphasizing the importance of understanding these tools to enhance editing skills.
Takeaways
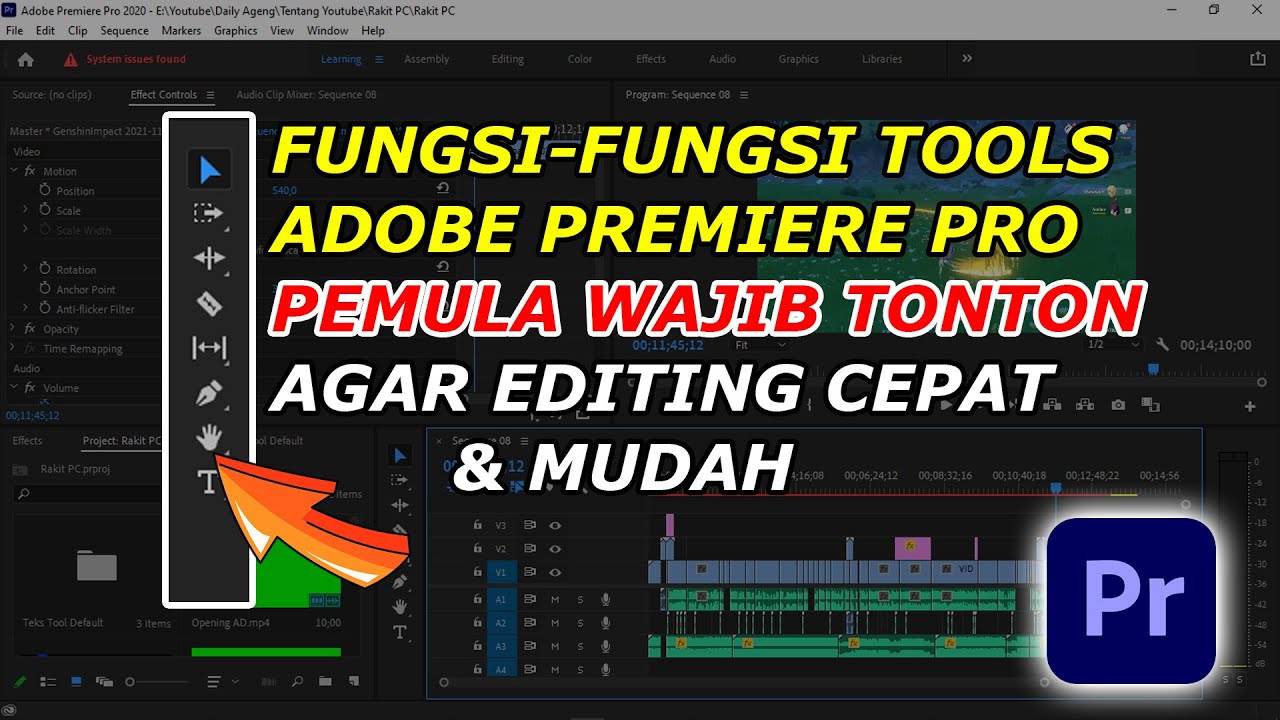
- 📚 The video is a tutorial for beginners on Adobe Premiere Pro, focusing on explaining the toolbar tools.
- 🔍 The Selection Tool (shortcut 'V') is the primary tool used for editing, allowing selection of everything in the timeline.
- 🔑 The Track Select Forward Tool helps in multi-selecting clips to the right of the cursor, including video and audio.
- 🔄 Holding Shift with the Track Select Tool selects everything on a single track instead of the entire sequence.
- ⏩ The Ripple Edit Tool trims a clip and automatically adjusts the timeline to close the gap created by the edit.
- 🔄 The Rolling Edit Tool moves the edit point in a sequence, making one clip longer and the other shorter.
- 🔧 The Razor Tool makes cuts in clips and, with Shift held, cuts across all tracks for faster workflow.
- 🎭 The Pen Tool serves multiple functions, including creating custom graphics and keyframing attributes like opacity.
- 🖌️ The Rectangle and Ellipse Tools are used for creating shape graphics in the editing process.
- 👀 The Hand Tool allows for precise navigation on the timeline, offering an alternative to scrolling.
- 🔍 The Zoom Tool, with the Alt key for zooming out, helps in focusing on specific areas of the timeline.
- ✍️ The Text Tool enables the creation of text in the program monitor, with an option for vertical text as well.
Q & A
What is the main purpose of the video?
-The main purpose of the video is to explain the various tools available in the Adobe Premiere Pro toolbar and how to use them, particularly for beginners who may struggle with finding and understanding these tools.
Which tool is primarily used for selecting everything in the timeline?
-The Selection Tool is primarily used for selecting everything in the timeline and is the main tool used during an edit.
What is the shortcut key for the Selection Tool in Adobe Premiere Pro?
-The shortcut key for the Selection Tool in Adobe Premiere Pro is 'V'.
How does the Track Select Forward Tool function?
-The Track Select Forward Tool allows you to select every clip to the right of your cursor in the timeline, including both video and audio.
What additional functionality does holding down the Shift key provide with the Track Select Tool?
-Holding down the Shift key while using the Track Select Tool allows you to select everything on one single track instead of the entire sequence.
What is the Ripple Edit Tool used for?
-The Ripple Edit Tool is used for trimming a clip while automatically adjusting the rest of the timeline so that Premiere Pro closes the gap created by the edit.
How does the Rolling Edit Tool differ from the Ripple Edit Tool?
-The Rolling Edit Tool moves the edit or cut point forwards or backwards in a sequence, making one clip longer and the other shorter, instead of trimming a clip and moving the entire timeline as with the Ripple Edit Tool.
What is the purpose of the Razor Tool?
-The Razor Tool is used to make edits or cuts in clips. Holding the Shift key while using this tool allows you to cut clips across all tracks, speeding up the editing workflow.
What does the Slip Tool allow you to do?
-The Slip Tool allows you to move the in and out points of a clip in the source file without adjusting the clip's position in the timeline, giving you a different start and end point.
How does the Slide Tool differ from the Slip Tool?
-The Slide Tool slides a clip on the timeline, keeping the in and out points the same, but adjusting the surrounding clips to become longer or shorter.
What additional functionality does the Pen Tool offer besides creating custom graphics?
-Besides creating custom graphics, the Pen Tool can also be used for keyframing certain attributes of a clip, such as opacity or time remapping, allowing for effects like speed ramping.
What is the Hand Tool used for in Adobe Premiere Pro?
-The Hand Tool is used for navigating forward or backward on the timeline with more precision than simple scrolling.
What does the Zoom Tool in Adobe Premiere Pro allow you to do?
-The Zoom Tool allows you to zoom in on the timeline for a closer view. Holding the Alt key while using the Zoom Tool allows you to zoom out.
How can you create text in Adobe Premiere Pro?
-You can create text in Adobe Premiere Pro using the Text Tool by clicking in the program monitor and typing. There is also a Vertical Type Tool for placing text vertically.
Outlines
🎥 Introduction to Adobe Premiere Pro Toolbar Tools
Jill, the host of Premiere Basics, introduces a tutorial aimed at beginners to understand the various tools available in the Adobe Premiere Pro toolbar. She acknowledges the common struggle of new users in finding and utilizing the right tools for editing tasks. The video promises to explain each tool, starting with the Selection Tool, which is the primary tool for editing. The tutorial also covers the Track Select Forward Tool for multi-selecting clips, the Ripple Edit Tool for efficient trimming and closing gaps between clips, and the Rolling Edit Tool for adjusting clip lengths within a sequence. Additional tools like the Razor Tool for making cuts, the Slip and Slide Tools for adjusting clip points and lengths, and the Pen Tool for creating graphics and keyframing are also discussed. The introduction ends with a promotion for a Skillshare course that covers Premiere Pro basics, editing techniques, effects, transitions, text and graphics, animations, speed ramping, visual effects, color correction, and audio mixing.
🛠️ Exploring More Premiere Pro Tools and Editing Techniques
Continuing from the previous tutorial, this paragraph delves into additional tools and editing techniques in Adobe Premiere Pro. It starts with the Pen Tool's functionality for keyframing attributes such as opacity and time remapping, which allows for effects like speed ramping. The Rectangle and Ellipse Tools are introduced for creating graphic shapes, followed by the Hand Tool that enables precise navigation along the timeline. The Zoom Tool is highlighted for its ability to zoom in for detailed work, with an alternative method using the Alt key for zooming out. Lastly, the Text Tool is presented for creating textual content in the program monitor, with a mention of a Vertical Type Tool for vertical text placement. The summary concludes with an encouragement to subscribe and stay creative, emphasizing the expansion of the viewer's tool knowledge and editing workflow efficiency.
Mindmap
Keywords
💡Adobe Premiere Pro
💡Toolbar
💡Selection Tool
💡Track Select Forward Tool
💡Ripple Edit Tool
💡Rolling Edit Tool
💡Razor Tool
💡Slip Tool
💡Slide Tool
💡Pen Tool
💡Text Tool
Highlights
Introduction to Adobe Premiere Pro's toolbar tools for beginners.
Explanation of the Selection Tool and its shortcut key 'V'.
The Track Select Forward Tool for multi-selecting clips to the right of the cursor.
Using the Select Backward Tool to select clips to the left and the Shift key for single track selection.
The Ripple Edit Tool for trimming clips while automatically adjusting the timeline.
Rolling Edit Tool for moving the edit point in a sequence to change clip lengths.
Razor Tool for making cuts in clips and the Shift key for cutting across all tracks.
Slip Tool for adjusting in and out points of clips without changing their length on the timeline.
Slide Tool for sliding clips on the timeline while adjusting surrounding clips.
Pen Tool for creating custom graphics and keyframing attributes.
Rectangle and Ellipse Tools for creating shape graphics.
Hand Tool for precise navigation on the timeline.
Zoom Tool for scaling the view of the timeline.
Text Tool for creating and placing text in the program monitor.
Vertical Type Tool for placing text vertically.
Skillshare course recommendation for beginners to improve editing skills.
Course content includes basic editing techniques, video effects, transitions, text and graphics, custom animations, speed ramping, visual effects, color correction, audio mixing, and export settings.
First 30 days of the Skillshare course are free.
Transcripts
[Music]
hey guys jill here for premiere basics a
show where we explain the ins and outs
of adobe premiere pro today is going to
be an easy one guys but it's an
important one i'm going to explain every
tool from the toolbar and as a beginner
you often struggle with finding the
right tools to perform certain actions
while editing and once you finally find
some of those tools to edit you don't
know what to do with them because who
knows straight away what a ripple edit
told us or a track select forward tool
well we didn't either and that's why we
are explaining all of these tools for
you we're starting out easy the
selection tool well this one is quite
self-explanatory with this tool you can
select everything in your timeline and
it's basically the main tool you will be
using during an edit so definitely
remember the short key v to select this
tool the second tool is the track select
forward tool and this is your multi
select tool if you hover with the cursor
in your timeline you will see these
stacked arrows indicating that you are
using a tool if you now click you will
select every clip right of your cursor
and this means literally everything
video and audio however you can also use
the select backward tool to select
everything left of your cursor and one
extra bonus for this tool if you hold
down the shift key while operating this
tool you can now select everything on
one single track and not the entire
sequence anymore also to indicate this
the stacked arrow cursor becomes a
single arrow the next tool is the ripple
edit tool a super handy tool to make
your editing workflow way faster now
with this tool you can trim or in other
words shorten your clip but while doing
that the rest of the clips in your
timeline will ripple towards your edit
meaning that premiere pro will
automatically close the gap you just
created between the two clips however
this also works when making your
selected clips longer then premiere pro
will push the clips further in your
timeline preventing unwanted cutoff
clips now underneath the ripple edit
tool we have two more tools hiding out
and one of them is the rolling edit tool
now this one is a little bit similar to
the ripple edit tool however instead of
trimming a clip and moving the rest of
the timeline we now move the edit or cut
either forwards or backwards in a
sequence making one clip longer and the
other one shorter and then the last tool
in our drop down is the raid stretch
tool with this tool you can speed up or
slow down clips in your timeline when
doing this the in and out points of your
clips will stay the same only the length
of your clip will be adjusted we are on
a roll guys but do you know who's also
on a roll you and your editing skills
but if you want to make them even better
i would definitely recommend our
skillshare course premiere pro for
beginners not only is it one of our most
viewed courses it's also highly rated
with over 2 500 positive review so far
now from the start we teach you the
basics of premiere pro so how to
organize your workspace and your clips
the basic editing techniques followed by
the toolbar which you will already
understand since you're watching this
tutorial then you learn some basic video
effects that are default in premiere and
often used when editing professional
videos then we move over to transitions
text and graphics and how to build your
own templates you will learn how to
create custom animations apply speed
ramping to your videos together with
some visual effects and you will learn
how to color correct your videos finally
we move on to audio mixing and audio
effects which are highly underestimated
by editors and of course we teach you
how you can properly export your
creation in the best possible settings
the best part is that the first 30 days
are completely for free so go to the
description down below and hit that
first link now let's continue with the
razer tool with this fundamental tool
you can simply make edits or cuts in
your clips easy as that but if you hold
the shift key while using this tool you
will cut clips across all tracks again
speeding up your editing workflow on to
the next tool which is the slip tool and
this tool lets you slip the in and out
points of eclipse source without
adjusting it in the timeline so your
clip actually stays the same length but
you are moving the in and out points in
the source file giving you a different
start and end also while using this tool
you will be given a live preview of your
new in and out points in the program
monitor tool number eight is the slide
tool and this tool is similar to the
slip tool but this time you are sliding
a clip on the timeline the in and out
point of the selected clip remain the
same but the surrounding clips are
adjusted they become longer or shorter
and again we get a live preview in our
program monitor showing us what we are
doing number nine on our list is the pen
tool and this one has multiple functions
first one is creating custom graphics
with the tool selected you can just
click in your program monitor and create
a custom graphics clip but you can also
use the pen tool to adjust existing
graphics now besides creating graphics
you can also use the pen tool for
keyframing certain attributes of a clip
when your track is high enough you are
able to see this line right here if you
can't see it then hold alt while
scrolling over the track or just drag
the track height up by default this is
the opacity of your clip now with the
pen tool we can easily keyframe the
opacity without going to the effect
controls panel however this line doesn't
always stand for the eclipse opacity
when we right click on the effects
button we can choose the attribute the
line stands for for example time
remapping we can now use the pen tool to
start speed ramping next we have the
rectangle and ellipse tool and with
these we can create rectangles and
ellipse graphics seems logical number 12
another basic tool called the hand tool
this tool will simply allow you to
navigate forward or backward on your
timeline and this of course can also be
done with scrolling but the hand tool
can be a little bit more precise next up
is the zoom tool and well this lets you
zoom in of course obviously it doesn't
always have to be rocket science of
course now you can also hold the alt key
if you want to zoom out and then the
last tool is the text tool and once
again this is quite self-explanatory
with this you can create text in your
program monitor just click and type
nothing more nothing less and if you
want there is also a vertical type tool
to again place text but this time
vertical of course and those were all
the tools from the toolbar i hope i
expanded your tool knowledge and help
with your editing workflow thank you so
much for watching don't forget to
subscribe and hit the notification
button most importantly
stay creative
[Music]
so
[Music]
you
Voir Plus de Vidéos Connexes
Razor Tool and Ripple Delete - Adobe Premiere Pro CC Class 8 - Urdu / Hindi [Eng Sub]
7 AI Tools in Premiere Pro you NEED TO KNOW about!
Premiere Pro Tutorial for Beginners 2023 - Everything You NEED to KNOW! (UPDATED)
Slip and Slide Tools - Adobe Premiere Pro CC Class 9 - Urdu / Hindi [Eng Sub]
Learn Video editing in Just 20 Minutes ! - Adobe Premiere pro Masterclass- NSB Pictures
EVERY Adobe Illustrator Tool EXPLAINED (in Under 20 Minutes)
5.0 / 5 (0 votes)