Applying Subnet Networks to Network Devices - CCNA 2: Day 2
Summary
TLDRIn this instructional video, the host guides viewers through the process of configuring IP addresses for three subnetted networks. The tutorial covers setting up IP addresses and subnet masks on various devices, including PCs and routers, and highlights the importance of default gateways. The host also demonstrates the use of the command line interface for configuring network interfaces and explains the concept of 'destination host unreachable' due to the lack of routing between certain networks. The video concludes with a teaser for the next tutorial, which will focus on static routes and default routing.
Takeaways
- 😀 The video is a tutorial on configuring IP addresses for a network with three subnetted networks.
- 🔍 The default gateway for Network 1 is set to 1.1, and the PC in this network is assigned IP address 1.2.
- 📍 For Network 2, the router is assigned IP address 1.65 and the next router is assigned 1.66.
- 🔢 Network 3 uses 1.129 as the default gateway for the router and the PC is assigned IP address 1.130.
- 💡 A subnet mask of 255.255.255.192 is used for all IP addresses due to the networks being subnetted with a /26.
- 🛠️ The tutorial involves configuring interfaces on routers and PCs, including setting IP addresses and enabling interfaces.
- 🔗 The router's serial interface (DCE) requires a clock rate to be set, while the gigabit interface (DTE) does not.
- 🔄 The process includes saving configurations on routers to retain the set IP settings.
- 🚀 After setting up the IP addresses, a ping test is performed to check connectivity between PCs.
- 🚫 The ping test fails due to the lack of routing information between the networks on the routers.
- 🔄 The next tutorial will cover configuring static routes or default routes to resolve the connectivity issue.
Q & A
What was the purpose of the previous video mentioned in the script?
-The purpose of the previous video was to create four subnetted networks, but it was later determined that only three networks were needed.
What are the three networks that were eventually used in the script?
-The three networks used are Network 1, Network 2, and Network 3.
What is the default gateway for Network 1 in the script?
-The default gateway for Network 1 is 192.168.1.1.
What IP address is assigned to the PC on Network 1?
-The PC on Network 1 is assigned the IP address 192.168.1.2.
What is the IP address assigned to Router 1 on Network 2?
-Router 1 on Network 2 is assigned the IP address 192.168.1.65.
What is the subnet mask used for each IP address in the script?
-The subnet mask used for each IP address is 255.255.255.192.
Why is the subnet mask 255.255.255.192 used in the script?
-The subnet mask 255.255.255.192 is used because the networks were subnetted into a /26, which requires this subnet mask for proper addressing.
What command is used to enable the interface on a router in the script?
-The command 'no shutdown' is used to enable the interface on a router.
What is the IP address assigned to the PC on Network 3 in the script?
-The PC on Network 3 is assigned the IP address 192.168.1.130.
Why was the ping from PC to PC2 unsuccessful in the script?
-The ping was unsuccessful because the router did not have a route configured for the network that PC2 was on, as it was not connected to the router's interface.
What will be configured in the next tutorial according to the script?
-In the next tutorial, static routes or default routes will be configured to resolve the connectivity issues.
Outlines

Esta sección está disponible solo para usuarios con suscripción. Por favor, mejora tu plan para acceder a esta parte.
Mejorar ahoraMindmap

Esta sección está disponible solo para usuarios con suscripción. Por favor, mejora tu plan para acceder a esta parte.
Mejorar ahoraKeywords

Esta sección está disponible solo para usuarios con suscripción. Por favor, mejora tu plan para acceder a esta parte.
Mejorar ahoraHighlights

Esta sección está disponible solo para usuarios con suscripción. Por favor, mejora tu plan para acceder a esta parte.
Mejorar ahoraTranscripts

Esta sección está disponible solo para usuarios con suscripción. Por favor, mejora tu plan para acceder a esta parte.
Mejorar ahoraVer Más Videos Relacionados
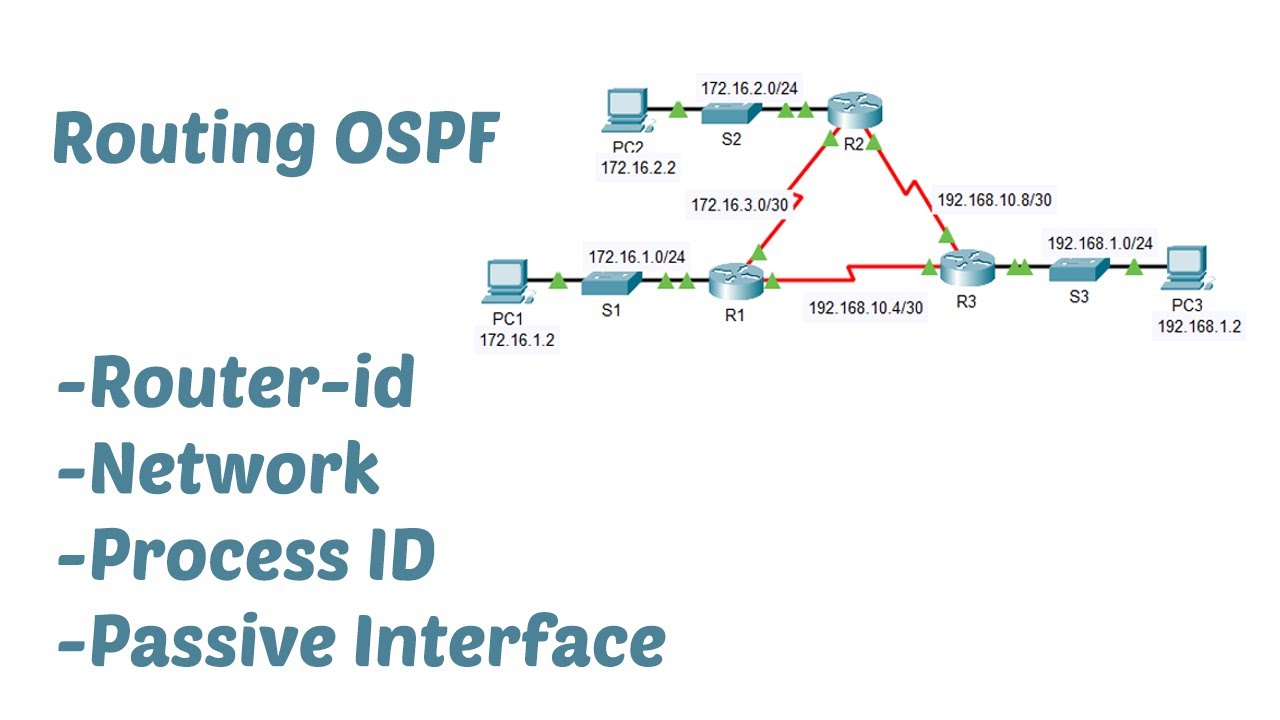
Konfigurasi Routing OSPF dengan mudah menggunakan Cisco Packet Tracer
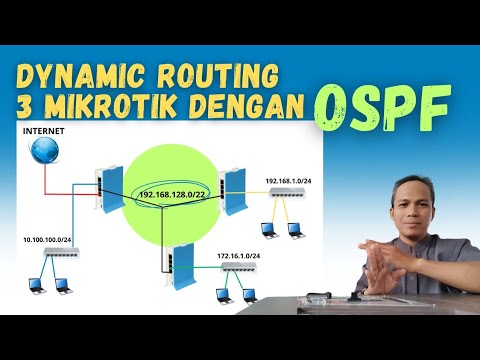
Konfigurasi Routing OSPF 3 Router Mikrotik
Instalação das máquinas virtuais usando o VirtualBox e imagem do Linux Debian.

Free CCNA | Configuring Static Routes | Day 11 Lab 1 | CCNA 200-301 Complete Course
How to Configure LAN Segments in VMware Workstation Pro
How to Install VMware vSphere Hypervisor ESXi 6.7 on VMware Workstation 15
5.0 / 5 (0 votes)
