Are You Editing Wrong?
Summary
TLDRThis video explores how to use two powerful tools in Lightroom—the Basic Adjustment panel and the Tone Curve—effectively together to enhance image contrast and dynamic range. The presenter demonstrates the differences between the tools, explaining how the Basic panel adjusts exposure and detail, while the Tone Curve refines contrast. Practical examples illustrate how to recover detail and add contrast to images, mimicking a film-like editing style. The video also covers advanced and simpler methods for adding color contrast to images, offering both techniques for achieving more impactful, visually appealing results.
Takeaways
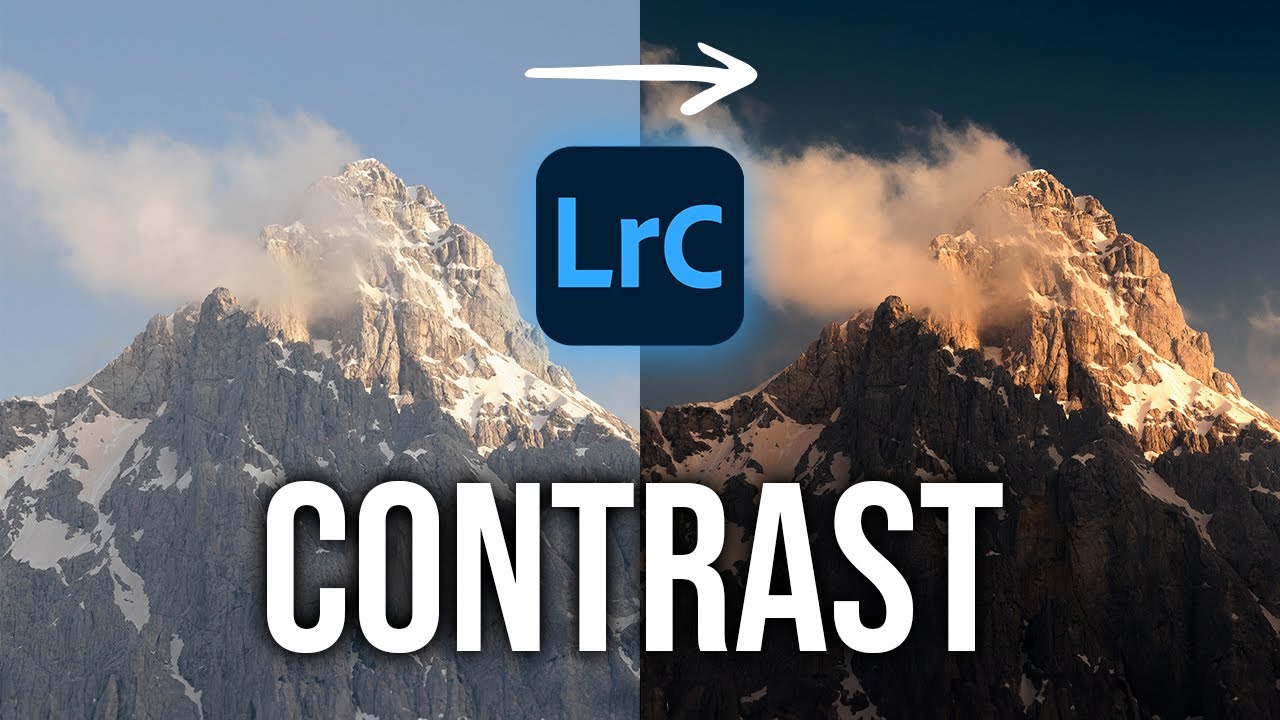
- 😀 The Basic Adjustment panel and Tone Curve in Lightroom are powerful when used together, offering enhanced tonal control and contrast.
- 😀 The Basic Adjustment panel is for exposure, white balance, and overall tone adjustments, while the Tone Curve fine-tunes the tonal scale and adds contrast.
- 😀 The Tone Curve should be used as a secondary layer over the Basic Adjustment panel, adding contrast without affecting the raw file data.
- 😀 Adjusting shadows, highlights, blacks, and whites in the Basic panel affects the overall exposure, while the Tone Curve focuses on contrast.
- 😀 When editing, the goal is to decide whether to expose for highlights or shadows, which impacts how much detail is preserved in the final image.
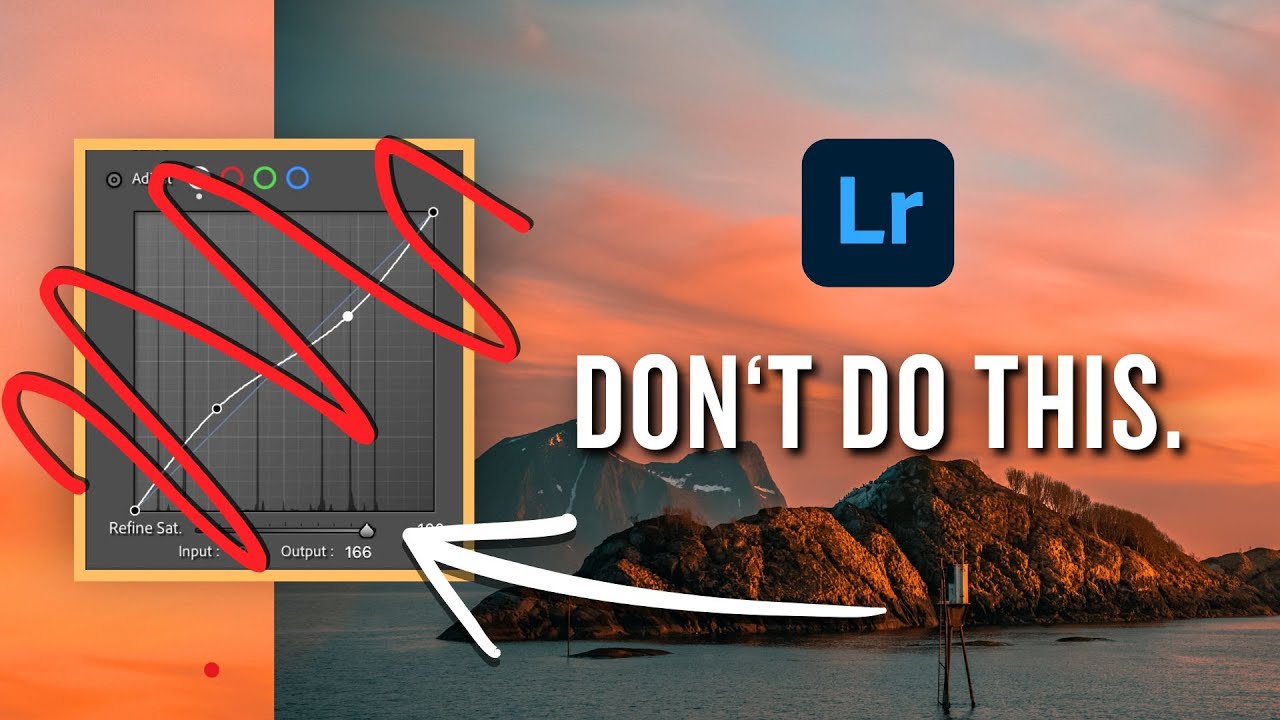
- 😀 The Tone Curve allows for contrast manipulation, such as lifting the black point or adding an S-curve, but it does not recover detail like the Basic Adjustment panel.
- 😀 To get dynamic range, it's important to use both panels: the Basic Adjustment panel recovers detail, and the Tone Curve adds contrast.
- 😀 The process involves adjusting exposure, shadows, and highlights in the Basic panel first, followed by adding contrast using the Tone Curve.
- 😀 Lightroom presets can be used to speed up editing, with many presets offering a refined version of an S-curve for pleasing tone and contrast.
- 😀 Adding color contrast through the RGB Tone Curve or color grading wheels is an advanced technique that can make images more dramatic and visually striking.
Q & A
What is the main difference between the Basic Adjustment panel and the Tone Curve in Lightroom?
-The Basic Adjustment panel is used to adjust the overall exposure and white balance of an image, affecting the raw file directly. The Tone Curve, on the other hand, fine-tunes the tonal scale and adds contrast without directly affecting the raw file data or exposure.
How do the Basic Adjustment and Tone Curve tools work together to enhance an image?
-The Basic Adjustment panel is used to recover details in the shadows and highlights, while the Tone Curve adds contrast to the image. When used together, the Basic Adjustment recovers detail, and the Tone Curve enhances the image’s tonal contrast, making the final result more dynamic and visually pleasing.
Why does the Tone Curve add contrast instead of recovering detail?
-The Tone Curve is designed to adjust the tonal range and add contrast by manipulating the curve's shape, such as lifting or lowering specific parts. It does not recover details like the Basic Adjustment panel does, because it only affects the contrast and tonal distribution rather than the raw image data.
What is the purpose of adjusting the Black Point in the Tone Curve?
-Adjusting the Black Point in the Tone Curve removes the blacks in the image, which results in an increase in contrast. It doesn’t recover detail from the shadows but instead adds or subtracts from the tonal range to enhance the image's contrast.
How do the histograms in Lightroom behave differently when adjusting the Basic Adjustment versus the Tone Curve?
-When adjusting the Basic Adjustment panel, both the global histogram and the tone curve histogram are affected. In contrast, adjustments made in the Tone Curve only affect the tone curve histogram without altering the global histogram, which represents the overall exposure and tonal range of the image.
Why is it recommended to start with the Basic Adjustment panel before the Tone Curve?
-It is recommended to start with the Basic Adjustment panel because it directly affects the raw image file, allowing you to recover details and set the foundation for exposure and white balance. Once these adjustments are made, the Tone Curve can be used as a layer on top to refine the contrast and tonal distribution.
What is the advantage of using the S-curve in the Tone Curve for contrast adjustment?
-The S-curve is commonly used to increase contrast because it allows for a smooth transition in both the shadows and highlights. It adds depth to the image by darkening the shadows and brightening the highlights, creating a visually appealing contrast that enhances the image's dynamic range.
What is the difference between the Parametric Tone Curve and the standard Tone Curve?
-The Parametric Tone Curve is a more simplified version of the standard Tone Curve, focusing on specific tonal ranges (shadows, midtones, highlights) without allowing full control over the blacks and whites. It is user-friendly and offers quick adjustments, but lacks the fine-tuning capability of the standard Tone Curve.
How can you add color contrast to an image using the RGB tone curve?
-Color contrast can be added using the RGB tone curve by adjusting the individual Red, Green, and Blue channels. For example, you can add blue to the shadows and yellow to the highlights to create complementary color contrast. This enhances the dramatic effect and makes the image visually striking.
What is the simpler method to add color contrast without using the RGB tone curve?
-A simpler method to add color contrast is by using the Color Grading wheels in Lightroom. By adjusting the hue, saturation, and luminance in the Shadows and Highlights sections, you can introduce color contrast without affecting the tonal range as much as with the RGB tone curve.
Outlines

Dieser Bereich ist nur für Premium-Benutzer verfügbar. Bitte führen Sie ein Upgrade durch, um auf diesen Abschnitt zuzugreifen.
Upgrade durchführenMindmap

Dieser Bereich ist nur für Premium-Benutzer verfügbar. Bitte führen Sie ein Upgrade durch, um auf diesen Abschnitt zuzugreifen.
Upgrade durchführenKeywords

Dieser Bereich ist nur für Premium-Benutzer verfügbar. Bitte führen Sie ein Upgrade durch, um auf diesen Abschnitt zuzugreifen.
Upgrade durchführenHighlights

Dieser Bereich ist nur für Premium-Benutzer verfügbar. Bitte führen Sie ein Upgrade durch, um auf diesen Abschnitt zuzugreifen.
Upgrade durchführenTranscripts

Dieser Bereich ist nur für Premium-Benutzer verfügbar. Bitte führen Sie ein Upgrade durch, um auf diesen Abschnitt zuzugreifen.
Upgrade durchführenWeitere ähnliche Videos ansehen
Adobe Lightroom Full Tutorial for Beginners 2024 | Under 20 MINUTES!
These LIGHTROOM SETTINGS will make Your Photos POP!
This CHANGED My Editing... Learn Lightroom Curves In 20 Minutes

COLOR GRADE in Lightroom Like a PRO // Cinematic Color Grading

Uso de curva de distribución normal con Geogebra
Come controllare il colore con Darktable
5.0 / 5 (0 votes)
