SETTING DASAR JARINGAN DI MIKROTIK
Summary
TLDRThis video tutorial provides a step-by-step guide to setting up a MikroTik router (HAP Lite model, RouterOS 3.40) using Winbox. It covers configuring basic Ethernet interfaces, assigning IP addresses, enabling DHCP for client IP assignment, setting up DNS with Google’s public servers, and configuring NAT (Network Address Translation) for internet access. The tutorial ensures that viewers can successfully connect their devices to the router and access the internet. The content is tailored for IT professionals and beginners, with clear instructions to make MikroTik setup easy to follow.
Takeaways
- 😀 Connect to the MikroTik router using Winbox by selecting the MAC address for the initial connection.
- 😀 Rename Ethernet 1 to 'ISP' for internet access, and configure Ethernet 2, 3, and 4 for LAN connections.
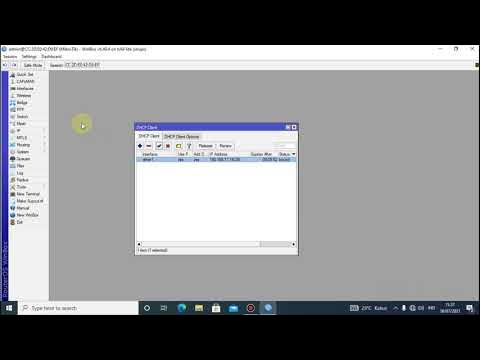
- 😀 Enable DHCP client on Ethernet 1 (ISP) to automatically acquire an IP address from the modem.
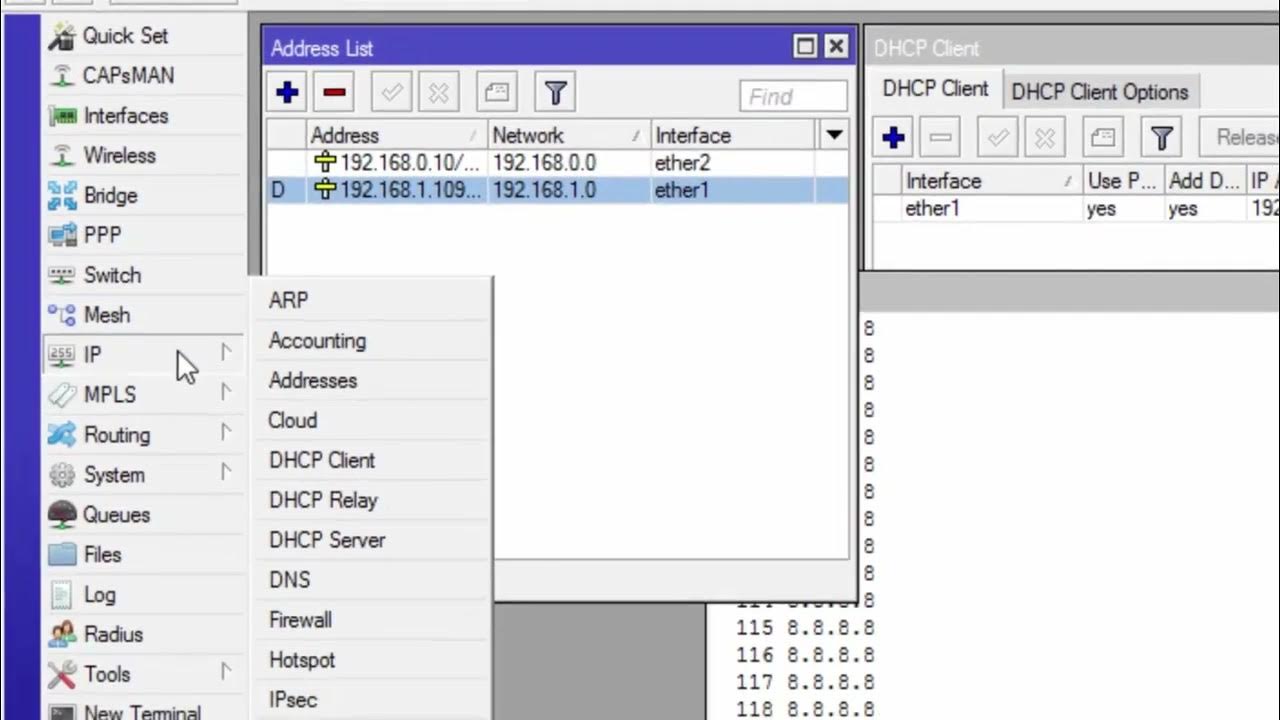
- 😀 Set static IP addresses for Ethernet 2, 3, and 4 to create subnets for LAN connections (192.168.20.1/24, 192.168.30.1/24, 192.168.40.1/24).
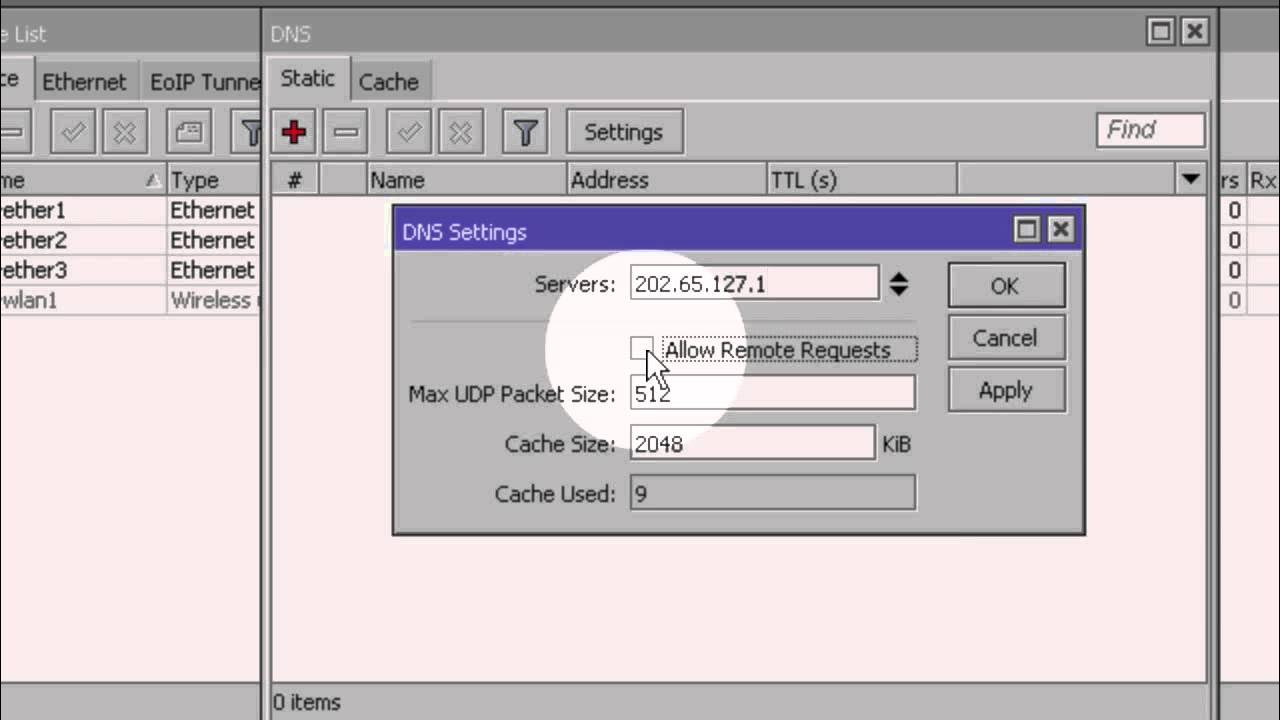
- 😀 Configure DNS servers (Google DNS: 8.8.8.8 and 8.8.4.4) for internet access.
- 😀 Set up NAT (Network Address Translation) by creating a srcnat rule with the out-interface as Ethernet 1 for internet access.
- 😀 Use the 'masquerade' action in NAT settings to allow LAN clients to share the internet connection from the ISP.
- 😀 Add a DHCP server on Ethernet 2, 3, and 4 to dynamically assign IP addresses to LAN clients.
- 😀 The DHCP server assigns IP addresses in the range 192.168.x.2 to 192.168.x.254 based on the respective subnet.
- 😀 Verify the internet connection by pinging an external site (e.g., google.com) from the MikroTik router's terminal to ensure successful setup.
- 😀 The video also introduces future content, which will cover bandwidth management (B-Witch) for MikroTik routers.
Q & A
What is the purpose of the MikroTik router setup in this tutorial?
-The purpose of this tutorial is to guide users through the basic configuration of a MikroTik router using the HAP Lite model, specifically setting up the router for internet access and local network configurations using Winbox.
What is the significance of Winbox in this setup?
-Winbox is a graphical user interface (GUI) tool used to configure MikroTik routers. In this setup, it is used to access and configure the router’s settings, such as network interfaces and IP addresses.
How do you connect to the MikroTik router using Winbox?
-To connect to the MikroTik router using Winbox, you need to select the router's MAC address and click to connect. Once connected, you can begin configuring the router.
What does the 'r' next to an interface in Winbox indicate?
-The 'r' next to an interface indicates that the interface is 'Ready', meaning the cable is properly connected and the device is receiving a signal.
What is the role of the DHCP client in this setup?
-The DHCP client is used to automatically receive an IP address from the modem (which has DHCP enabled) to establish an internet connection. This step simplifies network setup by assigning an IP without manual configuration.
Why is DNS configuration necessary in this setup?
-DNS (Domain Name System) configuration is necessary to allow the router to resolve domain names to IP addresses. The script sets Google's DNS servers (8.8.8.8 and 8.8.4.4) for this purpose.
What is the purpose of NAT in this setup?
-NAT (Network Address Translation) is used to enable multiple devices on the local network to share a single public IP address. The script sets up NAT by selecting 'src NAT' and applying it to the router's interface connected to the internet.
How do you manually assign IP addresses to the local network interfaces?
-To manually assign IP addresses to the local network interfaces, you navigate to the 'IP' section, select 'Addresses', and add IPs like 192.168.20.1 for Ethernet 2, 192.168.30.1 for Ethernet 3, and 192.168.40.1 for Ethernet 4.
What is the purpose of setting up the DHCP server in this configuration?
-The DHCP server is set up on the MikroTik router to automatically assign IP addresses to devices on the local network, making it easier for clients to connect without needing manual IP configuration.
What indicates that the router has successfully obtained an internet connection?
-Once the router successfully obtains an IP address and passes the NAT and DNS configuration, you can test the internet connection by pinging a website, such as 'ping google.com', from the New Terminal in Winbox.
Outlines

Dieser Bereich ist nur für Premium-Benutzer verfügbar. Bitte führen Sie ein Upgrade durch, um auf diesen Abschnitt zuzugreifen.
Upgrade durchführenMindmap

Dieser Bereich ist nur für Premium-Benutzer verfügbar. Bitte führen Sie ein Upgrade durch, um auf diesen Abschnitt zuzugreifen.
Upgrade durchführenKeywords

Dieser Bereich ist nur für Premium-Benutzer verfügbar. Bitte führen Sie ein Upgrade durch, um auf diesen Abschnitt zuzugreifen.
Upgrade durchführenHighlights

Dieser Bereich ist nur für Premium-Benutzer verfügbar. Bitte führen Sie ein Upgrade durch, um auf diesen Abschnitt zuzugreifen.
Upgrade durchführenTranscripts

Dieser Bereich ist nur für Premium-Benutzer verfügbar. Bitte führen Sie ein Upgrade durch, um auf diesen Abschnitt zuzugreifen.
Upgrade durchführenWeitere ähnliche Videos ansehen
5.0 / 5 (0 votes)


