Setup Computer Server in Windows Server 2012 R2 Part 3 (REMOTE DESKTOP, PRINTER DEPLOY) [TAGALOG]
Summary
TLDRIn this video, Rams continues his tutorial series on setting up a computer server using Windows Server 2012 R2. This episode covers enabling Remote Desktop and sharing a printer on the server. Rams walks viewers through enabling remote settings, adding users to Active Directory, and connecting remotely between client and server. He also demonstrates how to install and deploy a printer across the network using Group Policy, ensuring seamless integration with the server. The video is aimed at providing clear, step-by-step instructions for managing server-side functions effectively.
Takeaways
- 🖥️ The video is part 3 of a series on setting up a computer server using Windows Server 2012 R2.
- 👤 It is important to have user accounts created before setting up remote desktop and printer sharing.
- 🔧 To enable remote settings, navigate to 'This PC', select 'Properties', and then go to 'Remote Settings' to allow remote connections.
- 📂 You can add users to the remote desktop by going to 'Active Directory Users and Computers' and selecting the necessary accounts.
- 🌐 To set up a remote desktop connection, open the Remote Desktop Connection tool, input the client’s IP address and login credentials.
- 👨💻 The video demonstrates connecting to a client’s desktop from the server using remote desktop, allowing access to the client’s environment.
- 🖼️ A change in the client’s wallpaper is shown to verify successful remote connection from the server.
- 🖨️ For printer sharing, open 'Print Management' via the server manager, add a new printer, and install the printer driver.
- 📄 To deploy the printer, navigate to 'Group Policy', select 'Default Domain Policy', and enable sharing for users and computers.
- ✅ The video concludes with a check that the printer deployment was successful by adding the printer to the client’s PC.
Q & A
What is the main focus of the video series presented by the speaker?
-The video series focuses on setting up a computer server using Windows Server 2012 R2.
What tasks were covered in part 2 of the video series?
-In part 2, the speaker covered how to create user accounts and set up folder redirection.
What are the two main tasks the speaker explains in part 3 of the series?
-In part 3, the speaker explains how to set up Remote Desktop and how to share a printer on the network.
What steps are necessary to enable Remote Desktop on the client computer?
-To enable Remote Desktop, you need to go to Windows Explorer, right-click 'This PC', select 'Properties', find 'Remote Settings', and allow remote connections by choosing the appropriate option.
How does the speaker verify which users can access Remote Desktop on the server?
-The speaker checks the Active Directory Users and Computers to view organizational units and users, and adds them to the allowed Remote Desktop users.
What information is needed to connect the server to the client via Remote Desktop?
-The server needs the IP address of the client and the login credentials of the user currently logged into the client machine.
How does the speaker demonstrate that the Remote Desktop connection between server and client is successful?
-The speaker demonstrates the connection by changing the wallpaper on the client desktop through the server, proving that the server can control the client.
What is the first step in installing a printer on the server?
-The first step is to open 'Server Manager', click 'Tools', and select 'Print Management'. From there, you can add a printer to the server.
How does the speaker ensure the printer is shared on the network?
-The speaker ensures that the printer is shared by checking the 'Share this printer' option during the printer setup process.
How is the printer deployed to client computers in the network?
-The printer is deployed by right-clicking the printer in 'Print Management', selecting 'Deploy with Group Policy', and choosing the appropriate group policy for the domain.
Outlines

Dieser Bereich ist nur für Premium-Benutzer verfügbar. Bitte führen Sie ein Upgrade durch, um auf diesen Abschnitt zuzugreifen.
Upgrade durchführenMindmap

Dieser Bereich ist nur für Premium-Benutzer verfügbar. Bitte führen Sie ein Upgrade durch, um auf diesen Abschnitt zuzugreifen.
Upgrade durchführenKeywords

Dieser Bereich ist nur für Premium-Benutzer verfügbar. Bitte führen Sie ein Upgrade durch, um auf diesen Abschnitt zuzugreifen.
Upgrade durchführenHighlights

Dieser Bereich ist nur für Premium-Benutzer verfügbar. Bitte führen Sie ein Upgrade durch, um auf diesen Abschnitt zuzugreifen.
Upgrade durchführenTranscripts

Dieser Bereich ist nur für Premium-Benutzer verfügbar. Bitte führen Sie ein Upgrade durch, um auf diesen Abschnitt zuzugreifen.
Upgrade durchführenWeitere ähnliche Videos ansehen
Windows Server 2012 r2 Tutorial Tagalog!
CSS NC II COC 3: SET UP COMPUTER SERVER. #computersystem #computernetwork #computerrepair #css
How to setup RADIUS in MikroTik (HapLite) and Windows Server

Windows Server Homelab: Implementing Service Accounts| Single Purpose Computers (Ep 6)
17. Migrate Active Directory from Windows Server 2008 R2 to Server 2022
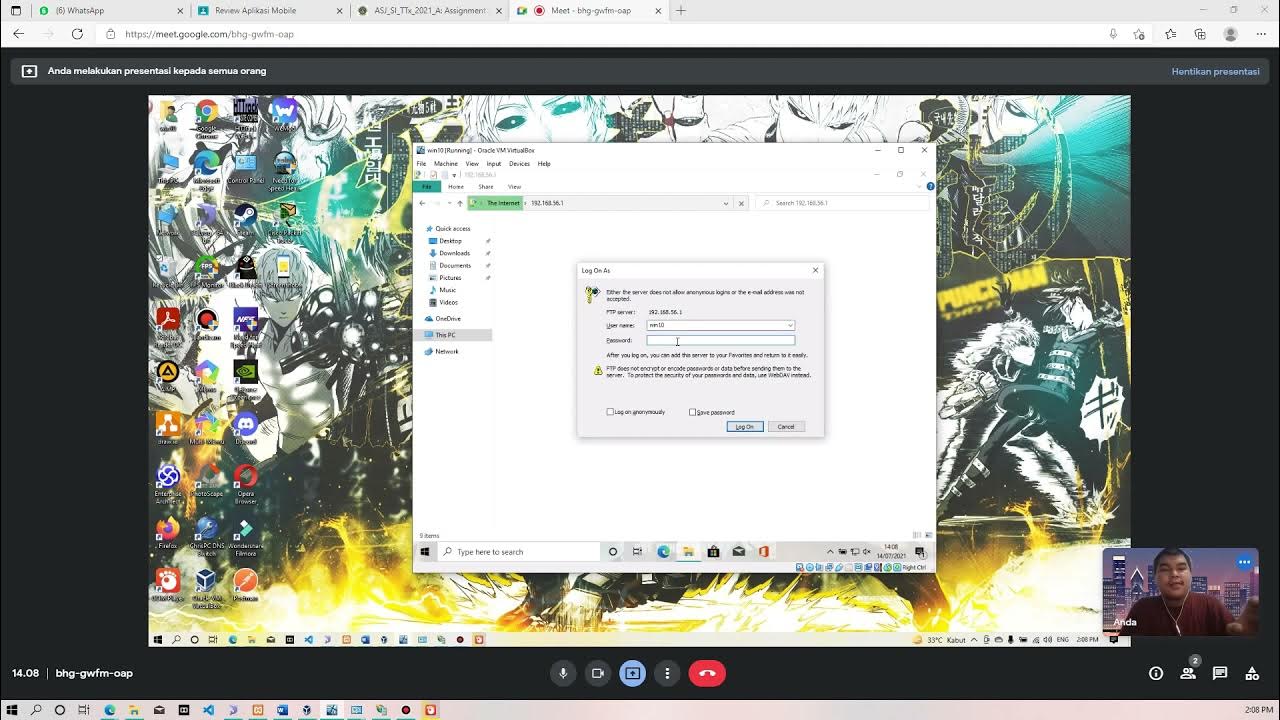
Membuat FTP Server dan FTP Client pada Windows 10
5.0 / 5 (0 votes)
