How to configure DHCP server | DHCP server configuration step by step
Summary
TLDRThis tutorial video guides viewers through configuring a DHCP server in a network topology with a switch, server, and multiple end devices. It explains the concept of DHCP, its purpose in assigning IP addresses automatically, and demonstrates step-by-step setup on a server with an IP address of 10.0.0.1. The video also shows how to check IP configurations on various devices and verify connectivity between them using the ping command and PDU, ensuring a functional network setup.
Takeaways
- 🔌 The video provides a step-by-step tutorial on configuring a DHCP server.
- 🏗️ A network topology is created with a switch, server, and end devices, emphasizing the connectivity setup.
- 🚫 A connection error is encountered, highlighting the importance of troubleshooting in networking.
- 🔄 The video demonstrates how to expand connectivity by adding modules to the switch.
- 💡 DHCP (Dynamic Host Configuration Protocol) is introduced as a protocol for automatic IP address assignment.
- 📊 DHCP's purpose is explained, emphasizing its role in managing IP address allocation for clients.
- 💻 The tutorial walks through configuring DHCP on a server, detailing the process of setting up IP address ranges and gateways.
- 🔍 The video shows how to verify IP address assignments on connected devices, ensuring proper DHCP configuration.
- 🤝 Connectivity between devices is tested using ping commands and PDU, demonstrating successful network communication.
- 🎉 The video concludes with a call to action for viewers to like, share, and subscribe for more content.
Q & A
What is the purpose of a DHCP server?
-A DHCP server controls a range of IP addresses and allocates them to clients either permanently or temporarily.
What does DHCP stand for?
-DHCP stands for Dynamic Host Configuration Protocol.
Why is DHCP used in large networks?
-DHCP is used in large networks to automatically assign IP addresses to hosts on a temporary or permanent basis.
How can you connect more devices to a switch if all ports are occupied?
-You can connect more devices by adding additional modules to the switch and connecting them to the blank ports.
What is the default gateway IP address used in the video?
-The default gateway IP address used in the video is 10.0.0.1.
How do you check the IP configuration on a device in the video?
-You check the IP configuration on a device by going to the desktop, clicking on the IP configuration, and then on DHCP.
What is the IP address range set for the DHCP server in the video?
-The IP address range set for the DHCP server in the video starts at 10.0.0.0.
How can you verify the connectivity between two devices in the network?
-You can verify connectivity between two devices by using the Ping command from one device to another.
What is the subnet mask used in the video?
-The subnet mask used in the video is 255.0.
How do you confirm that the DHCP services are running on the server?
-You confirm that the DHCP services are running on the server by checking the services and ensuring the DHCP service is started.
What is the maximum number of users that can be served by the DHCP server as per the video?
-The maximum number of users that can be served by the DHCP server can be changed as per requirement, but the default is set to the number of available IP addresses in the range.
Outlines

Dieser Bereich ist nur für Premium-Benutzer verfügbar. Bitte führen Sie ein Upgrade durch, um auf diesen Abschnitt zuzugreifen.
Upgrade durchführenMindmap

Dieser Bereich ist nur für Premium-Benutzer verfügbar. Bitte führen Sie ein Upgrade durch, um auf diesen Abschnitt zuzugreifen.
Upgrade durchführenKeywords

Dieser Bereich ist nur für Premium-Benutzer verfügbar. Bitte führen Sie ein Upgrade durch, um auf diesen Abschnitt zuzugreifen.
Upgrade durchführenHighlights

Dieser Bereich ist nur für Premium-Benutzer verfügbar. Bitte führen Sie ein Upgrade durch, um auf diesen Abschnitt zuzugreifen.
Upgrade durchführenTranscripts

Dieser Bereich ist nur für Premium-Benutzer verfügbar. Bitte führen Sie ein Upgrade durch, um auf diesen Abschnitt zuzugreifen.
Upgrade durchführenWeitere ähnliche Videos ansehen

Konfigurasi Mudah DHCP SERVER di Cisco Packet Tracert dengan 1 Server 1 Switch 3 Client
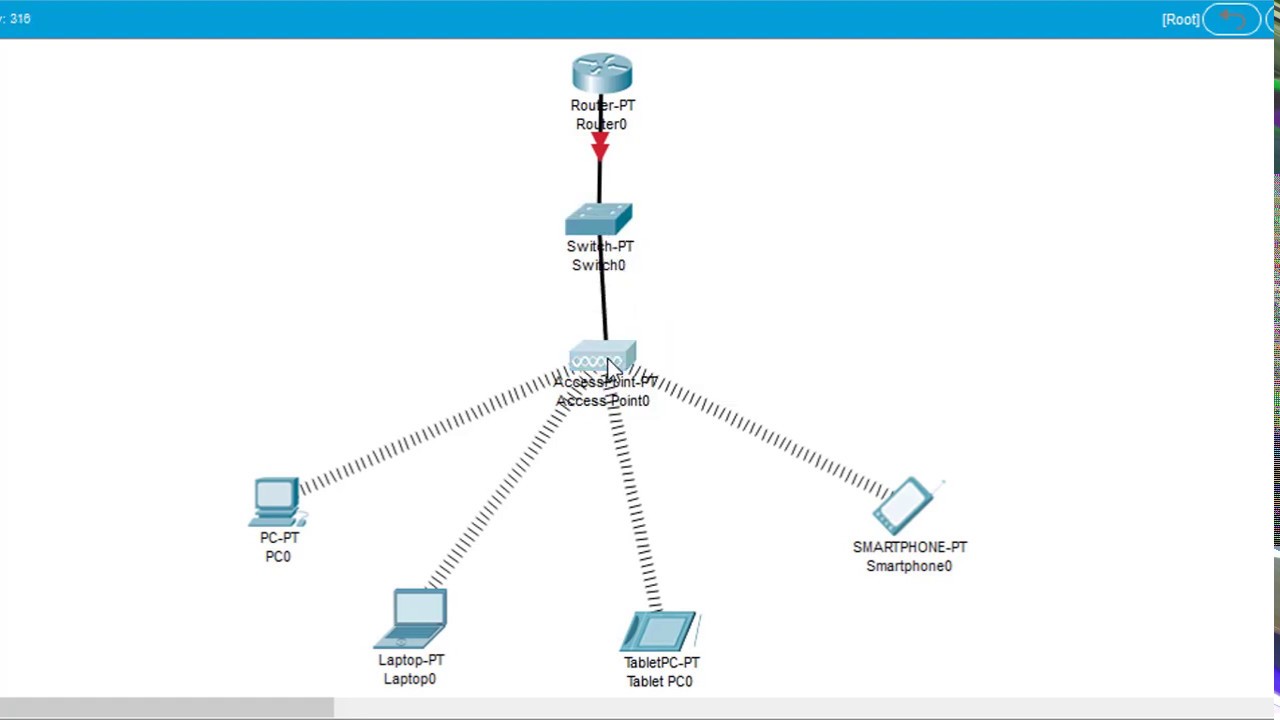
#GenerasiTutorial Cara Konfigurasi Wireless Access Point di Cisco Packet Tracer
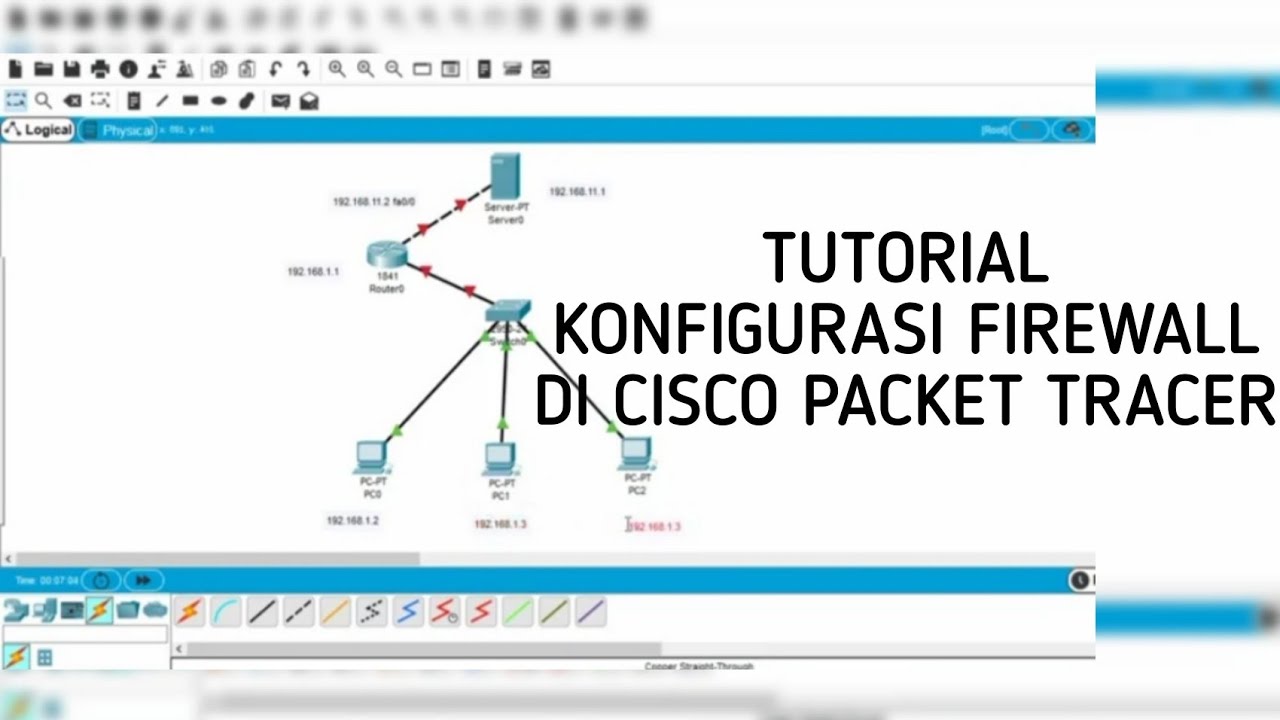
Cara Konfigurasi Firewall di Cisco Packet Tracer
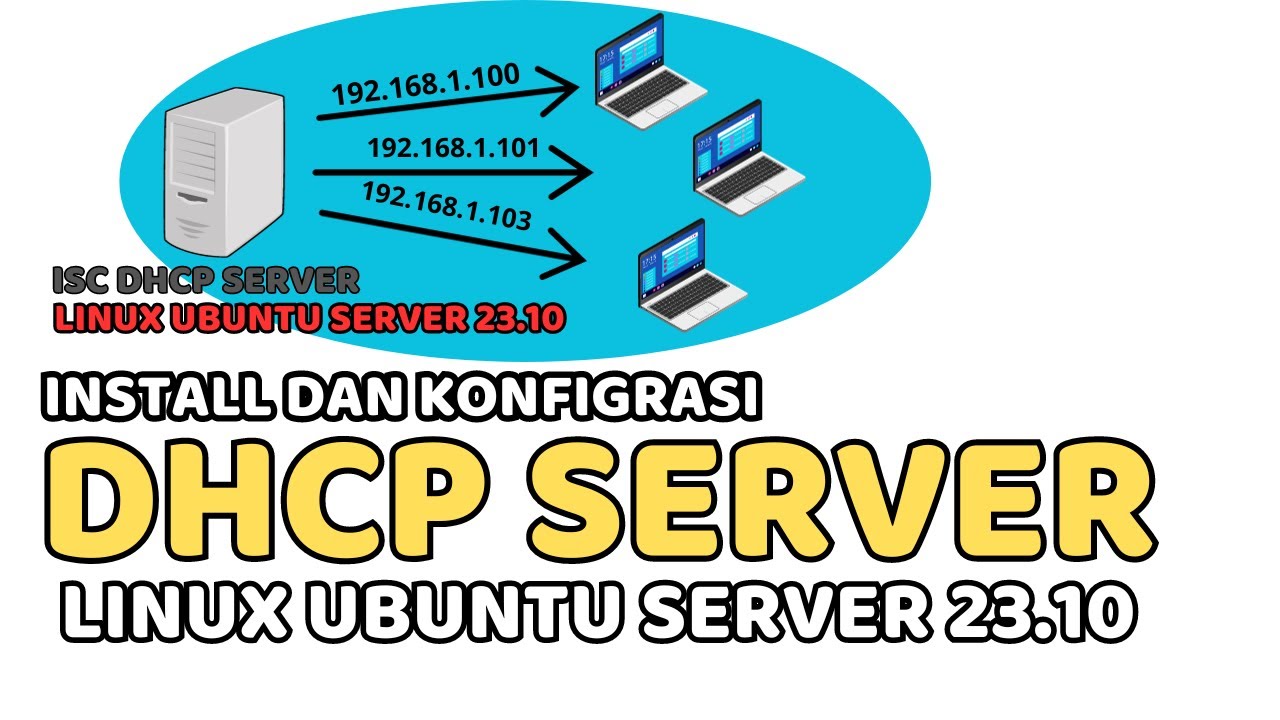
CARA INSTALL DAN KONFIGURASI DHCP SERVER PADA LINUX UBUNTU SERVER 23.10 (ISC DHCP SERVER)
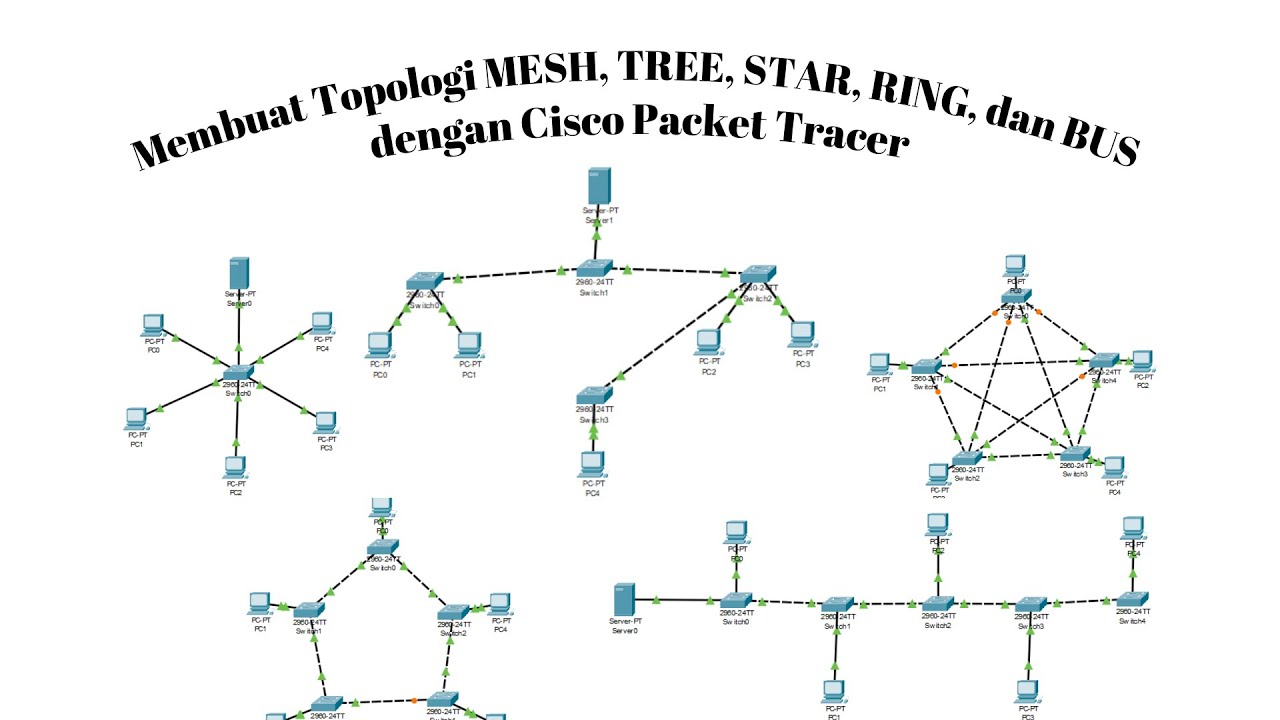
MEMBUAT TOPOLOGI MESH, TREE, STAR, RING, DAN BUS MENGGUNAKAN CISCO PACKET TRACER
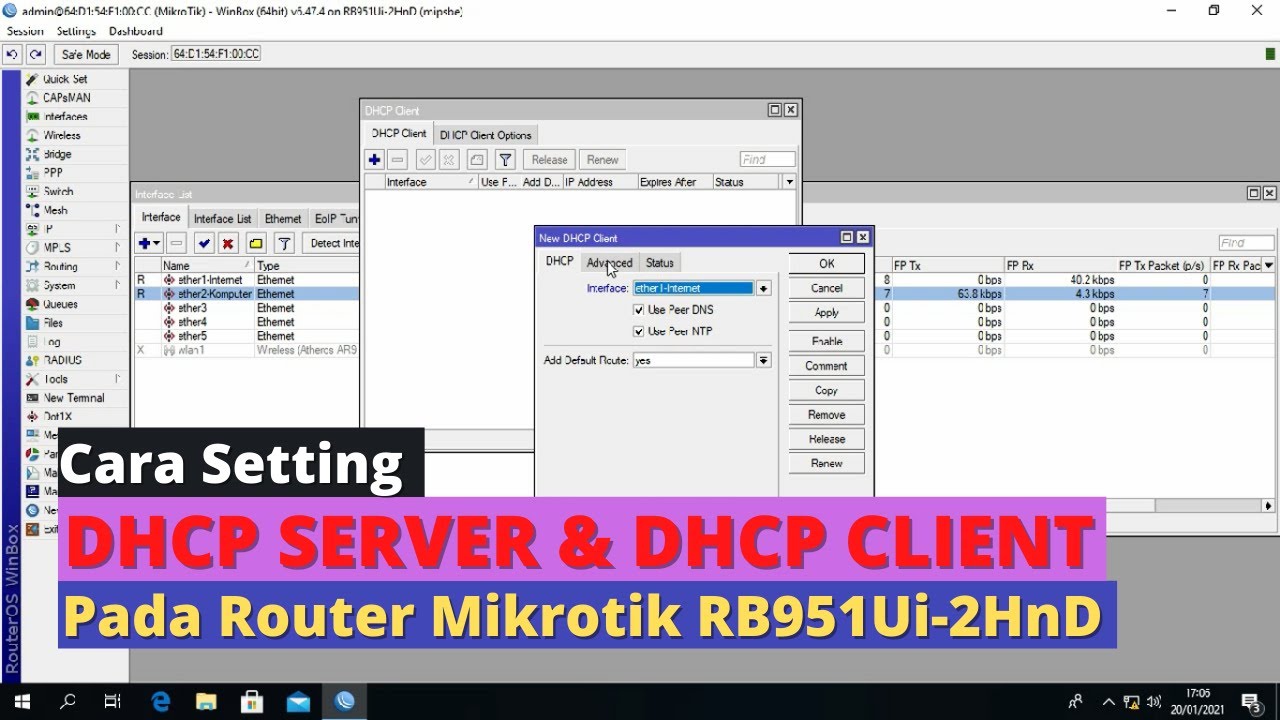
Konfigurasi DHCP Server dan DHCP Client pada Router Mikrotik RB 951Ui-2HnD
5.0 / 5 (0 votes)
