Best Slicer Settings For Printing Overhangs?
Summary
TLDRIn this video, the creator explores different support settings for 3D printing, specifically focusing on flat surfaces. They test multiple support types, including grid and rectilinear interlaced patterns, adjusting variables such as gap distance and interface layers to achieve the best surface finish. Through trial and error, they find that a 0.15mm gap with three top layers gives the smoothest results, while also highlighting the importance of orientation and design. The creator shares insights and tips for achieving cleaner prints, along with a recommendation for future testing, offering helpful advice for those tackling similar printing challenges.
Takeaways
- 😀 Always try to orient the model to avoid needing supports, but if supports are necessary, adjust the design to minimize their impact.
- 😀 Printing directly on a flat surface without supports results in poor surface finish, including stringy layers and uneven surfaces.
- 😀 Using support material with a 3mm base and three top layers (grid pattern) gives a better finish, though it may still be slightly rough for some applications.
- 😀 A rectangular interface (rectilinear interlace) pattern offers more surface area for support, but can result in a rougher finish and harder support removal compared to the grid pattern.
- 😀 Reducing the gap between support material and the model to 0.1mm can improve surface finish, but it makes the part harder to remove, even causing bruising in some cases.
- 😀 Increasing the gap to 0.15mm makes support removal easier, while still providing a good surface finish, though it might not be as perfect as with the smaller gap.
- 😀 The grid pattern for support material with three top layers and a 0.15mm gap is the optimal setting for a smooth finish and easy removal.
- 😀 Using a minimum of three top layers on support material is key to achieving a better surface finish when printing on support.
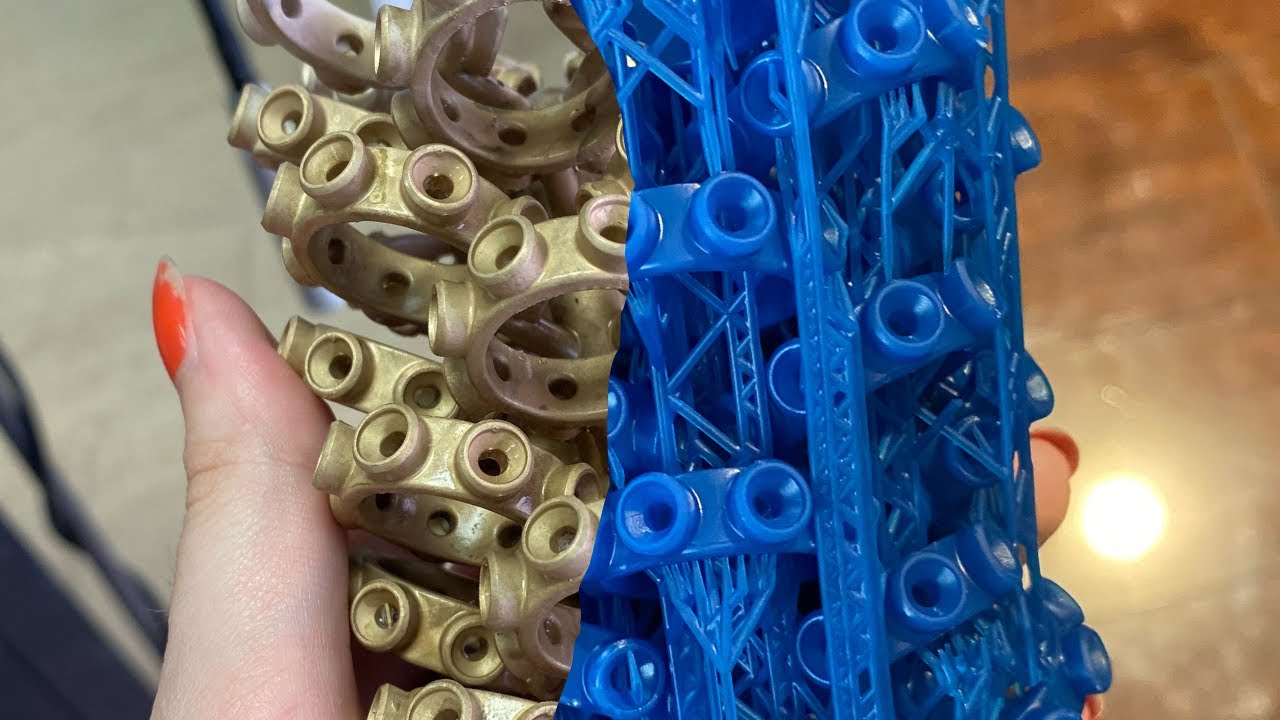
- 😀 Adding two wall loops to the support material helps maintain its structure during removal and ensures the top layer has a solid surface to print onto.
- 😀 Be careful when using the rectangular interlace pattern; ensure the final layer direction is different from the model's first layer direction to avoid filament seepage and difficulty in removal.
Q & A
What is the purpose of the test piece mentioned in the video?
-The test piece was created to evaluate the best support settings for printing flat surfaces on support material, to achieve a smooth and quality surface finish.
Why is it important to orient the object properly when printing?
-Orienting the object in a way that avoids the need for supports is ideal, as it ensures a cleaner print with better surface quality, reducing the challenges of support removal.
What was the problem with the control print (no supports)?
-The control print had a poor surface finish with stringy, unfused layers, and a large mound on the top, which ruined the quality of the top layer.
How did the 3mm base pattern support material perform in the second test?
-The 3mm base pattern performed well, giving a rough but acceptable surface finish, and the support material was easy to remove from the print bed.
What was the result of using the rectangular interlaced pattern?
-The rectangular interlaced pattern provided a larger surface area for the filament to print on, but the surface finish ended up rougher due to more points of contact with the model, making the removal process more difficult.
Why was the 0.1mm gap between the support material and model problematic?
-The 0.1mm gap created a challenging situation where the support material was difficult to remove, leading to a painful and time-consuming process for extraction.
What was the effect of increasing the gap to 0.15mm?
-Increasing the gap to 0.15mm made the support material easier to remove while still maintaining a high-quality surface finish, though not as perfect as the previous one.
What did the creator learn about the surface finishes of different support patterns?
-The creator learned that the grid pattern provided a smoother surface finish due to fewer points of contact between the support material and the model, whereas the rectangular interlaced pattern left a rougher surface due to more contact points.
What is the purpose of adding wall loops to the support material?
-Adding wall loops to the support material helps to keep it intact during removal and ensures that the top layer of the support material has a clear edge for the model to print onto, improving the surface finish.
What was the creator’s final recommendation for support settings?
-The creator recommended using the grid pattern with three top layers and a 0.15mm gap between the support material and the model for the best results, as it offers a good surface finish and easier support removal.
Outlines

هذا القسم متوفر فقط للمشتركين. يرجى الترقية للوصول إلى هذه الميزة.
قم بالترقية الآنMindmap

هذا القسم متوفر فقط للمشتركين. يرجى الترقية للوصول إلى هذه الميزة.
قم بالترقية الآنKeywords

هذا القسم متوفر فقط للمشتركين. يرجى الترقية للوصول إلى هذه الميزة.
قم بالترقية الآنHighlights

هذا القسم متوفر فقط للمشتركين. يرجى الترقية للوصول إلى هذه الميزة.
قم بالترقية الآنTranscripts

هذا القسم متوفر فقط للمشتركين. يرجى الترقية للوصول إلى هذه الميزة.
قم بالترقية الآنتصفح المزيد من مقاطع الفيديو ذات الصلة
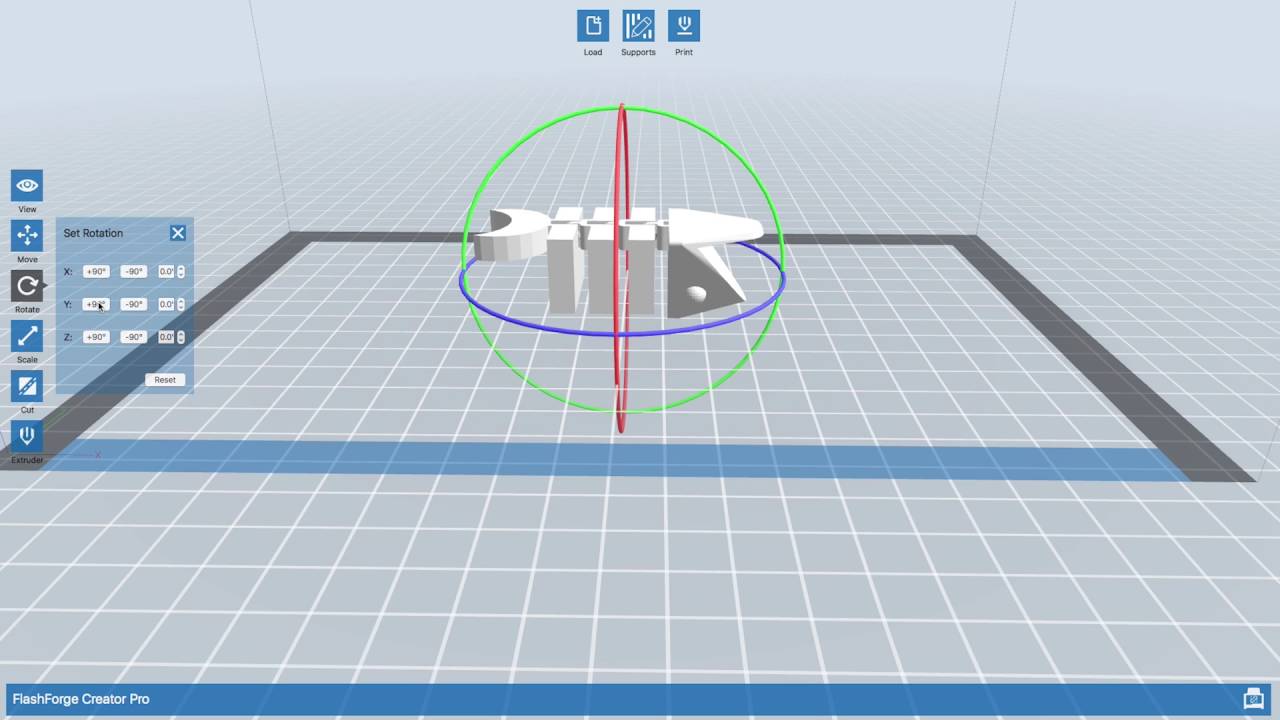
Using the Flashforge Creator Pro 3D Printers - BASICS
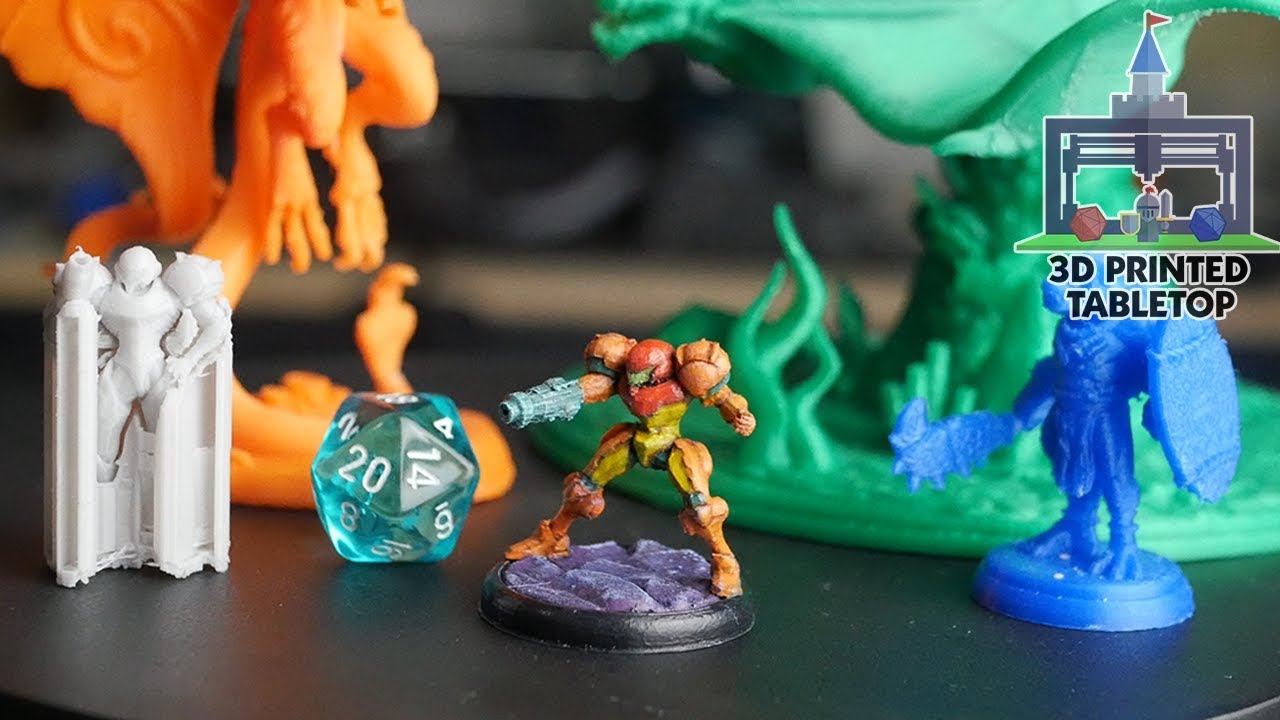
EASIER Support Settings for 3D Printed Miniatures (Printing The Game #11)
The Ultimate 3D Printing Test: Comparing 7 Different PLA Filaments! | Bambu Lab P1P Project
BEST TIPS FOR BETTER PRINTS WITH PETG | Everything you need to succeed with PETG filament

Differential explained - How differential works open, limited slip
How to build a print in place casting tree - Shapr3D Tutorial
5.0 / 5 (0 votes)
