PANDUAN LENGKAP - CARA SETTING ROUTER MIKROTIK RB951Ui-2HnD DARI AWAL HINGGA TERHUBUNG KE INTERNET
Summary
TLDRIn this video tutorial, Riswandi demonstrates how to configure the MikroTik RB951UI 2HND router for internet connectivity. He guides viewers through the setup process, including connecting power and cables, using Winbox for initial access, and configuring IP addresses for Ether1 and Ether2. The tutorial covers setting up a gateway and DNS, verifying internet access through pings, configuring firewall settings for NAT, and establishing a DHCP server to automate IP assignments. By the end, viewers learn how to ensure devices connected to the router can successfully access the internet.
Takeaways
- 😀 Ensure proper physical connections by plugging in the power and connecting the router to your computer and internet source.
- 😀 Use Winbox software to access and configure the MikroTik router effectively.
- 😀 Rename the router interfaces for clarity, designating Ether1 for internet and Ether2 for LAN.
- 😀 Assign appropriate IP addresses to each interface to ensure correct networking.
- 😀 Configure the router's gateway settings to facilitate internet connectivity.
- 😀 Set up DNS settings to enable domain name resolution for connected devices.
- 😀 Implement firewall rules using NAT to allow connected LAN devices to access the internet.
- 😀 Enable DHCP server on the router to automatically assign IP addresses to devices connected to the LAN.
- 😀 Ensure client devices are set to obtain IP addresses and DNS settings automatically for seamless connectivity.
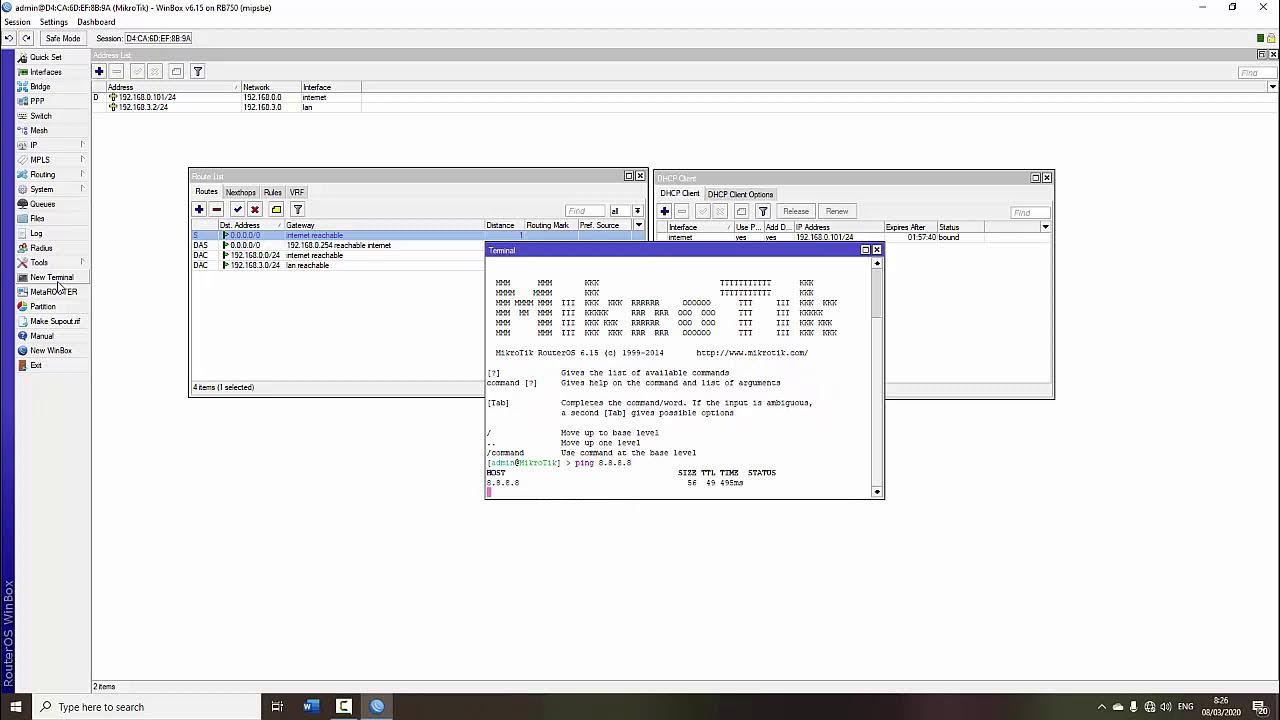
- 😀 Test the configuration by pinging an external website to verify internet access from client devices.
Q & A
What is the main purpose of the video?
-The main purpose of the video is to demonstrate how to configure the MikroTik RB951Ui-2HnD router for internet access.
What initial connections are required to set up the MikroTik router?
-The initial connections include plugging the power cable into the router and connecting Ethernet cables from the internet source to Ether1 and from Ether2 to the computer.
Which application is used to configure the MikroTik router?
-The Winbox application is used to configure the MikroTik router.
How does one connect to the MikroTik router using Winbox?
-To connect using Winbox, the user selects the router from the 'Neighbors' section and connects using the MAC address, logging in as 'admin' with no password.
What are the first two interface configurations performed on the MikroTik router?
-The first two configurations involve renaming Ether1 to 'Internet' and Ether2 to 'LAN'.
What IP addresses are assigned to Ether1 and Ether2?
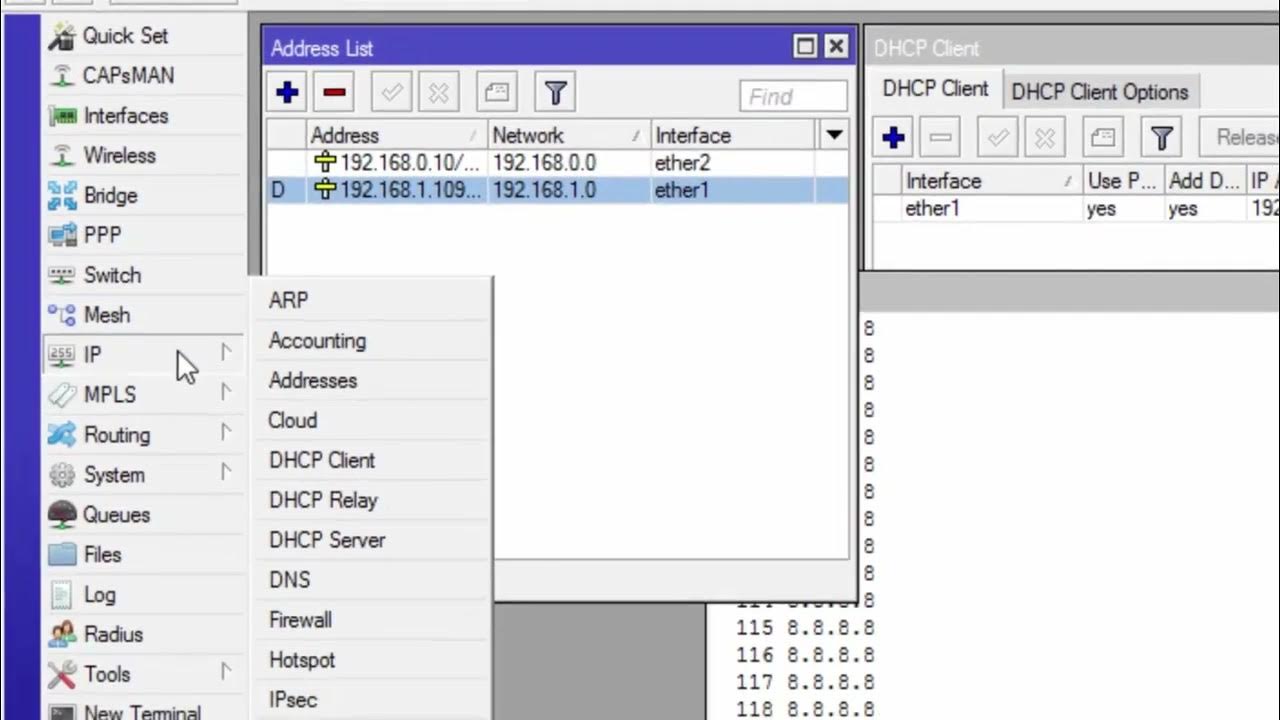
-Ether1 is assigned the IP address 192.168.1.1/24, and Ether2 is assigned either 10.0.0.1/24 or an alternative like 192.168.1.11/24.
How is the gateway configured in the MikroTik router?
-The gateway is configured by going to 'IP' and then 'Routes', where the user adds the gateway IP (192.168.1.1) with a destination of 0.0.0.0/0.
What DNS settings are recommended in the configuration?
-The recommended DNS settings include using a provider's DNS, such as 202.134.0.155, or Google's DNS, which is 8.8.8.8.
What is the purpose of setting up source NAT in the firewall?
-Setting up source NAT in the firewall allows devices connected to the LAN (Ether2) to access the internet by masquerading their IP addresses.
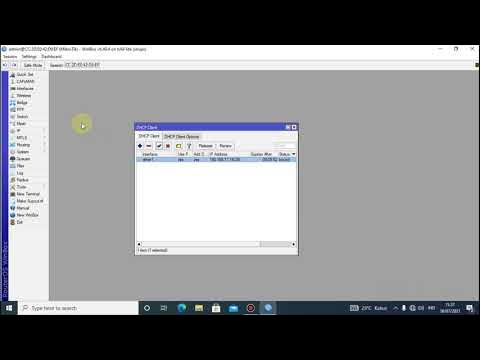
How can DHCP be configured on the MikroTik router?
-To configure DHCP, the user goes to 'IP DHCP Server' and selects Ether2 for the DHCP setup, allowing devices to automatically receive IP addresses.
Outlines

هذا القسم متوفر فقط للمشتركين. يرجى الترقية للوصول إلى هذه الميزة.
قم بالترقية الآنMindmap

هذا القسم متوفر فقط للمشتركين. يرجى الترقية للوصول إلى هذه الميزة.
قم بالترقية الآنKeywords

هذا القسم متوفر فقط للمشتركين. يرجى الترقية للوصول إلى هذه الميزة.
قم بالترقية الآنHighlights

هذا القسم متوفر فقط للمشتركين. يرجى الترقية للوصول إلى هذه الميزة.
قم بالترقية الآنTranscripts

هذا القسم متوفر فقط للمشتركين. يرجى الترقية للوصول إلى هذه الميزة.
قم بالترقية الآنتصفح المزيد من مقاطع الفيديو ذات الصلة
CARA KONFIGURASI MIKROTIK AWAL KONEKSI INTERNET otomatis
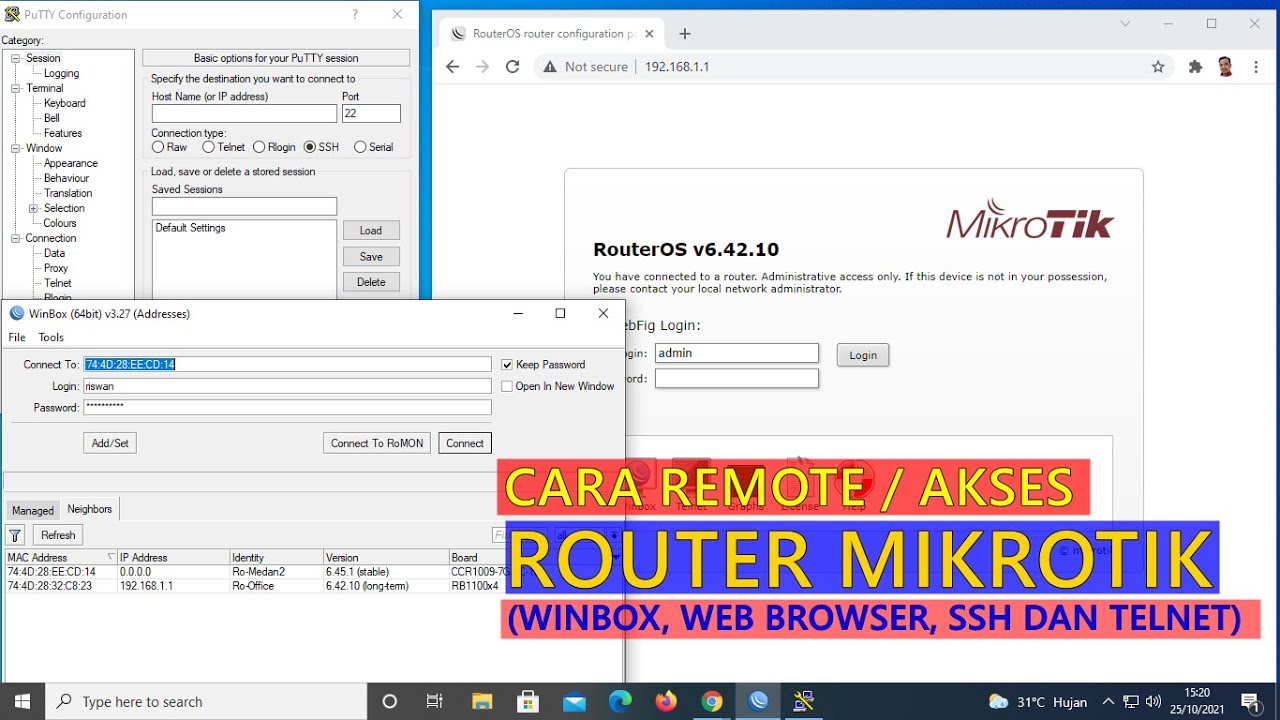
CARA REMOTE/AKSES ROUTER MIKROTIK (WINBOX, WEB BROWSER, TELNET DAN SSH)
TUTORIAL DASAR MIKROTIK (KONEKSI INTERNET)
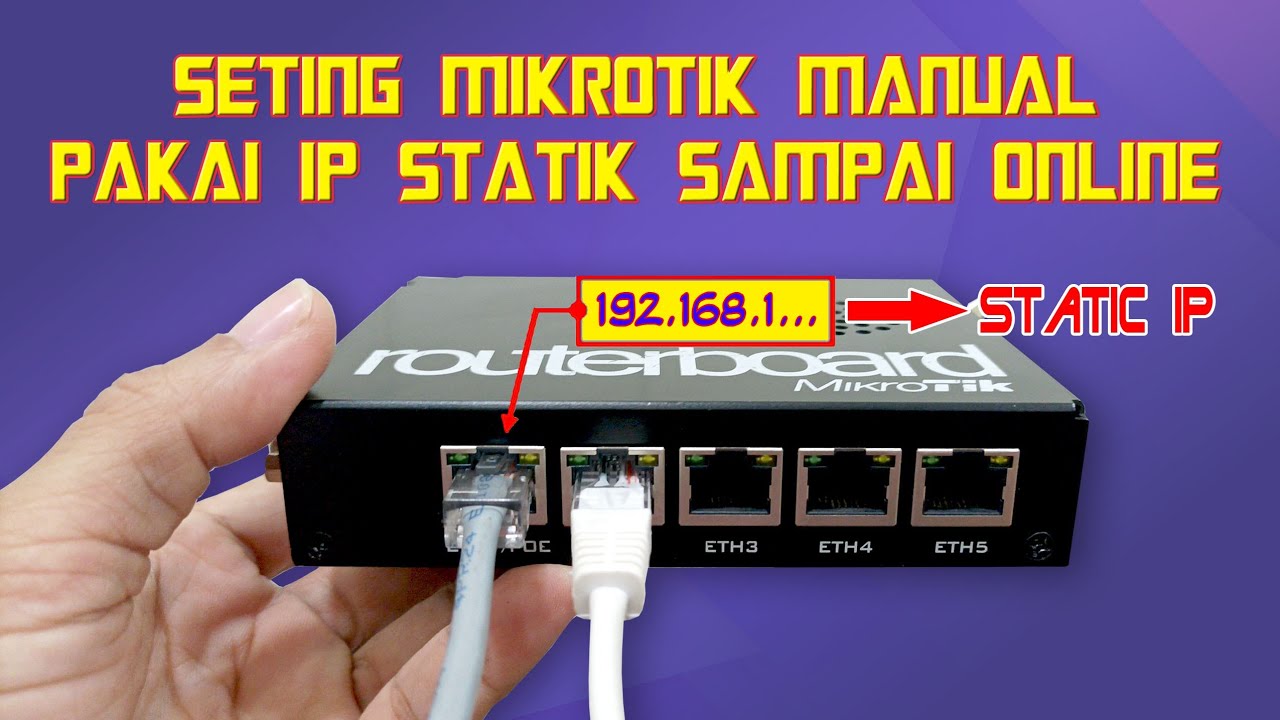
Cara Seting Mikrotik Menggunakan IP Statik Sampai Bisa Online || How to setting mikrotik static ip
Tutorial konfigurasi mikrotik menggunakan winbox
KONFIGURASI DASAR MIKROTIK (UNTUK PEMULA)
5.0 / 5 (0 votes)
