view data codeigniter v3
Summary
TLDRThis video tutorial provides a step-by-step guide on how to display data from a database using CodeIgniter. It covers the configuration of essential files like autoload.php and database.php, setting up a database, and creating a controller and model in CodeIgniter. The tutorial also demonstrates how to create a view to display data from the database in a table format. The video concludes with a promise to cover updates and deletions in a future tutorial.
Takeaways
- 💻 The video explains how to display data using CodeIgniter, a popular PHP framework.
- 🔧 The first step involves preparing the environment by downloading and extracting the necessary files.
- 📝 Configuration of the autoload file is crucial, where you need to load libraries like 'database'.
- 📂 The configuration process includes setting up important files such as 'autoload.php' and 'config.php'.
- 🗄️ Database setup involves configuring the database file with the appropriate credentials like username, password, and database name.
- ⚙️ A controller named 'Product' needs to be created in the application/controllers directory.
- 💻 The next step is creating a model file 'Product_model' in the application/models directory to handle database interactions.
- 🖥️ The view file 'product_view.php' should be created in the application/views directory to display data from the database.
- 📊 The view file includes a table structure to display data retrieved from the model.
- 🛠️ Finally, a database and table are created with columns such as 'product_code', 'product_name', and 'product_price', followed by running the CodeIgniter application to view the data.
Q & A
What is the main topic of the video script?
-The main topic of the video script is how to display data from a database using CodeIgniter.
What software tools are mentioned as necessary for this tutorial?
-The tutorial mentions using CodeIgniter, a web server like XAMPP or PHPMailer, and a text editor like Notepad.
What is the first file that needs to be configured in this tutorial?
-The first file that needs to be configured is 'autoload.php' in the 'config' directory of the extracted CodeIgniter files.
What specific configuration is required in the 'autoload.php' file?
-In the 'autoload.php' file, you need to add 'database' to the autoload libraries section.
Which other configuration file is mentioned, and what should be configured within it?
-The 'config.php' file is mentioned, and the base URL needs to be configured, though it is suggested to be configured later.
What needs to be set up in the 'database.php' configuration file?
-In the 'database.php' file, you need to configure the hostname, username, password, and database name according to your local settings.
What is the next step after configuring the database connection?
-The next step is to create a controller named 'Product' in the 'controllers' directory of the application.
How should the 'Product' controller be structured?
-The 'Product' controller should have a class named 'Product' with functions such as 'construct' and 'index'.
What model file is needed, and what should it contain?
-A model file named 'Product_model' is needed in the 'models' directory, containing functions like 'get' to fetch data from the database.
What should the view file 'product_view.php' contain?
-The 'product_view.php' file should contain HTML code to display the data, including a table structure to show product information from the database.
How should the database table be structured for this example?
-The database table named 'product' should have columns such as 'product_code', 'product_name', and 'product_price', with appropriate data types like integer and varchar.
What should be done after setting up the database and files?
-After setting up the database and files, the script suggests running the CodeIgniter application in the browser to check if the data is displayed correctly.
What is promised for the next video in this series?
-The next video in the series will cover updating and deleting data from the database using CodeIgniter.
Outlines

This section is available to paid users only. Please upgrade to access this part.
Upgrade NowMindmap

This section is available to paid users only. Please upgrade to access this part.
Upgrade NowKeywords

This section is available to paid users only. Please upgrade to access this part.
Upgrade NowHighlights

This section is available to paid users only. Please upgrade to access this part.
Upgrade NowTranscripts

This section is available to paid users only. Please upgrade to access this part.
Upgrade NowBrowse More Related Video

Membuat Database MYSQL di XAMPP menggunakan CMD

09 Belajar Web GIS Dasar Leaflet Dan Codeigniter 4 - GeoJSON

Cara Membuat Grafik di Microsoft Excel (2021)

FlutterFlow — Connecting and Configuring Firebase to Your App | FlutterFlow NoCode Training 2022
SQL for beginners: SELECT statement
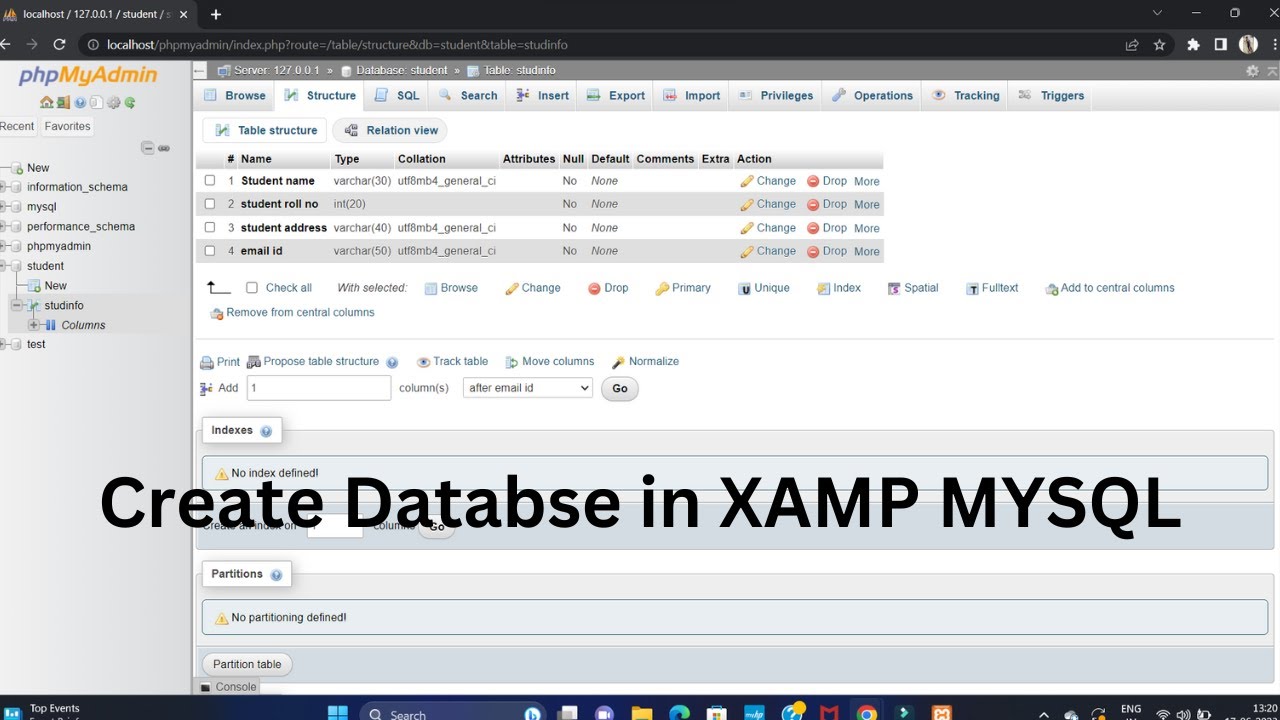
Create Database Using XAMPP Server/MYSQL |Updated 2023|
5.0 / 5 (0 votes)