Pemanfaatan Google Forms
Summary
TLDRThis video script introduces the use of Google Forms for educators to create customizable surveys and quizzes. It guides through the process of starting a new form, customizing its appearance, setting up quiz features, and adding various types of questions. The tutorial concludes with sharing the form as a quiz with students.
Takeaways
- 😀 Google Forms is an application that allows educators to create customizable surveys and quizzes.
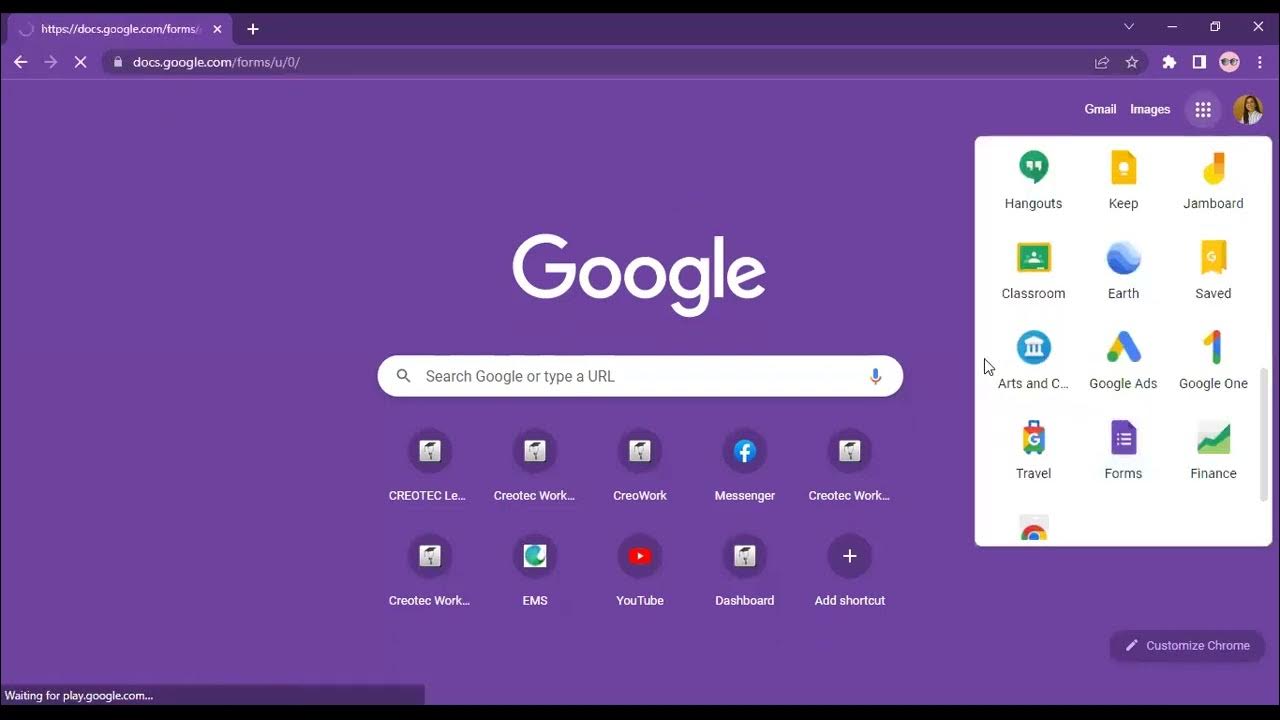
- 📝 To start a new form, educators can open Google Drive and select the 'Forms' icon from the top right corner.
- 🖊️ Users can name their form and create it by selecting the 'Add' icon in the top left corner.
- 🔄 To close an active form, select the 'X' on the tab, and to rename it, right-click the file and choose 'Rename'.
- 🎨 The appearance of the form can be customized using the 'Customize theme' option, including selecting a header image.
- 🔑 Google Forms offers various tools such as add-ons, a customized theme preview, settings, question import, and more.
- 📚 An example given is creating a simple quiz using Google Forms, such as a 'Daily Class Test for 7A'.
- ✅ The script explains how to activate the 'Make this a quiz' feature and set up options for grading and feedback after quiz submission.
- 🔑 Educators can define whether participants can see the correct answer, point value, or miss question after taking the quiz.
- 📝 The process includes creating different types of questions, such as multiple-choice, short-answer, and checkbox questions.
- 🔗 Once the form is complete, it can be sent to students as a quiz by sharing a link, which can be shortened and copied for distribution.
Q & A
What is the main purpose of Google Forms mentioned in the script?
-The main purpose of Google Forms, as mentioned in the script, is to create customizable surveys and quizzes that allow educators to get direct feedback from their audience.
How can educators start creating a new form in Google Drive?
-Educators can start creating a new form by opening Google Drive, selecting the icon with three dots in the upper right corner, and then choosing the Forms icon to create a new form.
What is the process to rename an existing form in Google Drive?
-To rename an existing form, educators should open Google Drive, right-click on the file, select 'Rename', type the desired name, and press Enter or click the OK icon.
How can educators customize the appearance of their form?
-Educators can customize the appearance of their form by selecting the 'Customize theme' icon in the upper right corner, choosing a theme, and selecting a header image from various options provided by Google Forms or uploading their own.
What are some of the tools available in Google Forms for creating questions?
-Some of the tools available in Google Forms for creating questions include add-ons, a customized theme preview, settings, question import, question title, image, edit, and edition.
What type of question is the first example given in the script?
-The first example given in the script is a multiple-choice question, which requires selecting one correct answer from the options provided.
How can educators set the grading options for a quiz in Google Forms?
-Educators can set the grading options for a quiz by going to the 'Quizzes' settings, activating the 'Make this a quiz' option, and choosing the grading release option such as 'immediately after submission' or 'letter after manual review'.
What is the second type of question demonstrated in the script?
-The second type of question demonstrated in the script is a short-answer question, which requires participants to provide a brief answer to a specific question.
How can educators add an image to a question in Google Forms?
-Educators can add an image to a question by selecting the 'Image' button next to the question, choosing the desired image, and then opening it to include in the form.
What is the final step to make the form available for students to complete?
-The final step is to send the form by selecting the 'Send' button in the upper right corner, choosing a link to share with students, shortening the URL if desired, copying the link, and sharing it with the students.
Outlines

This section is available to paid users only. Please upgrade to access this part.
Upgrade NowMindmap

This section is available to paid users only. Please upgrade to access this part.
Upgrade NowKeywords

This section is available to paid users only. Please upgrade to access this part.
Upgrade NowHighlights

This section is available to paid users only. Please upgrade to access this part.
Upgrade NowTranscripts

This section is available to paid users only. Please upgrade to access this part.
Upgrade NowBrowse More Related Video

Workplace Productivity Tools Part 1

Empowerment Technologies - ICT Project Maintenance

6 AI Tools for Teachers to Check Out in 2025

Framer Forms for Beginners: HubSpot, Mailchimp & More Integrations

Cara Buat E-MODUL interaktif dengan CANVA

WordWall Tutorial : Gamifikasi Pelajaran dengan Quiz Online Interactive Ini
5.0 / 5 (0 votes)